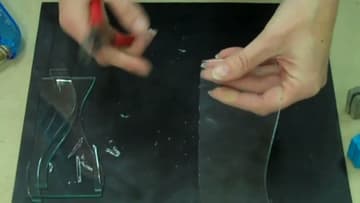
How to Use a Glass Cutter
Source: Delphi Glass Creativity Center • Full tutorial: www.craftingstepbystep.com/crafts/how-to-use-a-glass-cutter
- Difficulty
- Easy
- Hands-on time
- About 30 minutes
- Cost
- About $10 to $18

Tools
- pistol-grip glass cutter
- pencil-style oil-filled glass cutter
- running pliers
- breaker-grozer pliers
- safety glasses
- breaking mat
- bench brush
Materials
- stained glass sheet
- glass cutter oil
Steps
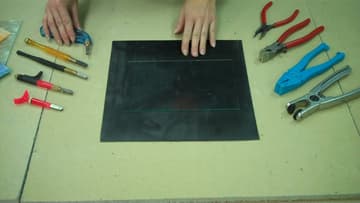
1. Set Out Your Tools and Put On Safety Glasses
Lay the glass flat on a breaking mat with your cutters on one side and your pliers on the other, so you are not reaching across a sheet of glass every time you swap tools. Put the safety glasses on now, before the first score.
Tip: Keep a bench brush in reach and sweep between pieces. Shards collect under the glass and score marks are hard to see through grit.
2. Find a Grip That Feels Steady
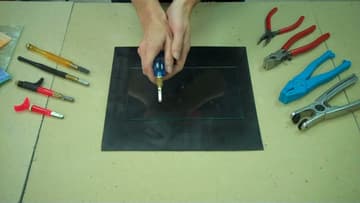
A pistol-grip cutter sits down in your hand. Thumb on top, thumb alongside, or first finger over the barrel are all fine.
Tip: If your hand aches after a few cuts, the grip is wrong or you are pressing too hard. Usually both.
3. Score From Edge to Edge in One Pass
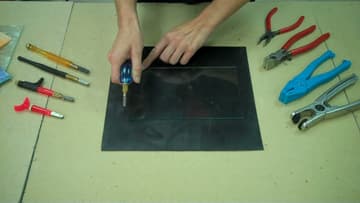
Set the cutter head right at the near edge of the glass and draw it straight across to the far edge without lifting. One pass.
Tip: Starting a hair in from the edge is the most common beginner mistake. The score has to break the edge or the glass will not run.
4. Try a Pencil Cutter and Top Up the Oil
A pencil-style cutter is held like a pen, either overhand or between the fingers. Many come with an oil reservoir you reach by unscrewing the knob on the back end.
Tip: Oil on every score is optional. Oil before the cutter goes into a drawer for a month is not, if you want the wheel to turn freely next time.
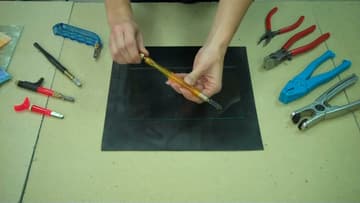
5. Score Again With the Pencil Grip
Same rules as before. Start at the edge, keep the wheel upright, and pull through in a single continuous stroke with your free hand flat on the glass to stop it sliding.
Tip: Cut scrap for an afternoon before you cut anything you paid real money for. Art glass is expensive practice material.
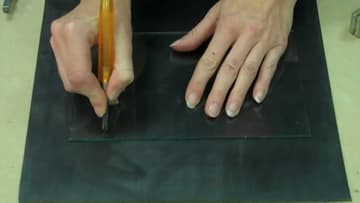
6. Push From the Shoulder, Not the Wrist
This is the difference between a score that breaks where you want and one that wanders. Lock your wrist, keep your arm fairly straight, and let the movement come down from the shoulder.
Tip: Too much pressure is far more common than too little. If your scores keep breaking badly, ease off before you change anything else.
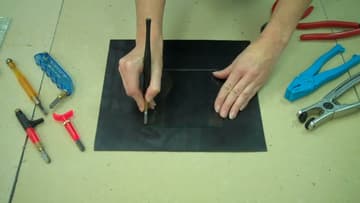
7. Break a Gentle Curve on the Mat
For transparent or lightly textured glass with a soft curve in the score, you do not need pliers at all. Turn the sheet over so the score faces the mat, line your hands up either side of the line, and press down gently from the back.
Tip: This works best on thinner clear glass. Dense opalescent glass usually wants running pliers instead.
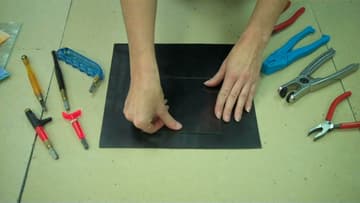
8. Run the Score With Running Pliers
Set the pliers down anywhere on the glass and turn the screw until the jaws just touch the surface, then back it off a quarter turn. They are now set for this thickness.
Tip: Squeeze, do not crush. The jaws are shaped to push down on either side and up underneath, so a light press does the work.
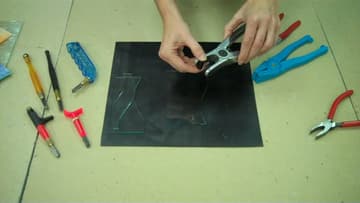
9. Snap a Narrow Strip With Breaker Pliers
When the offcut is a quarter inch wide, running pliers have nothing to grip. Hold breaker-grozer pliers with the flat jaw on top and come at the glass perpendicular to the score, with the tips sitting about a sixteenth of an inch back from the line.
Tip: A rocking motion crumbles the edge instead of breaking it. Straight out, every time.
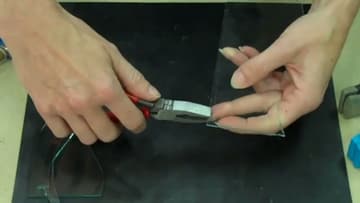
10. Groze the Edge Back to the Line
Some spots will not break cleanly, usually where the score was uneven. Flip the pliers so the curved jaw is on top, bite the high spot, and rock downward.
Tip: Groze in small bites near the line rather than one big grab. Take too much and the crack runs past where you wanted it.