How to Tie Dye a Shirt - 4 Easy Designs for Beginners
Source: Kylee Makes It - Art Videos for Kids • Full tutorial: www.craftingstepbystep.com/crafts/how-to-tie-dye-a-shirt
- Difficulty
- Easy
- Hands-on time
- About 45 minutes
- Wait time
- 15 minutes
- Cost
- About $15 to $25
- Makes
- 1 tie dyed shirt
Tools
- Squirt or squeeze bottles
- Microwave-safe plastic container with lid
- Scissors
- Drying rack
Materials
- Plain white 100% cotton t-shirt
- Tie-dye powder kit
- Rubber bands
- Disposable gloves
- Plastic tarp or drop cloth
Steps
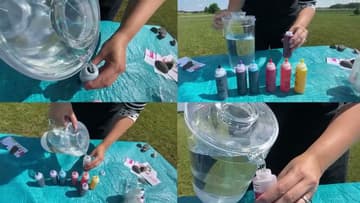
1. Prep the Dye Bottles and Soak the Shirt
Drop a plain white cotton shirt into a bin of water and let it soak for at least two minutes. Wet fabric pulls color deeper and more evenly than dry fabric, so don't skip this.
Tip: Wring the excess water out of the shirt before you start folding. If it's dripping, the dye will run into the folds and you'll lose the pattern.
2. Design 1 - Sunburst
Lay the damp shirt flat. Pinch a small spot of fabric between your fingers and pull it up into a little cone.
Tip: Twist each pinched cone a few times before wrapping the rubber band. The tighter the twist, the sharper the white burst pattern.

3. Design 2 - Swirl
Lay the damp shirt flat on a table. Put two fingers on the spot you want at the center of the swirl.
Tip: Twist in the same direction the whole time. If you accidentally untwist halfway through, the spiral won't be even.

4. Design 3 - Stripes
Fold the shirt accordion-style from bottom to top. Pick up the hem, fold it up about an inch, then fold the next inch back the other way, and keep going until the whole shirt is one long flat strip of pleats.
Tip: For diagonal stripes, fold the shirt on a 45-degree angle instead of straight across. Same technique, different direction.

5. Design 4 - Bullseye
Pick the spot you want at the center of the target. Pinch that spot and pull it straight up so the shirt hangs like a long cone from your hand.
Tip: You can add as many rubber bands as you want - each one becomes another ring in the bullseye.

6. Set the Color in the Microwave
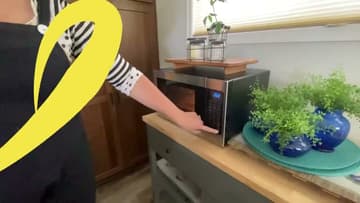
Place each banded shirt inside a microwave-safe plastic container. The container catches any dye that drips out and keeps the microwave clean.
Tip: Don't use a container you care about. The plastic can stain even though it doesn't ruin the container's function.
7. Rinse and Reveal
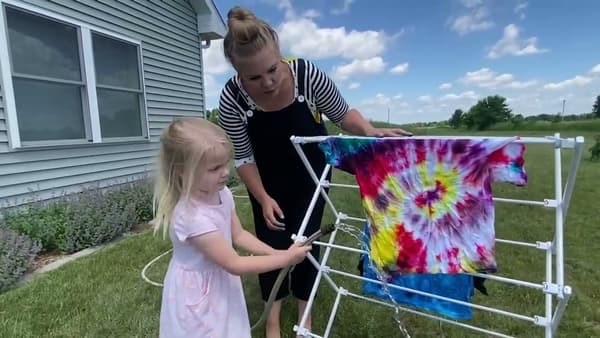
Snip every rubber band with scissors and unfold the shirt. Don't try to pull them off - they'll snag the fabric and the dye will splatter.
Tip: For the first three washes, wash tie-dye separately or with other darks. After that, the color stops bleeding and you can wash it with regular laundry.