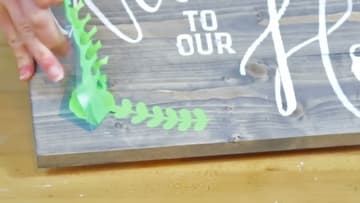
How to Stencil on Wood (3 Ways to Get Crisp Wood Sign Letters)
Source: Creative Ramblings • Full tutorial: www.craftingstepbystep.com/crafts/how-to-stencil-on-wood
- Difficulty
- Easy
- Hands-on time
- About 1 hour
- Wait time
- 1 hour
- Cost
- About $10 to $25
- Makes
- 1 wood sign

Tools
- cutting machine (Silhouette or Cricut)
- cutting mat
- weeding hook
- vinyl scraper
- foam sponge brushes
- small stencil daubers
- paint dish
- scissors
- tweezers
Materials
- stained wood sign board
- Dura-Lar clear film
- adhesive vinyl
- stencil film
- contact paper or transfer tape
- temporary basting spray
- acrylic craft paint: white, pink, green
Steps
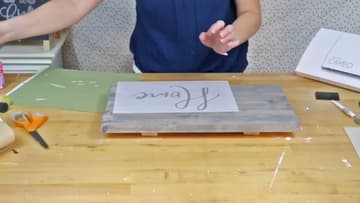
1. Line Up the Reusable Stencil on the Wood Sign
Start with a stained board that has dried overnight. Damp stain is the main reason a stencil will not stick.
Tip: Mark the corners with a pencil dot so you can put it back in the same spot after spraying.
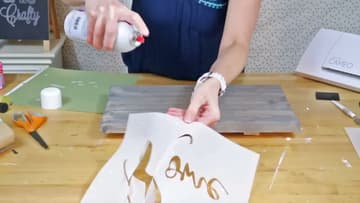
2. Spray Basting Spray on the Back of the Stencil
Dura-Lar has no sticky back, so it needs help. Shake a can of basting spray, the temporary adhesive sold in the quilting aisle, and give the back of the stencil a light, even coat.
Tip: Spray outdoors or over scrap paper. Overspray makes your table sticky.
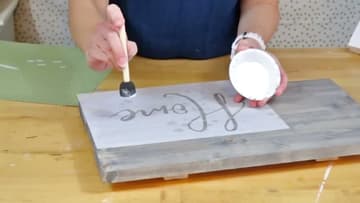
3. Dab White Paint Through the Wood Sign Stencil
Pour a little white acrylic craft paint into a dish. Dip a sponge brush, then blot most of it off on the edge.
Tip: If the sponge leaves a wet shine on the wood, it is carrying too much paint.
4. Paint the Second Stencil With the Letter Centers in Place
Once the first word is dry, spray the back of the second stencil and press it on. Sarah's Welcome stencil has loose pieces, like the middles of the o and e.
Tip: Tweezers lift the little centers without smudging the wet letters.
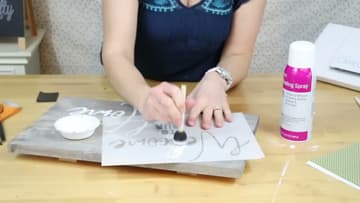
5. Weed the Adhesive Vinyl Stencil
For a one-time stencil, cut your design from adhesive vinyl. Sarah uses scraps for small accents like this flower.
Tip: Hold the sheet up to a window to spot pieces you missed.
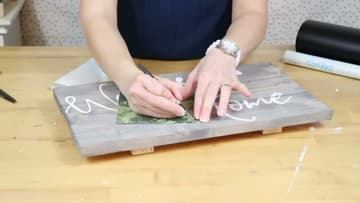
6. Lift the Vinyl Stencil With Contact Paper
To move the stencil from its backing to the sign, lay a piece of clear contact paper over the weeded vinyl, sticky side down. Rub over it firmly with a scraper so the vinyl grabs the contact paper and any bubbles are pushed out.
Tip: Peel the backing away at a sharp angle so the small pieces stay on the contact paper.
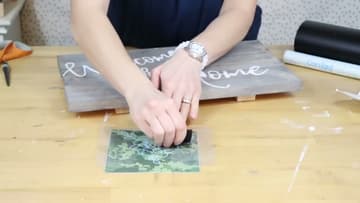
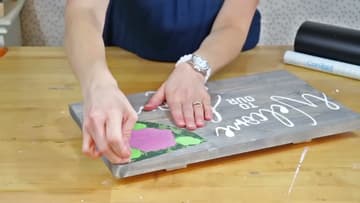
7. Burnish the Vinyl Stencil Onto the Wood Sign
Peel the paper backing off the vinyl, then set the stencil on the sign. Press it down in the middle and smooth outward.
Tip: Run a fingernail around each small edge after burnishing for extra grip on rough grain.
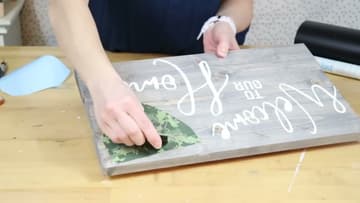
8. Peel the Vinyl Stencil Off the Painted Flower
Dab your colors into the open shapes with a sponge, using the same light up and down motion. Sarah fills the flower pink and the leaves green.
Tip: Let each color dry before you stencil a second color right next to it.
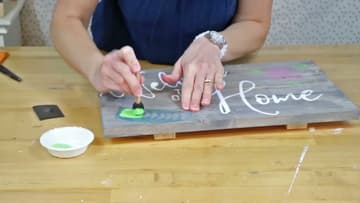
9. Paint Through the Translucent Stencil Film
Stencil film is a third option. It is thinner than vinyl, costs less and is see-through, so you can line it up against lettering already on the board.
Tip: A small round dauber fits tight shapes like leaves better than a wide sponge brush.
10. Peel the Stencil Film Off the Painted Leaves
Peel the film away while the green is still a little wet, pulling it back over itself close to the board. The leaf edges should come out crisp with no fuzzy halo.
Tip: Wait a full day before sealing so the paint is cured under the topcoat.