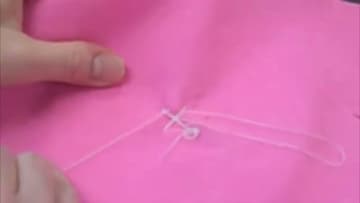
How to Sew a Button by Hand
Source: Professor Pincushion • Full tutorial: www.craftingstepbystep.com/crafts/how-to-sew-a-button-by-hand
- Difficulty
- Easy
- Hands-on time
- About 10 minutes
- Cost
- About $2 to $4
- Makes
- 1 button sewn on
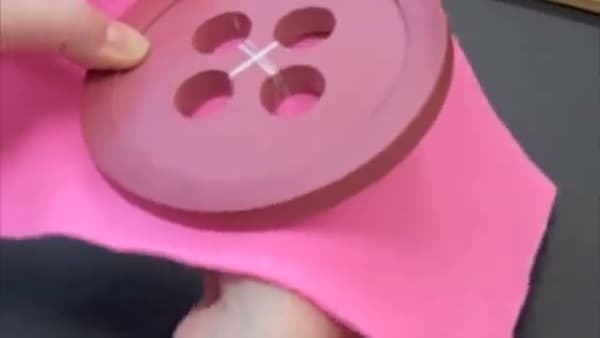
Tools
- Needle
- Scissors
Materials
- Thread
- Button
Steps
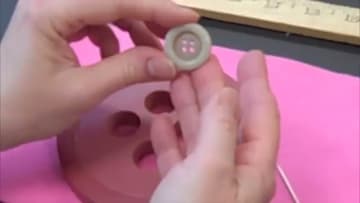
1. Check Which Side Is the Front
Look at your button. One side has a raised ridge around the edge.
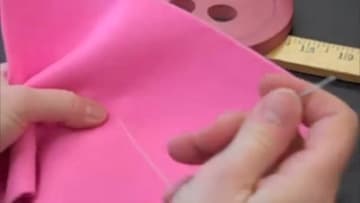
2. Anchor the Thread
Thread your needle and tie a knot at the end. Push the needle up through the fabric from the back where you want the button to sit.
3. Sew the First Diagonal
Place the button face up over where the thread comes out. Push the needle up through one hole, then down through the hole diagonally opposite.
Tip: She calls it "dolphin up, dolphin down" - the needle goes up through the fabric and button, then back down through the opposite hole. Same motion every time.
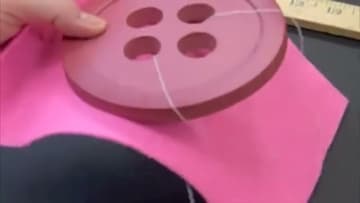
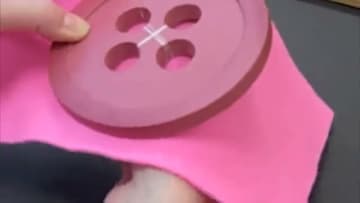
4. Sew the Second Diagonal to Make the X
Now switch to the other two holes. Come up from the bottom through one hole, go down through the diagonal opposite.
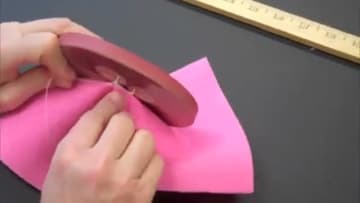
5. Wrap the Shank
Push your needle through the fabric from the front but not through the button. Pull the thread to the back, then flip the button over.
Tip: The shank is what makes the difference between a button that works in a buttonhole and one that's sewn too tight to the fabric.
6. Tie the Knot
Push the needle back through to the back of the fabric. Take a small stitch right where your other stitches are, pull until you get a loop, and pass the needle through the loop.