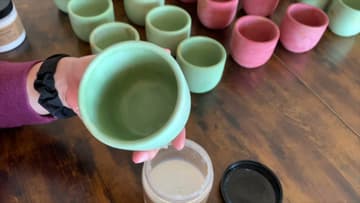
How to Seal Concrete Crafts (Indoor and Outdoor Sealers)
Source: Calafia Candle Co. • Full tutorial: www.craftingstepbystep.com/crafts/how-to-seal-concrete-crafts
- Difficulty
- Easy
- Hands-on time
- About 25 minutes
- Wait time
- 45 minutes
- Cost
- About $10 to $18

Tools
- foam brush
- rubber gloves
- lint-free cloth
- painters pyramid stands
Materials
- water-based acrylic concrete sealer (indoor)
- penetrating outdoor concrete sealer
- food-safe concrete sealer
- clear finishing wax
- tack cloth
Steps
1. Cure and Clean the Piece First
Before any sealer touches your concrete, make sure the piece is fully cured. Fresh concrete looks dry on the surface long before it has hardened all the way through, so give it at least 24 to 48 hours, and longer for thicker pieces.
Tip: Watch this step If the concrete still feels cool or damp to the touch, it needs more time. A fully cured piece feels dry and sits at room temperature.
2. Choose Your Sealer, Indoor or Outdoor
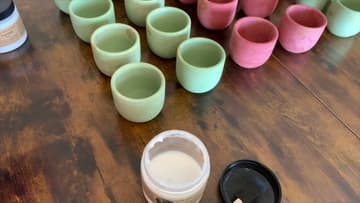
This is the decision that matters most. For indoor pieces, a water-based acrylic sealer is the friendly pick: low odor, quick drying, and it wipes on clean.
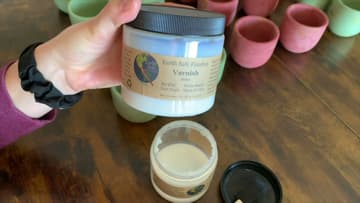
Tip: Watch this step Want a matte look on the outside? A matte varnish keeps that raw concrete feel while still adding protection. Satin and gloss are there if you want more shine.
3. Load Your Foam Brush
A foam brush is the tool for this. It lays sealer down smooth with no bristle marks, and it costs little enough to toss when you are done.
Tip: Watch this step Keep a second foam brush within reach. If the first one starts to crumble or stiffen up, swap it out rather than fighting a falling-apart tip.
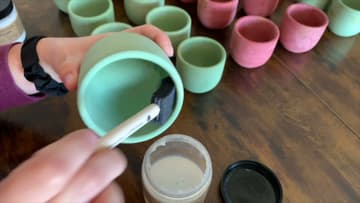
4. Brush On the First Coat
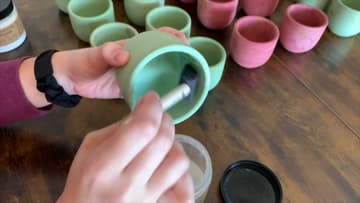
Start your first coat in straight vertical strokes and work your way around the whole piece. On the inside of a vessel, run the brush from the base up to the rim, turning the piece as you go so you cover every section.
Tip: Watch this step Work over a sheet of scrap paper. Drips wipe off a cured surface easily, but there is no reason to make extra cleanup for yourself.
5. Add a Second Coat in the Other Direction
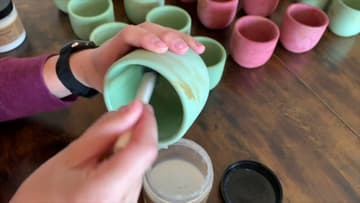
Let the first coat dry. Bree finds hers is ready in about half an hour to an hour, though a thick coat or a humid day takes longer.
Tip: Watch this step Do not rush the dry time between coats. A second coat over a tacky first coat lifts and streaks instead of building up cleanly.
6. Seal the Bottom and Base Edge
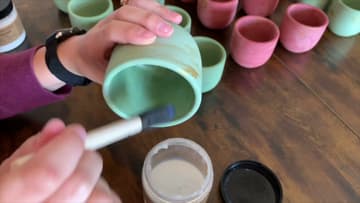
The bottom is the part people forget, and it is the part that sits on your furniture. Load a little sealer on the corner of the brush and swirl it across the base until the whole underside is coated.
Tip: Watch this step Set the piece on a few painters pyramids to dry so the fresh sealer on the base does not stick to your work surface.
7. Cure, Then Finish and Care for It
Give the sealed piece a full 24 hours to cure before you use it or add anything to it. Bree waits at least that long before pouring wax into her jars, and the same patience pays off for a planter or a dish.
Tip: Watch this step Reseal every year or two on pieces that get daily use or live outside. A quick single coat brings the protection right back.