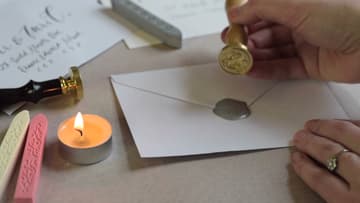
How to Seal a Letter With Wax: Two Easy Methods
Source: Shayda Campbell • Full tutorial: www.craftingstepbystep.com/crafts/how-to-seal-a-letter-with-wax
- Difficulty
- Easy
- Hands-on time
- About 5 minutes
- Makes
- 1 sealed envelope

Tools
- wax seal stamp
- wax melting spoon
- tea light candle
- craft knife
Materials
- sealing wax sticks or beads
- envelopes
- scrap paper
Steps
1. Light the Wick on a Sealing Wax Stick
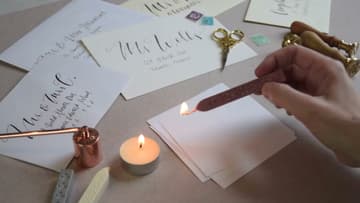
Set a tea light on the table so you always have a flame nearby. Pick up a sealing wax stick that has a wick inside, and light the wick from the candle.
Tip: Keep a damp paper towel nearby to pinch out the wick when you finish.
2. Drip Sealing Wax Onto the Paper
Tilt the lit stick down toward the paper and slowly turn it in your fingers. The flame heats the wax and it begins to drip.
Tip: Hold the stick at a steep angle so the drips fall in one place.
3. Shape the Sealing Wax Into a Round Pool
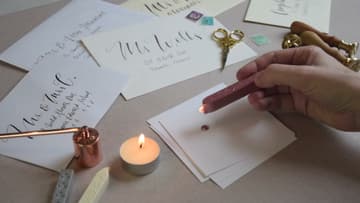
Use the tip of the wax stick to rub the warm drips and coax them outward into a circle. Aim for a pool about the size of your stamp head or a little bigger.
Tip: A slightly larger pool gives the seal a soft, rounded edge.
4. Press the Wax Seal Stamp Into the Wax
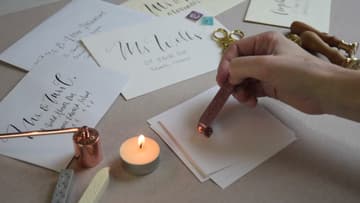
Hold the stamp upright over the wax and press it straight down. Firm, steady pressure is enough.
Tip: Check which way the design faces before you press so it is not upside down.
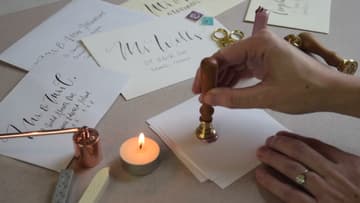
5. Lift the Stamp to Reveal the Wax Seal
When the wax has firmed, lift the stamp straight up. You should see a crisp design with a soft border.
Tip: If the wax pulls up with the stamp, wait a few more seconds next time.
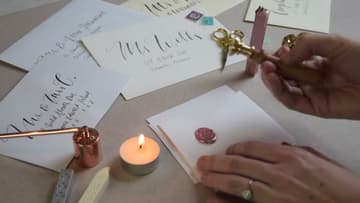
6. Seal a Real Envelope Flap With Wax
Close your envelope first. Drip wax right over the point of the flap so the seal holds it shut.
Tip: Slide a scrap card inside the envelope so wax cannot seep through to the letter.
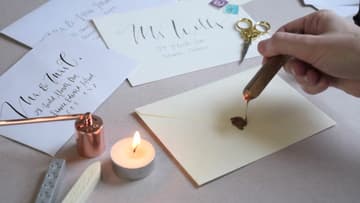
7. Melt Sealing Wax in a Spoon Over a Tea Light
For the second method, use wax without a wick. Cut a small chunk from a plain stick with a craft knife, or use a few wax beads.
Tip: Rest the spoon handle on the table edge so your hand does not tire.
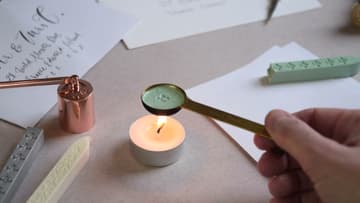
8. Pour the Melted Wax in a Circle
Tip the spoon and pour the wax onto the paper in a small circular motion. That builds a round puddle.
Tip: Reheat the spoon and wipe it with a paper towel to clean it between colors.
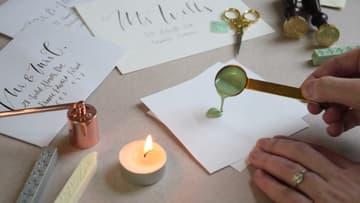
9. Seal the Envelope With Poured Wax
Melt a fresh batch, gray this time, and pour it in a circle over the flap of a sealed envelope. Press the stamp straight down, wait for the wax to firm and lift.
Tip: Let seals cool fully before stacking envelopes, or they can stick together.