How to Press Flowers (4 Methods: Microwave, Iron, Book, and Press)
Source: Shmoxd • Full tutorial: www.craftingstepbystep.com/crafts/how-to-press-flowers-4-methods
- Difficulty
- Easy
- Hands-on time
- About 1 hour
- Wait time
- 4 weeks
- Cost
- About $8 to $18
- Makes
- a few pressed flowers
Tools
- microwave
- clothes iron
- heavy hardcover book
- drill
- scissors
Materials
- fresh flowers
- two scrap pine boards
- 4 bolts and 4 wing nuts
- parchment or blotting paper
- cardboard squares (microwave-safe)
Steps
1. Pick Your Flowers and Choose a Method
Fresh flowers press best. Cut them in the morning when the petals are firm and the color is at its peak.
Tip: Skip flowers with thick centers (sunflowers, gerbera daisies) unless you cut the back flat. The center pops back up under any of these methods.
2. Build a DIY Wood Flower Press (Method 1)
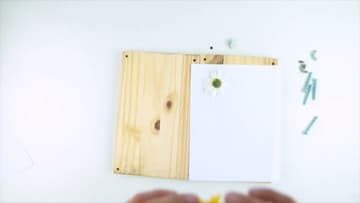
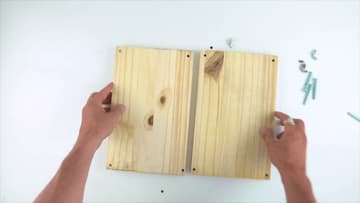
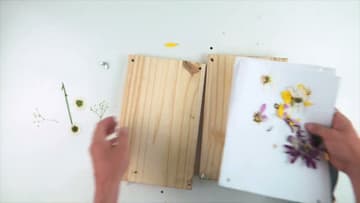
Cut two pieces of flat pine roughly the same size - 8 by 10 inches works for most flowers. Stack them on top of each other and drill matching holes through both boards in all four corners.
Tip: Match the wood drill holes by stacking the boards and drilling through both at once. Holes that don't line up cock the press sideways when you tighten the wing nuts.
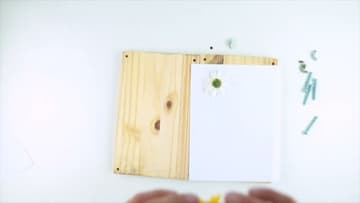
3. Press Flowers in the Wood Press
Lay a piece of paper across the bottom board of the press. Cut the head off each flower so it sits flat, then place each flower face-down on the paper.
Tip: If you tighten too hard right away, the flower bruises and turns brown. Hand-tight is enough on day one.
4. Use the Heavy Book Method (Method 2)
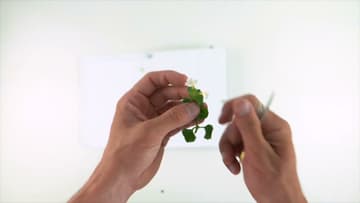
Open a thick hardcover book to the middle. Lay a sheet of plain paper or blotting paper on the open pages.
Tip: Don't use a treasured book. Even with blotting paper, moisture and pollen can stain the page. A thrift-store phone book or old textbook is ideal.
5. Try the Microwave Method (Method 3 - Fastest)
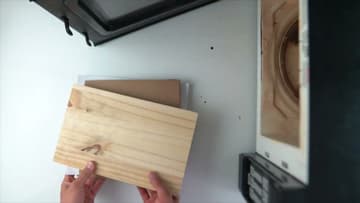
Build a small stack: cardboard square, paper, flower face-down, paper, cardboard square. Top with something flat and heavy that's microwave-safe - a small ceramic plate or a piece of untreated wood.
Tip: Run the microwave in 15-second bursts after the first 30 seconds. The petals can go from perfect to burnt in five seconds at the end.
6. Use the Iron Method (Method 4 - 15 Seconds)
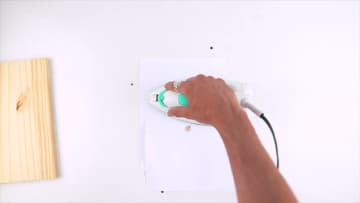
Set a clothes iron to low or wool heat with no steam. Lay your flower face-down on a flat heat-safe surface, top with a sheet of plain paper, then press the iron straight down for 15 seconds.
Tip: Steam ruins this method. Empty the iron's water tank before you start so a stray drip doesn't soak the paper and smear pigment across your flower.
7. Compare the Results (The Favorite Combo)
Open up each batch and lay the pressed flowers side by side. The wood press gives the cleanest, flattest finish but takes the longest.
Tip: Weigh the book stack with at least 10 pounds. A single book on top of a single book isn't enough pressure - the petals stay 3D and won't lay flat on a card later.
8. Use Your Pressed Flowers
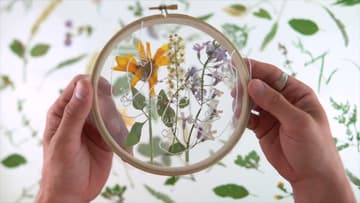
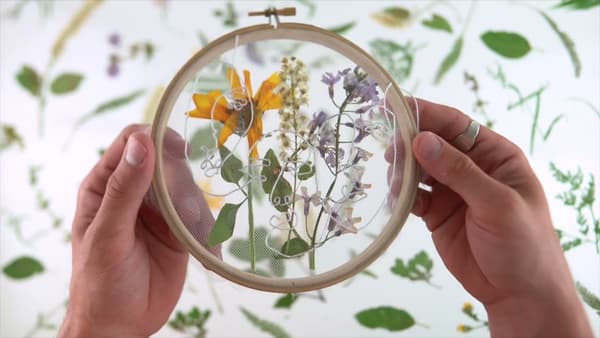
Pressed flowers belong in things you make. The most popular three: a picture frame with the flowers laid between two panes of glass, contact paper sandwiches stretched inside an embroidery hoop (shown here), and resin pours where the flowers are suspended in clear epoxy.
Tip: For the embroidery hoop project: cut a piece of clear contact paper, lay the pressed flowers sticky-side-up, top with a second sheet sticky-side-down, then stretch the contact...