How to Paint Rocks
Source: Rock Painting 101 • Full tutorial: www.craftingstepbystep.com/crafts/how-to-paint-rocks
- Difficulty
- Easy
- Hands-on time
- About 25 minutes
- Wait time
- 1 hour
- Cost
- About $10 to $18
- Makes
- a set of a few painted rocks

Tools
- fine detail paint brushes
- base coat brush
- paint palette
- pencil
- vegetable scrub brush
Materials
- smooth painting rocks
- acrylic paint set
- paint pens
- base coat paint
- acrylic sealer spray
Steps
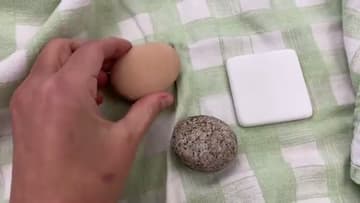
1. Choose Your Rocks
Start with smooth, flat rocks. They give you the most room to paint and they are the kindest to your brushes.
Tip: River rocks and beach pebbles have the smoothest surface, which makes paint pens glide instead of skip.
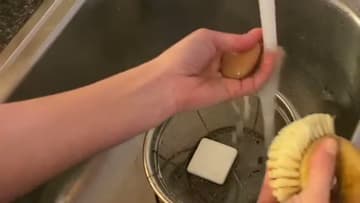
2. Prep and Clean the Rocks
Clean rocks hold paint much better. Run each one under warm water and give it a good scrub with a vegetable brush.
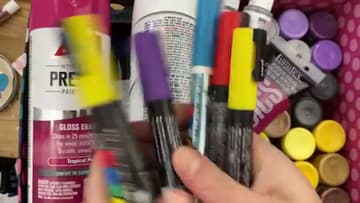
3. Gather Your Paints and Pens
Raid your craft stash first. Regular tube acrylics work great, and you can add water if the paint feels too thick.
Tip: Water-based paint pens like Posca sit right on top of the rock and dry fast, which makes them forgiving for first-timers.
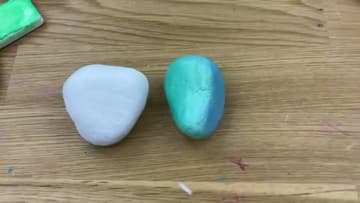
4. Base Coat or Paint Straight On
Now decide your background. A base coat gives you a clean, even color to draw on, and it hides the rock's natural texture.
Tip: Two thin base coats look smoother than one thick one and are far less likely to crack as they dry.
5. Paint Your Design and Seal It
Here is where the fun kicks in. Kindness rocks are a favorite: a colorful background with a short saying on top, like "you rock" or "be happy."
Tip: Let paint pens cure for a few hours before sealing, or the sealer can smear fresh ink.

6. Hide Your Rocks Around Town
The last step is letting them go. Tuck your finished rocks in parks, along trails, or around your neighborhood for someone to stumble on.