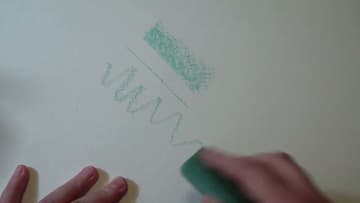
How to Make Sidewalk Chalk With Plaster of Paris and Paint
Source: Fantasvale Art Lab • Full tutorial: www.craftingstepbystep.com/crafts/how-to-make-sidewalk-chalk
- Difficulty
- Easy
- Hands-on time
- About 1 hour
- Wait time
- 2 hours
- Cost
- About $5 to $12
- Makes
- 6 sticks of chalk

Tools
- craft knife
- cutting mat
- metal ruler
- pencil
- plastic cups
- knife or palette knife
- mug for drying
Materials
- plaster of Paris
- tempera or poster paint
- water
- thin cardboard
- packing tape
- duct tape
Steps
1. Cut Cardboard Pieces for the Sidewalk Chalk Molds
Take a sheet of thin cardboard about the size of printer paper. A cereal box or the back of a notepad is perfect.
Tip: Recycled cardboard works fine here. It gets covered in tape anyway.
2. Mark the Fold Lines on Each Chalk Mold Piece
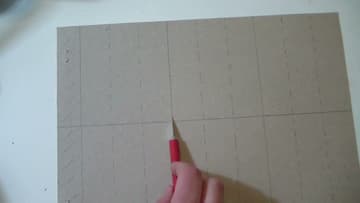
On each piece, mark the long side into three equal strips, about 3 cm each. Draw two lines with a pencil against a ruler.
Tip: Score, do not cut. You only want to dent the top layer of cardboard.
3. Crease the Cardboard to Shape the Triangle Chalk Mold
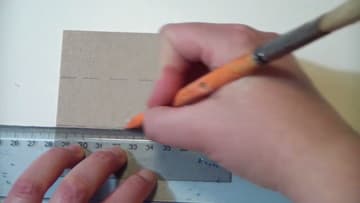
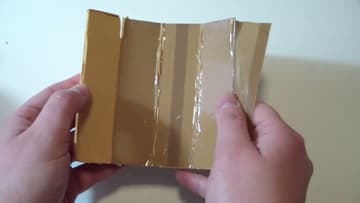
Bend the cardboard along both scored lines. The three strips fold into a long, hollow triangle, and this becomes the shape of your chalk.
Tip: Fold back and forth once or twice so the cardboard stays put once taped.
4. Waterproof the Chalk Mold With Packing Tape
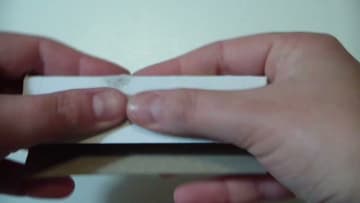
Lay the piece flat again and cover the whole surface with plastic packing tape, then turn it over and cover the other side too. The wet plaster would soak plain cardboard and stick.
Tip: Use plasticky packing tape, not paper masking tape. Clear or brown both work.
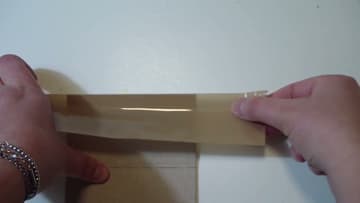
5. Tape the Hinge and Seal the Bottom of the Chalk Mold
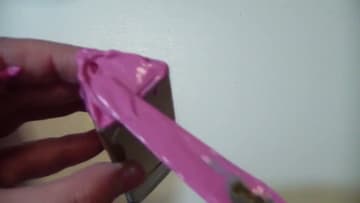
Close the triangle and add a small strip of tape along the open edge. That acts as a hinge, so the mold opens and closes like a book.
Tip: Stand the mold up and check for gaps at the corners before you pour.
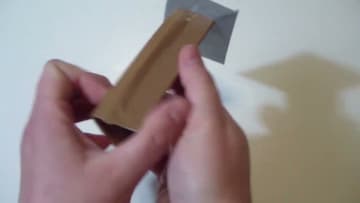
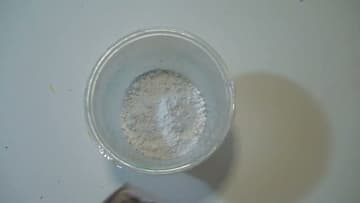
6. Measure Plaster of Paris for the Sidewalk Chalk
Put a few spoonfuls of plaster of Paris into a plastic cup. Plaster of Paris is finer and whiter than ordinary plaster, so the colors stay bright.
Tip: Pour the powder gently and keep your face back from the cup to avoid the dust.
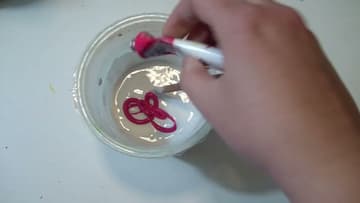
7. Color the Plaster With Tempera Paint
Squeeze in some tempera or poster paint and stir until the color is even. Cheap paint works well here.
Tip: Mix one color at a time. Plaster starts to set in 10 to 20 minutes.
8. Fill the Chalk Mold and Tap Out the Air Bubbles
Spoon the colored plaster into the mold with a knife or palette knife until it reaches the top. Then tap the mold firmly on the table several times.
Tip: Bubbles left inside become holes, and holes are where chalk snaps.
9. Open the Mold and Release the Homemade Chalk
Let the chalk set for a couple of hours until it is hard and dry to the touch. Peel the duct tape off the bottom, then open the mold along its hinge.
Tip: Let the chalk dry another day before heavy use on rough pavement. It gets stronger.
10. Test Your Homemade Sidewalk Chalk
Try each stick on paper or the sidewalk. The pointed edge draws thin lines, and the flat side shades big areas fast.
Tip: Wet the pavement first for extra bold, bright colors that look like paint.