How to Make Shrinky Dinks
Source: Jessie Katz Greenberg • Full tutorial: www.craftingstepbystep.com/crafts/how-to-make-shrinky-dinks
- Difficulty
- Easy
- Hands-on time
- About 30 minutes
- Wait time
- 2 minutes
- Cost
- About $8 to $15
- Makes
- a set of a few shrinky dink charms

Tools
- Ruler
- Pencil
- Fine point Sharpie markers
- Sharpie pen
- Prismacolor colored pencils
- Paintbrush
- Scissors
- Decorative scissors
- 1-inch circle punch
- Corner rounder punch
- Single hole punch
- Baking sheet
- Oven mitts
- Flat-bottomed glass or bowl
Materials
- Shrinky Dinks Ruff n Ready shrink plastic sheets
- Aluminum foil
- Acrylic paint
Steps
1. Find the Matte Side of the Shrink Plastic Sheet
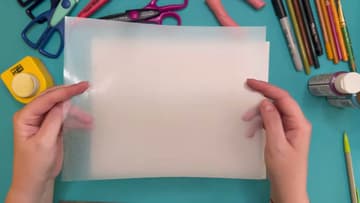
Take one sheet out of the pack and run a thumb over both faces. Ruff n Ready sheets come pre-frosted, so one side is rough and the other is slick.
Tip: If you lose track of which face is which, hold the sheet at an angle to a lamp. The glossy side throws a reflection and the matte side does not.
2. Draw an Inch Ruler Along the Top Edge
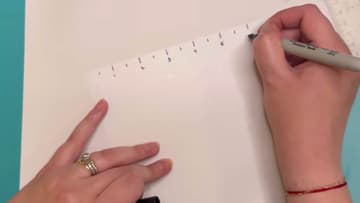
Lay a ruler across the top of the sheet and put a pencil notch every half inch. Go back over the notches with a fine point Sharpie and write a number at each full inch, out to six.
Tip: Pencil first, marker second. A faint pencil guideline almost disappears after shrinking, and marker is permanent from the moment it touches the sheet.
3. Fill and Label a Test Square for Each Pen and Pencil
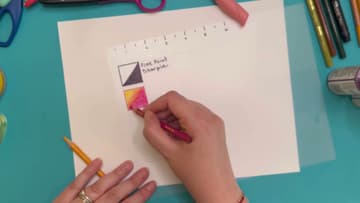
Rule a column of one inch squares down the sheet in pencil. Outline the first in fine point Sharpie, fill half of it in solid, and write the material name beside it.
Tip: Label every square as you draw it, not at the end. Four shrunk swatches an inch tall look a lot alike, and an unlabeled card tells you nothing on the day you need it.
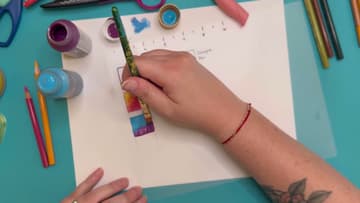
4. Brush Acrylic Paint Into the Last Square
Load a brush with two acrylic colors and work them together inside the last square, then label it. Paint sits on top of shrink plastic instead of soaking in, so blending is stubborn and the coat stays slightly raised.
Tip: Thin coats shrink better than thick ones. A heavy blob of acrylic can crack or lift at the edges as the plastic pulls in underneath it.
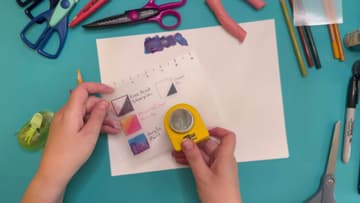
5. Punch a Circle and Round a Corner to Test Your Shapes
Use a one inch circle punch on the spare part of the sheet and keep the circle, because it bakes down into a neat disc. Take one corner off the card with a corner rounder so you can see how a curve holds its shape.
Tip: The punch has to cut cleanly. A ragged edge or a half-punched corner gets more obvious after shrinking, not less, because every flaw lands in a smaller space.
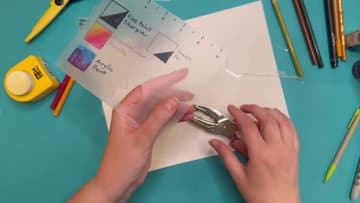
6. Punch the Hanging Hole Before It Goes in the Oven
Punch any hole you are going to need while the plastic is still thin. Shrinking makes it far thicker and much harder, and a hole punch will not bite through a finished piece.
Tip: Keep the hole a little way in from the edge. A hole punched right at the rim can tear out as the plastic pulls in around it.
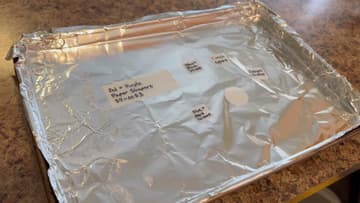
7. Lay the Pieces Color Side Up and Bake at 325F for 1 to 3 Minutes
Line a baking sheet with foil and set the pieces on it color side up, with space between them. Group similar sizes on the same tray.
Tip: Check your packaging before you preheat. 325F for 1 to 3 minutes is what Ruff n Ready calls for, and other brands run anywhere from 300F to 350F.
8. Press Flat With the Bottom of a Bowl, Then Cool on the Pan
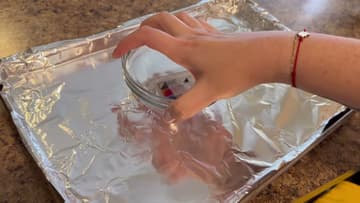
Straight out of the oven, press any piece that came out wavy under the flat bottom of a glass or a bowl. One second of pressure while the plastic is hot is enough.
Tip: Use a glass or a ceramic bowl, not your hand. The pieces come out hot enough to burn you, and finger pressure leaves the surface uneven anyway.