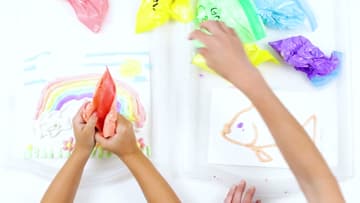
How to Make Puffy Paint With Shaving Cream, Glue and Flour
Source: The Artful Parent • Full tutorial: www.craftingstepbystep.com/crafts/how-to-make-puffy-paint
- Difficulty
- Easy
- Hands-on time
- About 40 minutes
- Wait time
- 12 hours
- Cost
- About $4 to $8
- Makes
- a batch for 4 to 6 pictures

Tools
- large mixing bowl
- small bowls
- spatula
- measuring cups
- scissors
- tray or craft mat
Materials
- all-purpose flour
- foaming shaving cream
- white school glue
- food coloring or liquid watercolors
- sandwich bags or piping bags
- card stock
Steps
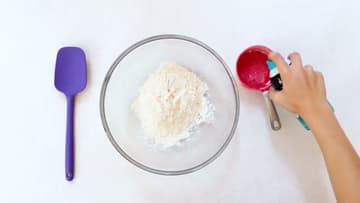
1. Measure Flour Into a Bowl for Puffy Paint
Put 1 cup of all-purpose flour into a large mixing bowl. Pick a big bowl.
Tip: A glass or plastic bowl is easier to clean than wood once the glue gets in.
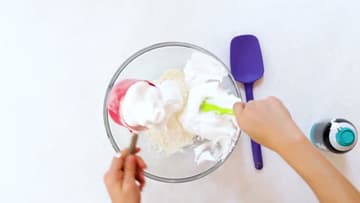
2. Add Shaving Cream to the Puffy Paint Flour
Measure 3 cups of foaming shaving cream and add it to the flour. Press it into the cup to get a real cupful, then scoop it out with the spatula.
Tip: Spray the shaving cream into the cup slowly. Fast spraying leaves big air pockets.
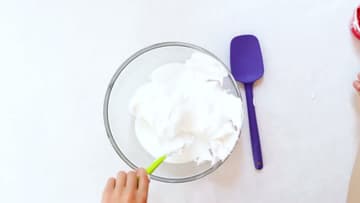
3. Stir White Glue Into the Puffy Paint Mixture
Add 1 cup of white school glue. Stir gently until there are no dry streaks of flour left and the mix looks like fluffy frosting.
Tip: Washable school glue cleans off hands and tables more easily than craft glue.
4. Divide the Puffy Paint Into Small Bowls
If you want more than white, spoon the mixture into smaller bowls, one for each color. Four or five colors is plenty for a rainbow.
Tip: Use small bowls with straight sides. They make it easier to scoop into bags later.
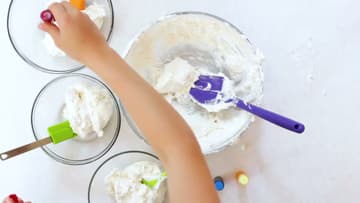
5. Color Each Bowl of Puffy Paint With Food Coloring
Add a few drops of food coloring to each bowl and stir until the color is even. Liquid watercolors work too and give brighter shades.
Tip: Colors look lighter in the bowl than on paper once dry, so go a shade deeper.
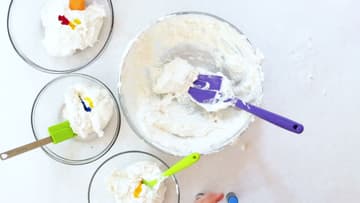
6. Spoon the Puffy Paint Into Plastic Bags
Scoop each color into its own sandwich bag or piping bag. Push the paint down toward one corner and squeeze out as much air as you can.
Tip: Stand the bag in a tall cup while you fill it. It stays open and upright.
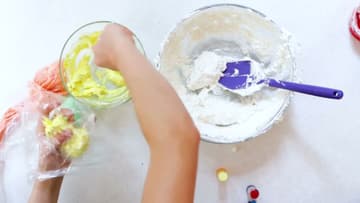
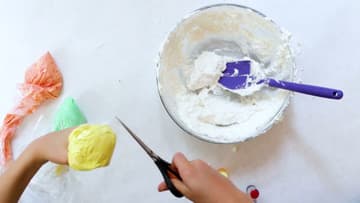
7. Snip a Corner Off the Puffy Paint Bag
Cut a small hole at the corner of each bag with scissors. Start tiny.
Tip: Snip at an angle for a slightly wider, flatter line, like a cake decorator.
8. Squeeze Puffy Paint Onto Sturdy Card Stock
Cover your work surface with a tray or mat. Lay down a sheet of card stock or thick paper.
Tip: Keep the bag tip a little above the paper, not touching it, for a rounder, puffier line.
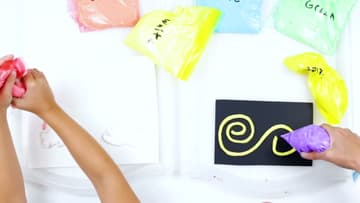
9. Layer Puffy Paint Colors to Build a Rainbow
Lay one color right beside the next and the lines will join into a thick, raised design. A rainbow is a perfect first picture.
Tip: Draw a light pencil arch first if your child wants a guide to follow.
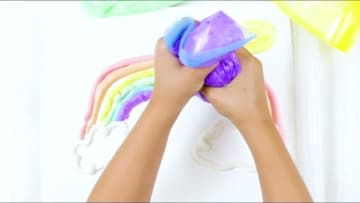
10. Finish the Puffy Paint Picture and Let It Dry Overnight
Keep adding details until you are happy with the picture. Fish, flowers, names and patterns all work well.
Tip: Dry it on a baking sheet so you can move it without bending the paper.