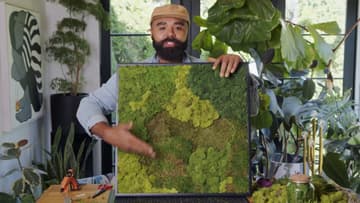
How to Make Moss Wall Art
Source: HGTV Home • Full tutorial: www.craftingstepbystep.com/crafts/how-to-make-moss-wall-art
- Difficulty
- Easy
- Hands-on time
- About 30 minutes
- Cost
- About $15 to $30
- Makes
- 1 moss wall art piece

Tools
- hot glue gun
- box cutter or X-Acto knife
- scissors
- pencil
- cutting mat
Materials
- preserved sheet moss
- preserved reindeer moss
- foam board or cardboard
- wood frame or shadow box
- hot glue sticks
- picture hangers
Steps
1. Gather Your Supplies
Start with a frame. Buy one, grab a thrift-store find, or pull down a piece of art you are over and reuse it.
Tip: Preserved moss is like the taxidermy of moss. It was once alive and is now dried and protected, so it holds its color for years without any care.
2. Sketch Your Shapes
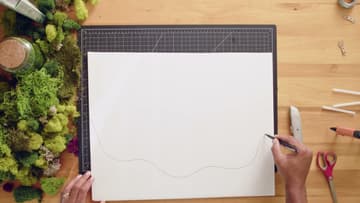
Lay your board on a cutting mat and sketch out loose, wavy shapes with a pencil. You are planning where the layers will sit.
Tip: Draw several pieces, not just one. Stacking multiple layers is what makes the finished art pop off the wall instead of lying flat.
3. Cut Out the Pieces
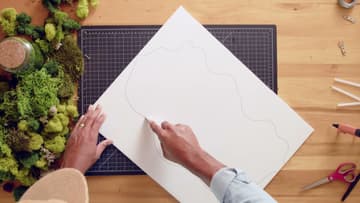
Take your box cutter and follow the pencil lines. A sharp blade is the whole game here.
Tip: Always cut on a mat and keep your free hand behind the blade. Save the offcuts - they double as filler under the moss.
4. Layer for Depth
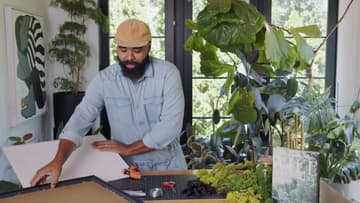
Bring in the frame and work on the back panel. Start arranging your cut pieces, stacking them so the shapes build up around the center.
Tip: Number your layers with a pencil before you glue anything. It is easy to forget the order once the pieces come off the frame.
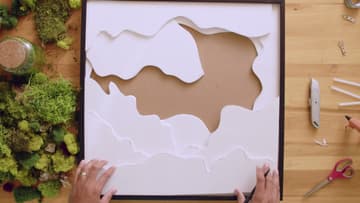
5. Glue the Moss Base
Now the fun part. Flip a piece over, run nice big dollops of hot glue across the back, and press your sheet moss down hard so it grabs.
Tip: Use generous dollops of glue. Moss is textured and springy, so it needs more glue than a flat surface to hold tight.
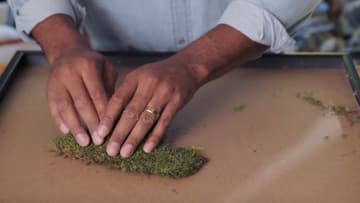
6. Fill In With Moss
With the base down, start filling every open spot. Glue in reindeer moss and mix your greens, from deep forest tones to that almost neon lime, to keep it looking alive.
Tip: Vary the shades of green as you go. Mixing tones is what makes preserved moss look like a real living landscape instead of a flat mat.
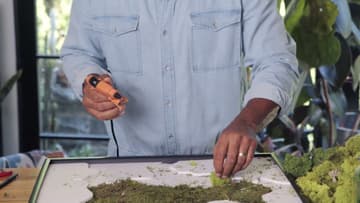
7. Hang and Enjoy
That is it. Trim any stray bits with scissors, add picture hangers to the back, and lift your finished moss wall art up to admire it.
Tip: Preserved moss keeps its look best out of direct sun and away from damp rooms, so pick a wall in a normal, dry spot.