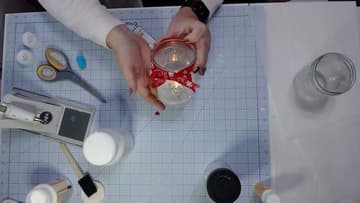
How to Make Mason Jar Luminaries
Source: Janet's Craft Corner • Full tutorial: www.craftingstepbystep.com/crafts/how-to-make-mason-jar-luminaries
- Difficulty
- Easy
- Hands-on time
- About 45 minutes
- Wait time
- 2 hours
- Cost
- About $15 to $25
- Makes
- 1 mason jar luminary

Tools
- Cutting machine (Cricut or similar)
- Cutting mat
- Weeding hook
- Scraper or burnishing tool
- Foam brush
- Paintbrush
- Hot glue gun
- Scissors
Materials
- Wide-mouth mason jars
- Mod Podge (gloss)
- Extra-fine snow glitter
- Adhesive vinyl
- Transfer tape
- Printed ribbon cut to 24-inch lengths
- Hot glue sticks
- White play sand
- Battery tealights or LED luminary candles
- Paper plates
- Scrap paper
Steps
1. Seal the Ribbon with Mod Podge
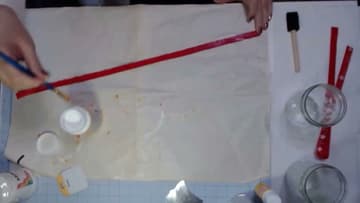
Cut your ribbon into 24-inch lengths, one per jar. Lay a length flat on scrap paper and brush Mod Podge across the whole face of it with a paintbrush.
Tip: If a length does stick to the paper, peel it while the glue is still tacky. Once it dries down you will tear the ribbon getting it off.
2. Cut and Weed the Vinyl Snowflakes
Cut three to four snowflakes per jar from adhesive vinyl on your cutting machine. Pull the waste vinyl away from around the outside of each snowflake, using a weeding hook to lift a corner and peel.
Tip: Pick a design with chunky arms for your first jar. A lace-fine snowflake looks good on screen and falls apart at the weeding stage.
3. Transfer the Snowflake onto the Mason Jar
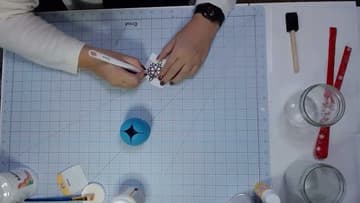
Lay a piece of transfer tape over the weeded snowflake and burnish the back of the carrier hard with a scraper. Peel the carrier away and the vinyl should lift onto the tape.
Tip: Wipe the jar down with rubbing alcohol before the vinyl goes on. Glass straight out of the cupboard carries a film you cannot see, and vinyl slides on it.
4. Brush Mod Podge Over the Whole Jar
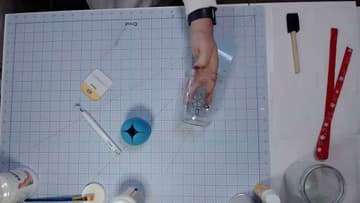
Stand the jar on a paper plate and brush Mod Podge over the outside in a thin, even layer. Start at the top rim and work down to the base, going straight over the snowflake as you reach it.
Tip: Work fast. The glitter has to go on while this coat is still wet, so do one jar at a time rather than lining up five and coating them all.
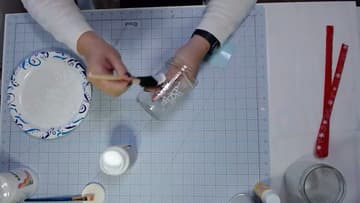
5. Shake Extra-Fine Glitter Over the Wet Mod Podge
Hold the jar over the paper plate and shake extra-fine glitter across the wet glue, turning the jar as you go. Aim for even coverage rather than a thick crust.
Tip: Extra-fine glitter is the one to buy here. Chunky craft glitter sits proud of the glue, catches on the ribbon and sheds all over the porch.
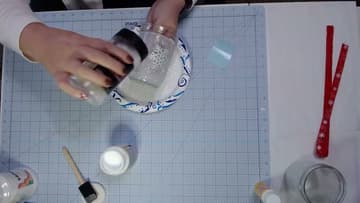
6. Hot-Glue the Ribbon Around the Jar Neck
Take a dried ribbon length and fold it in half to put a light crease at the middle. Run a dab of hot glue onto the neck of the dry jar and press the crease of the ribbon into it.
Tip: Hot glue strings badly on ribbon. Let the strands cool and lift them off with a fingernail rather than wiping, which smears them into the weave.
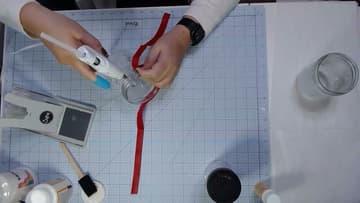
7. Tie the Bow and Trim the Ribbon Tails
Bring the two ends up to the front and tie a bow. Watch how the ribbon rolls as it comes around and twist it where you need to, so the printed side stays facing out on both loops and both tails.
Tip: Tie the bow at the folded crease so you have the same length of ribbon on both sides. Ending up with one long tail and one stub is the usual way this goes wrong.
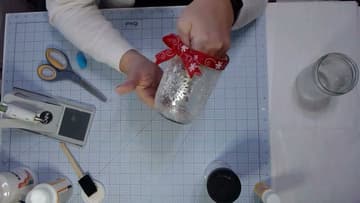
8. Add Sand and a Battery Tealight
Pour about an inch of white play sand into the jar. It weighs the jar down so wind does not tip it over outside, and it gives the candle a flat seat instead of letting it slide around on the curved base of the jar.
Tip: Battery or LED only. Never an open flame in this jar. The outside is Mod Podge, glitter and hot-glued ribbon, and all three of them burn.