How to Make Garden Plant Markers - 5 Cheap and Easy Ideas
Source: Whitney Baldwin • Full tutorial: www.craftingstepbystep.com/crafts/how-to-make-garden-plant-markers
- Difficulty
- Easy
- Hands-on time
- About 1 hour
- Wait time
- 2 hours
- Cost
- About $10 to $25
- Makes
- a set of 10 plant markers

Tools
- foam brush
- white oil based paint pen
- scissors
- wood burning tool
- embossing label maker
Materials
- paint stir sticks
- chalkboard paint
- acrylic paint
- duct tape
- bamboo skewers
- small wood rectangles
- black jumbo craft sticks
- E6000 glue
- wood shims
- embossing label tape
Steps
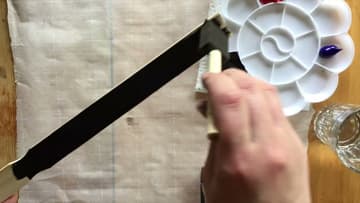
1. Paint Wooden Stir Sticks With Chalkboard Paint for Plant Markers
Paint stir sticks make easy plant markers. Hardware stores often give a few away free, or sell them for pennies.
Tip: Paint the pointed end too. Bare wood in wet soil rots fast.
2. Write Plant Names on the Painted Stir Sticks With a Paint Pen
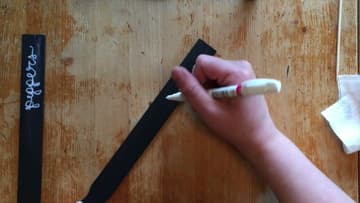
Once the paint is dry, write each plant name down the stick. Chalk looks nice but washes away in the first rain, so keep chalk for indoor pots.
Tip: Write the name lengthwise in big letters so you can read it from the path.
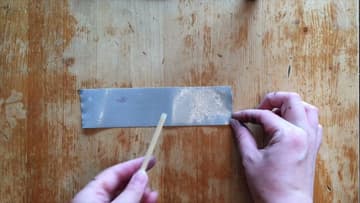
3. Center a Wooden Skewer on a Strip of Duct Tape
For a waterproof flag marker, tear off a strip of duct tape about 6 inches long. Lay it sticky side up.
Tip: Keep the tape off sawdust and crumbs, or the sticky side picks them all up.
4. Fold the Duct Tape Over the Skewer to Form a Flag
Fold one half of the tape over onto the other half so it wraps the skewer and sticks to itself. Line up the edges as well as you can.
Tip: Run a fingernail along the skewer so the tape grips it tightly.
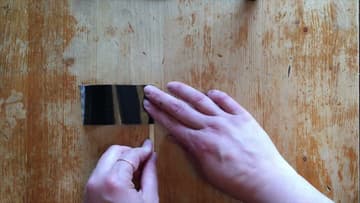
5. Cut the Duct Tape Plant Marker Into a Flag Shape
Trim the loose end of the tape into a point with scissors to make a little flag or arrow. This hides any uneven edges and gives you a neat shape.
Tip: Wipe sticky scissor blades with a little rubbing alcohol when you are done.
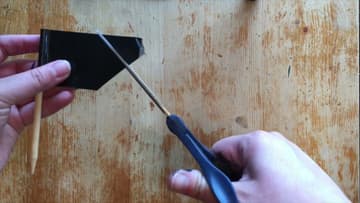
6. Letter the Duct Tape Flag Plant Marker With a Paint Pen
Write the plant name on the tape with your paint pen. Go slowly.
Tip: Silver duct tape with black permanent marker works too, if that is what you have.
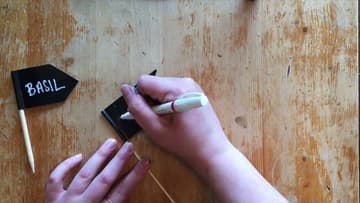
7. Paint Small Wooden Rectangles for Plant Marker Signs
Craft stores sell small unfinished wood shapes for well under a dollar. Rectangles, ovals and even birds all work.
Tip: Paint the edges too so the wood does not soak up water.
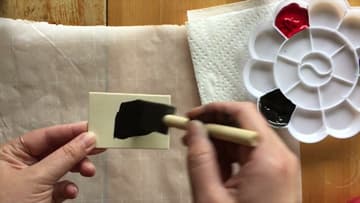
8. Glue the Painted Wood Plaques to Black Craft Sticks
Turn each plaque into a small sign. Put a line of E6000 glue on the top of a black jumbo craft stick and press the back of the plaque onto it.
Tip: Use E6000 in a ventilated room and let it cure a full day before outdoor use.
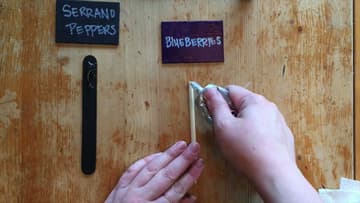
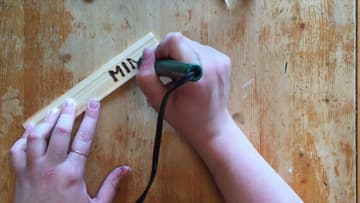
9. Wood Burn Plant Names Into Wooden Shims
Wood door shims are cheap and come in big packs at the hardware store. Use a wood burning tool to write the plant name into the thin end.
Tip: Trace the letters lightly in pencil first and burn over the lines.
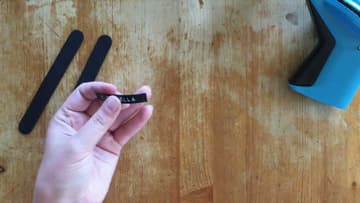
10. Stick Embossed Label Maker Strips on Black Plant Markers
For the neatest look, use an embossing label maker. Whitney found a vintage Dymo at a thrift store.
Tip: Round the corners of the strip with scissors so they do not peel up.