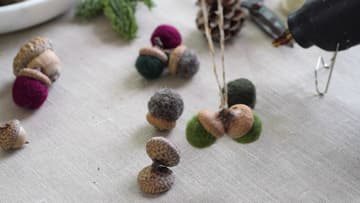
How to Make Felt Acorns With Real Acorn Caps
Source: Shayda Campbell • Full tutorial: www.craftingstepbystep.com/crafts/how-to-make-felt-acorns
- Difficulty
- Easy
- Hands-on time
- About 1 hour
- Cost
- About $2 to $6
- Makes
- 6 acorns

Tools
- felting needle
- foam felting pad
- leather finger guards
- small sharp scissors
- hot glue gun
Materials
- wool roving
- acorn caps
- hot glue sticks
- jute twine or ribbon
Steps
1. Collect Natural Acorn Caps for Your Felt Acorns
Your felt acorns start with real acorn caps. Gather a handful on a walk in the woods or under an oak tree in the park.
Tip: Bake damp caps on a tray at about 200F for an hour to dry them and drive out bugs.
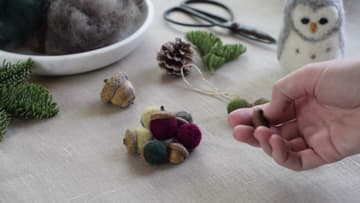
2. Pull a Tuft of Wool Roving From the Bag
Pick a color of wool roving. Roving is unspun wool, so it pulls apart easily in soft tufts.
Tip: Natural grey and brown look like real acorns. Deep green and cranberry look festive.
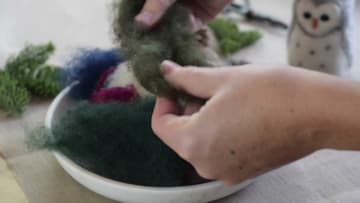
3. Roll the Wool Roving Into a Tight Felt Acorn Ball
Roll the roving up on itself, tucking the edges in as you go. Keep it as tight as you can.
Tip: A tighter roll means less jabbing later, so squeeze firmly as you go.
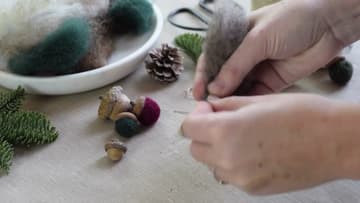
4. Jab the Wool Ball With a Felting Needle
Hold the ball and start jabbing it with your felting needle. Go straight in and straight out.
Tip: Never twist or bend the needle in the wool. That is how felting needles snap.
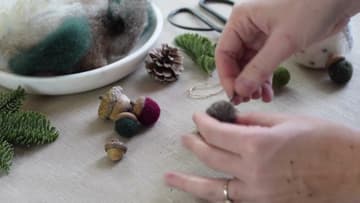
5. Test the Acorn Cap on the Felted Wool Ball
Set the acorn cap on top of the ball to check the size. At this stage the ball will be much wider than the cap, and that is normal.
Tip: Keep each cap paired with its own ball, since caps vary a lot in size.
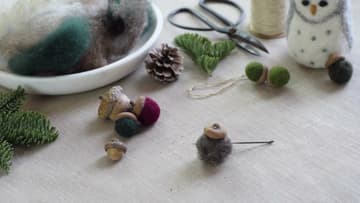
6. Keep Felting Until the Wool Ball Fits the Acorn Cap
Keep jabbing and rolling the ball. Shayda spends several more minutes on this part.
Tip: Ball too small? Wrap a wisp of roving around it and felt it in.
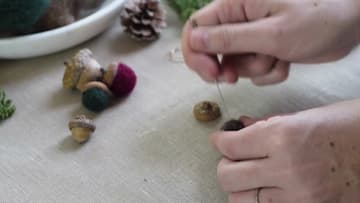
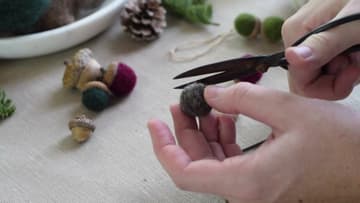
7. Trim the Fuzz Off the Felted Acorn Ball
Even a well felted ball has a few stray fibers sticking out. Give it a little haircut with a pair of small, sharp scissors.
Tip: Embroidery scissors with short, pointed blades give the cleanest trim.
8. Fill the Acorn Cap With Hot Glue
Heat up your hot glue gun. Hold the acorn cap upside down in your fingers and squeeze a good blob of glue into the hollow.
Tip: A low temperature glue gun is kinder to fingers and still holds wool well.
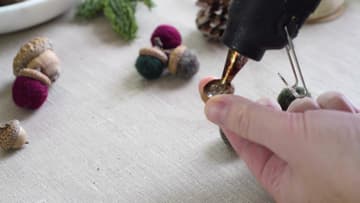
9. Press the Felted Ball Into the Acorn Cap
Push the felted ball into the glued cap and hold it for a few seconds. Hot glue and raw wool bond almost instantly and the join is close to permanent.
Tip: Line the cap's stem up with the top of the ball so the acorn sits straight.
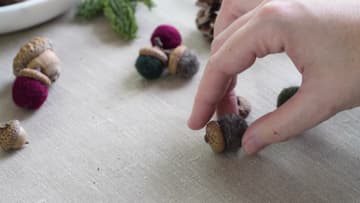
10. Tie Felt Acorns on Twine to Make an Ornament
Your felt acorns are done. To make an ornament, tie a loop of twine around the stems of two acorns, or glue the twine ends into the caps.
Tip: Make a batch in fall colors now and add red and green ones for Christmas.