How to Make Concrete Pavers in Any Size
Source: Jesse does DIY • Full tutorial: www.craftingstepbystep.com/crafts/how-to-make-concrete-pavers
- Difficulty
- Medium
- Hands-on time
- About 1 hour 30 minutes
- Wait time
- 24 hours
- Cost
- About $15 to $30
- Makes
- 2 patio pavers

Tools
- miter saw or hand saw
- drill
- mixing tub
- hoe or shovel
- wooden float or 2x4
- concrete edging tool
- steel trowel
- stiff concrete brush
- gloves and eye protection
Materials
- pine 1x3 boards
- 1-1/2 inch deck screws
- concrete mix
- water
- plastic sheeting
- cooking oil spray
Steps
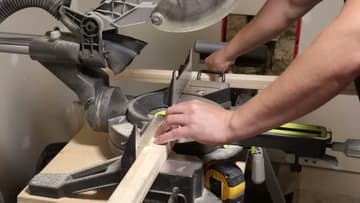
1. Cut 1x3 Boards to Size for the Concrete Paver Form
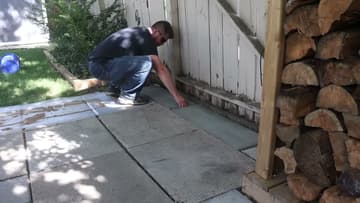
Measure the spot where your paver will go and decide on its final size. Cut four pieces of pine 1x3 to make a rectangle that size on the inside.
Tip: Measure the inside of the form, not the outside. That is your paver size.
2. Screw the Corners of the Paver Form Together
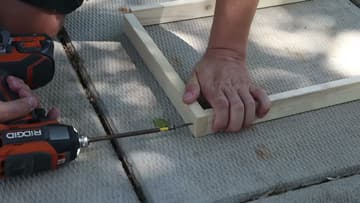
Butt the boards together at each corner and drive one 1-1/2 inch deck screw through the long side into the end of the short side. Do not overtighten, or the wood can split.
Tip: Check that the form is square by measuring both diagonals. They should match.
3. Set the Paver Forms on a Plastic Sheet
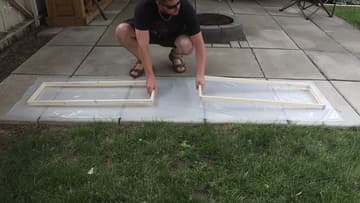
Pick a flat, level spot such as a patio or garage floor. Lay down a sheet of plastic or an opened garbage bag to catch spills and stop the concrete sticking to the ground.
Tip: A level surface matters. A tilted form makes a paver thicker at one end.
4. Mix the Concrete for the Pavers in a Tub
Pour one bag of concrete mix into a mixing tub and add water a little at a time, following the bag. Mix with a hoe or shovel until it is about the thickness of pancake batter.
Tip: Mix one bag at a time. Two at once is too hard to blend by hand.
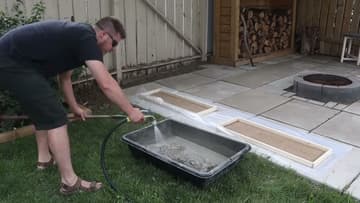
5. Shovel the Concrete Into the Paver Form
Shovel the wet concrete into the form. Start at one end and work toward the other, piling it slightly higher than the top of the boards.
Tip: Tap the sides of the form with a hammer to shake air bubbles out.
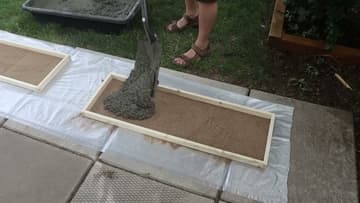
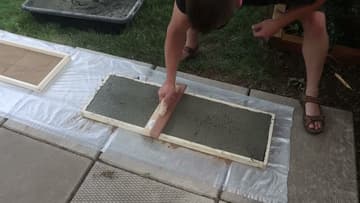
6. Level the Concrete Paver With a Float or 2x4
Use a wooden float, a 2x4 or a trowel to push concrete into all the corners. Fill it as close to level with the form as you can, maybe a touch over.
Tip: Tamp high spots gently with the float. It helps the concrete settle and self-level.
7. Round the Paver Edges With an Edging Tool
Wait about half an hour, until the shine has left the surface. Run an edging tool along the inside of the form all the way around.
Tip: Clean your tools and dump leftover concrete while you wait. Do not rinse it down a drain.
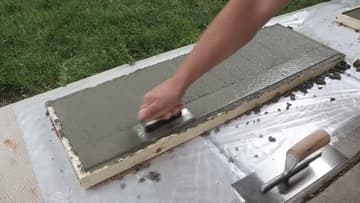
8. Smooth the Paver Face With a Steel Trowel
After edging, sweep a steel trowel lightly across the face of the paver. You do not need much pressure.
Tip: For a slick trowel finish, come back again after about an hour and a half.
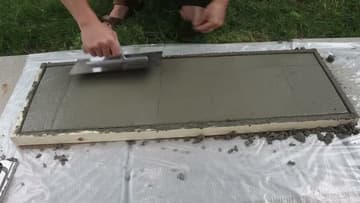
9. Brush a Non-Slip Finish Onto the Concrete Paver
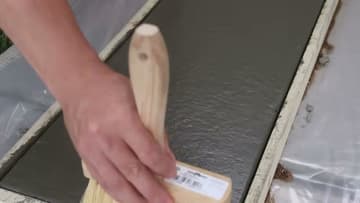
A smooth paver gets slippery when wet. Drag a stiff concrete brush across the surface in long, straight lines for a broom finish.
Tip: Do a test stroke in one corner first. If it gouges, wait 10 minutes.
10. Cure, Demold and Lay the Concrete Pavers
Cover the pavers with plastic and leave them overnight. After about 24 hours, unscrew the forms and lift them away.
Tip: Lay a bed of sand under each paver so it sits flat and does not rock.