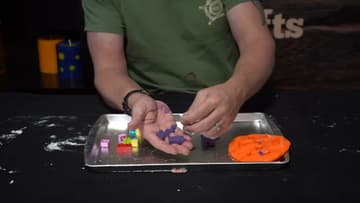
How to Make Concrete Molds from Household Items
Source: Timber Ridge Gifts • Full tutorial: www.craftingstepbystep.com/crafts/how-to-make-concrete-molds-from-household-items
- Difficulty
- Easy
- Hands-on time
- About 30 minutes
- Wait time
- 12 hours
- Cost
- About $8 to $15
- Makes
- 1 custom concrete mold

Tools
- caulking gun
- disposable gloves
- wooden stir sticks
- mixing container
- baking tray or flat pan
- utility knife
- scissors
Materials
- 100% silicone caulk
- corn starch
- plastic food containers and deli tubs
- silicone pigment or acrylic craft paint
- cooking spray or vegetable oil
- petroleum jelly
- duct tape
- cardboard
Steps
1. Pick Your Container and Set Out the Two Ingredients
Almost anything that holds a shape can work as a mold box. Plastic food tubs, deli containers, yogurt cups and takeout trays all do the job because the plastic flexes when you pull the casting out.
Tip: Save yogurt pots, sour cream tubs and clamshell produce packs for a week and you will have a mold library for free. Watch this step
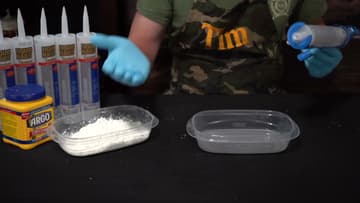
2. Squeeze the Silicone Caulk Into the Tub
Load the tube into the caulking gun, cut the nozzle, and run the whole tube into the empty plastic container. Check the label before you buy: you want 100% silicone.
Tip: Cut the nozzle wide rather than narrow. You are dumping the tube out, not laying a bead, and a fat opening saves your hand. Watch this step
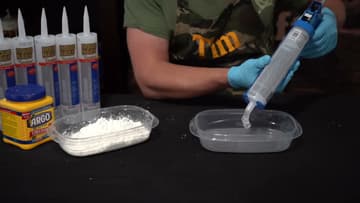
3. Drop In Some Colorant
A few drops of pigment turn the clear caulk opaque. That matters more than it sounds.
Tip: Pick a color that contrasts with your concrete. Grey pigment in a grey mold makes it hard to spot a torn edge later. Watch this step
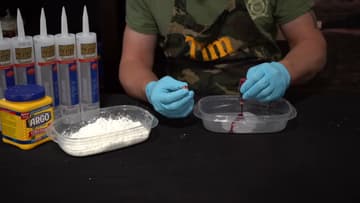
4. Stir Until the Color Runs Even
Work a wooden stir stick through the caulk until no clear ribbons are left. Scrape the walls and get into the bottom corners of the tub, which is where the unmixed stuff hides.
Tip: Paint stirrers from the hardware store are free and stiffer than craft sticks. Grab a handful next time you are there. Watch this step
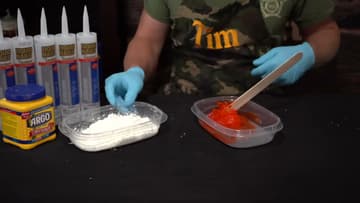
5. Turn It Out Into the Corn Starch
Scrape the blob out of the mixing tub and drop it into the shallow tray of corn starch. The corn starch is doing real chemistry here, not sitting there as a dusting powder.
Tip: Use far more corn starch than you think you need. A whole box in a shallow tray costs about a dollar and leftovers go back on the shelf. Watch this step
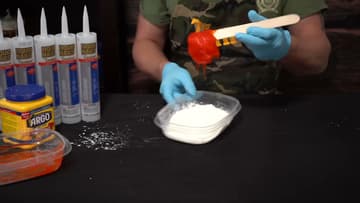
6. Knead It Until It Stops Sticking
Push, fold and press the blob down into the powder, then do it again as the corn starch keeps disappearing into it. The texture shifts from tacky goo to something close to modeling clay, and the change happens quickly once it starts.
Tip: Nitrile beats latex for this. Latex gloves tear at the fingertips halfway through the kneading. Watch this step
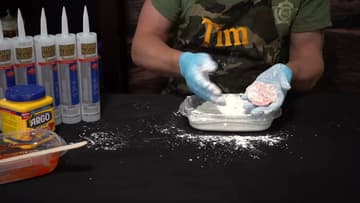
7. Press the Putty Into a Slab
Flatten the putty onto a baking tray or down into the base of a plastic tub. Go at least half an inch thicker than the deepest part of the object you want to copy, so the rubber has enough body to hold its shape when wet concrete pushes against it.
Tip: Want deeper cavities or a full two-part mold? That is where a proper pourable rubber earns its price, because putty this stiff will not flow around a complex shape. Watch this step
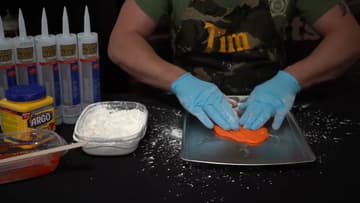
8. Push Your Master Object In and Let It Set
Press the shape you want to copy down into the slab until the rubber wraps every face that needs to show. The LEGO bricks and wax pieces here are just handy props.
Tip: Press straight down, never at an angle. A master that rocks on the way in leaves a sloppy edge that shows on every casting you pull. Watch this step
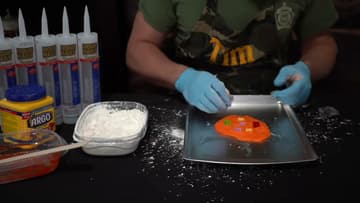
9. Peel the Mold Off and Start Casting
Bend the rubber back and the master drops loose. That flex is the entire reason to make a mold in the first place - concrete has no give, so the mold has to be the part that moves.
Tip: Store finished molds flat with a dusting of corn starch between them. Stacked under weight they take a set and never sit true again. Watch this step