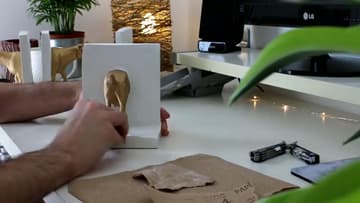
How to Make Concrete Bookends with Gold Animals
Source: Dan Shachar • Full tutorial: www.craftingstepbystep.com/crafts/how-to-make-concrete-bookends
- Difficulty
- Medium
- Hands-on time
- About 1 hour 15 minutes
- Wait time
- 24 hours
- Cost
- About $15 to $30
- Makes
- 1 pair of bookends
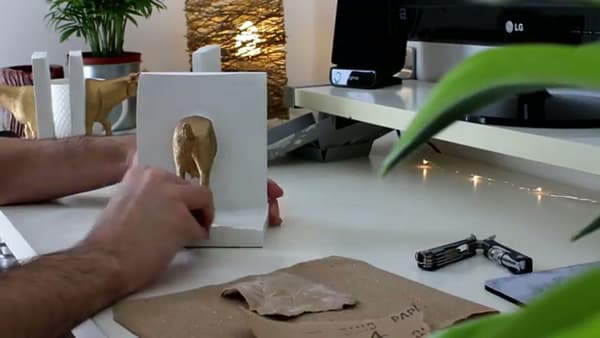
Tools
- mixing bucket
- stir stick
- craft knife
- sandpaper
- safety gloves
- dust mask
- paintbrush
Materials
- white concrete mix
- silicone or plastic sheet for molds
- plastic animal figurines
- gold spray paint
- mold release spray
- concrete sealer
- epoxy or strong adhesive
- felt furniture pads
- strong tape
Steps
1. Spray the Animal Figures Gold
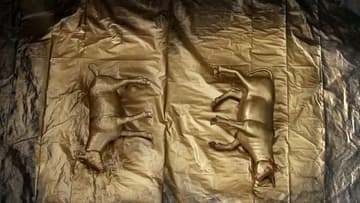
Grab a couple of plastic animal toys and give them a coat of gold spray paint. Set them on scrap paper or a drop cloth, hold the can back a few inches, and lay down light even passes rather than one heavy blast.
Tip: Watch this step Spray outside or in a well-ventilated spot, and rotate the figures between coats so you catch the belly and the far side.
2. Cut Each Animal in Half
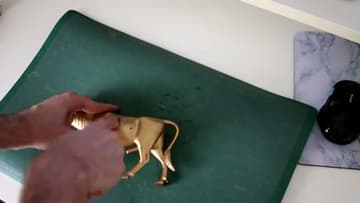
Once the paint is dry, slice each figure in half down the middle with a sharp craft knife. Work slowly and keep your fingers well clear of the blade, since the smooth plastic can slip.
Tip: Watch this step Score along your line first, then deepen the cut in passes. Forcing the blade in one go is how you slip and nick a finger.
3. Build the Concrete Molds
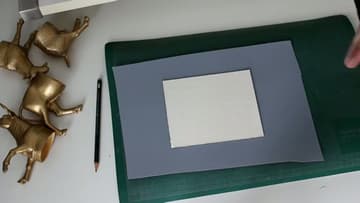
Cut a rectangle from a scrap plastic sheet and mark a two-centimeter flap at each corner. Draw your guidelines, then fold the flaps up and tape the corners tight with strong tape.
Tip: Watch this step Reinforce the taped corners on the outside too. Wet concrete is heavy and a weak seam will bulge or leak once it's full.
4. Mix and Pour the Concrete
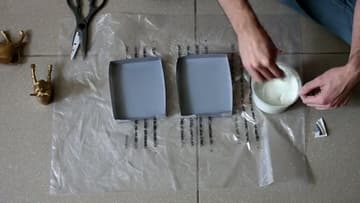
Mix your white concrete in a bucket to a thick but pourable batter, roughly the texture of yogurt. Wear gloves and a dust mask while you work, since the dry mix is caustic and easy to breathe in.
Tip: Watch this step Add water a little at a time. A soupy mix is weak and slow to cure. You can always thin it, but you can't easily thicken it back up.
5. Set the Gold Animals into the Concrete
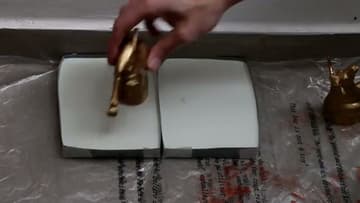
Let the first slabs firm up a bit, then stand two poured blocks against each other so one edge cures dead straight. That straight edge is what will grip the shelf and stop a book from sliding past.
Tip: Watch this step Press the figure in just far enough to grab, then hold it a moment. If it sinks too deep, pull it, smooth the surface, and try again before the mix stiffens.
6. Demold and Sand the Edges
After a full 24 hours the concrete has cured enough to handle. Peel the mold away and ease each block out.
Tip: Watch this step Wet-sand with a damp piece of fine grit for a smoother finish and almost no airborne dust. Wipe the block down afterward and let it dry.
7. Assemble the Pair
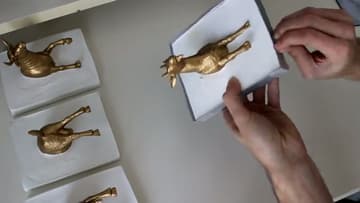
Stand the L-shaped pieces up and fit them together into a matched set. Nudge each one until it balances on its own base, then add a dab of epoxy where the base meets the upright to lock the joint for good.
Tip: Watch this step Clamp or tape the epoxied joint and leave it overnight before you trust it with a full shelf of books.
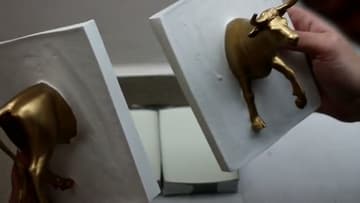
8. Seal and Style the Finished Bookends
Give everything one last light sanding and wipe the concrete clean. A coat of concrete sealer keeps the white surface from picking up stains and fingerprints over time.
Tip: Watch this step A matte sealer keeps the raw-concrete look. A glossy one darkens the white and makes the gold read warmer, so test on a scrap first.