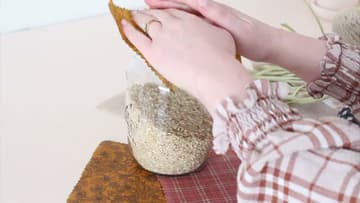
How to Make Beeswax Wraps at Home With an Iron
Source: Rosery Apparel • Full tutorial: www.craftingstepbystep.com/crafts/how-to-make-beeswax-wraps
- Difficulty
- Easy
- Hands-on time
- About 45 minutes
- Wait time
- 15 minutes
- Cost
- About $6 to $15
- Makes
- a set of 3 wraps

Tools
- iron
- ironing board
- old towel
- box grater
- ruler or measuring tape
- erasable fabric marker
- fabric scissors
- pinking shears (optional)
- drying rack
Materials
- 100% cotton fabric
- beeswax block or pellets
- parchment baking paper
Steps
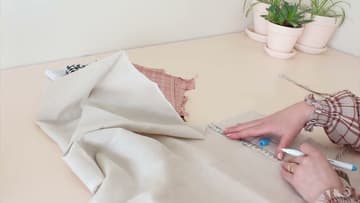
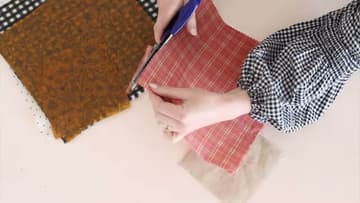
1. Measure and Mark Cotton Squares for the Beeswax Wraps
Pick 100% cotton fabric for your beeswax wraps. Scraps are perfect.
Tip: Pre-wash new fabric so the wax can soak in evenly.
2. Grate the Beeswax Block Into Small Pellets
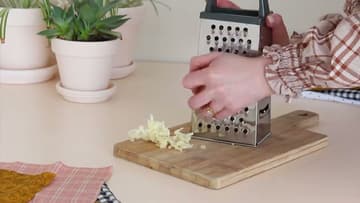
Grate your beeswax on the large holes of a box grater over a cutting board. Small shavings melt fast and spread evenly, which is what you want.
Tip: Chill the wax block in the fridge for 10 minutes and it grates more cleanly.
3. Set Up the Ironing Board With a Towel and Baking Paper
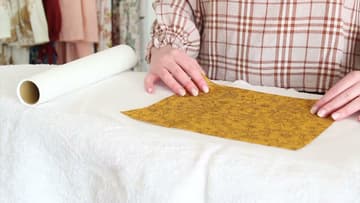
Cover your ironing board with an old towel. Wax can soak through, so do not use a good one.
Tip: Parchment baking paper works. Wax paper does not, because its coating melts.
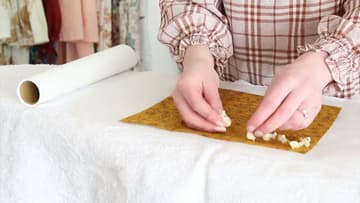
4. Sprinkle Beeswax Pellets Evenly Over the Cotton Square
Scatter the grated beeswax across the fabric. Spread it out so there are no big gaps, and go right to the edges and corners.
Tip: Do a test with one square before you grate wax for the whole batch.
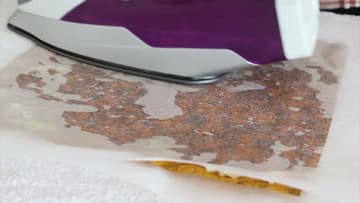
5. Iron the Beeswax Into the Fabric Between Baking Paper
Lay a second sheet of baking paper over the wax and fabric. Set the iron to its hottest setting with no steam.
Tip: Push the melted wax outward toward the corners with the tip of the iron.
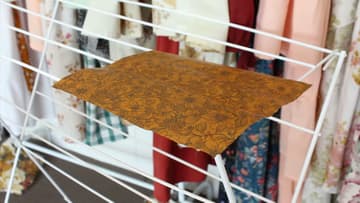
6. Hang the Waxed Fabric Square to Cool and Dry
Peel off the top paper and lift the warm wrap off the bottom sheet. Hold it up for a few seconds so the wax starts to set, then lay it over a drying rack or clothes line.
Tip: Peel it while it is still warm. Cold wax glues the fabric to the paper.
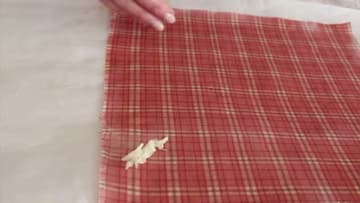
7. Fix Dry Spots on the Beeswax Wrap With More Pellets
Check each wrap for pale, dry patches where the wax missed. You can lift the top paper to peek while you iron.
Tip: Hold the wrap up to a window. Light shows any dry spots clearly.
8. Trim the Beeswax Wrap Edges With Pinking Shears
Once the wraps are cool, trim the edges. Janelle used pinking shears to give each wrap a zigzag edge.
Tip: Keep these shears for craft use. Wax dulls blades over time.
9. Use Warm Hands to Seal a Beeswax Wrap Over a Jar
Your wraps are ready. To use one, lay it over a jar or bowl and press around the edges with your hands.
Tip: Hold your hands on it for a few seconds. The longer you press, the better it sticks.