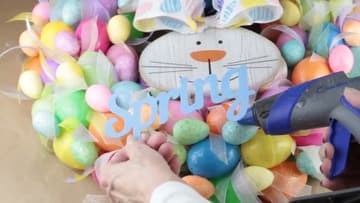
How to Make an Easter Wreath
Source: Lori Blye DIY • Full tutorial: www.craftingstepbystep.com/crafts/how-to-make-an-easter-wreath
- Difficulty
- Easy

Tools
- hot glue gun
- scissors
- wire cutters
- foam brush
Materials
- two 14 inch wire wreath forms
- floral wire
- burlap ribbon (2 rolls)
- plastic Easter eggs (about 5 bags)
- small glitter Easter eggs (about 5 bags)
- 5/8 inch sheer ribbon in assorted colors
- 2.5 inch Easter egg print ribbon
- wood bunny face sign
- Welcome Spring metal word letters
- light blue acrylic paint
- hot glue sticks
Steps
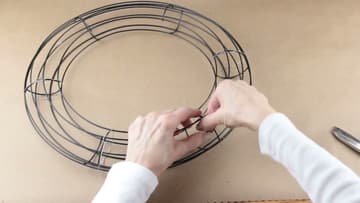
1. Wire Two Wire Wreath Forms Together for the Easter Wreath Base
Set two 14 inch wire wreath forms back to back so the curved sides face out. Line up the cross supports.
Tip: Folding the wire ends under is faster than cutting and leaves no sharp tips.
2. Wrap Burlap Ribbon Around the Easter Wreath Base
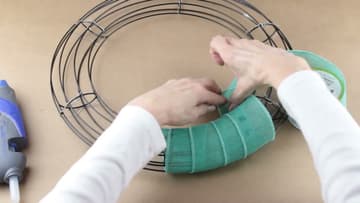
Run a line of hot glue on one support and press the end of the burlap ribbon onto it. Wrap the ribbon around the doubled form, overlapping each pass a little.
Tip: Keep the overlap even. It shows between the eggs, so neat stripes look best.
3. Hot Glue Plastic Eggs Around the Outside of the Easter Wreath
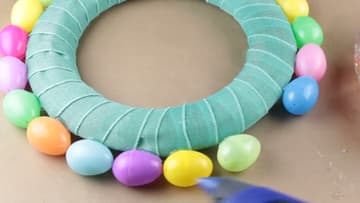
Start with the outer edge. These plastic eggs have a small hinge on one side, so they never fully come apart.
Tip: Keep all the eggs pointing the same direction. The finished wreath looks tidier.
4. Fill the Inner Rows of Plastic Eggs on the Easter Wreath
Once the outside row is done, glue a row around the inside edge. Then fill the face of the wreath with two more rows, tucking each egg into the gaps between the ones below it.
Tip: Small gaps are fine. Ribbon knots and glitter eggs fill them in the next steps.
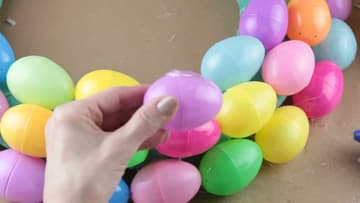
5. Knot Sheer Ribbon Pieces for the Easter Wreath Fillers
Sheer ribbon has only a hint of colour, so use two pieces together. Cut two 8 inch pieces and give each end an angled cut.
Tip: Angled ends stop sheer ribbon from fraying.
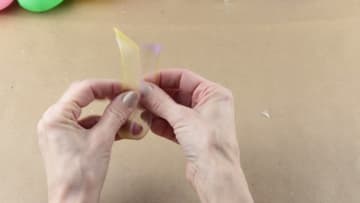
6. Glue the Ribbon Knots Between the Eggs on the Easter Wreath
Put a dab of hot glue into a gap between the eggs. Set the knotted center of a ribbon filler into the glue and let the four tails fan out.
Tip: Any blunt stick works as a pusher: a pencil, a chopstick or a craft stick.
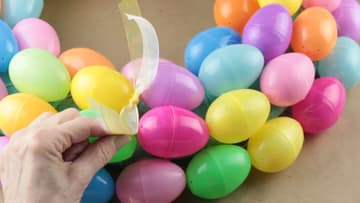
7. Cover Each Ribbon Knot With a Glitter Egg on the Easter Wreath
Pull the little hang tag off each small glitter egg. Add a dot of glue to the egg and press it over the knot you glued in the step before.
Tip: Do one ribbon and one glitter egg at a time so the glue under the knot is still warm.
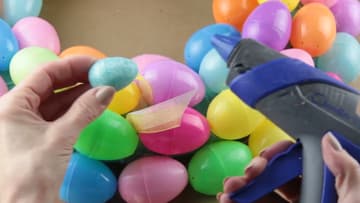
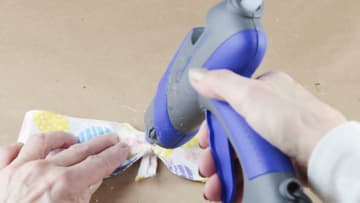
8. Make an Easter Egg Ribbon Bow for the Bunny Sign
Pull the hanger, bow and carrots off the bunny sign so only the face is left. Cut a 14 inch piece of Easter egg ribbon.
Tip: Glue the bow at the base of the ears, where a hair bow would sit.
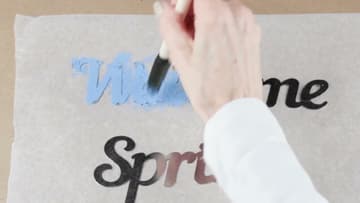
9. Paint the Welcome Spring Letters for the Easter Wreath
Lay the metal Welcome and Spring words on wax paper or scrap card. Dab blue acrylic paint over the letters with a foam brush, working it into the curves.
Tip: Wax paper keeps the letters from sticking to your work surface as they dry.
10. Hot Glue the Bunny and Welcome Spring Words on the Easter Wreath
Place the bunny face in the center of the wreath and check it sits straight. Glue it down to the eggs and hold it while the glue sets.
Tip: Lay the words on first without glue to find the spot you like best.