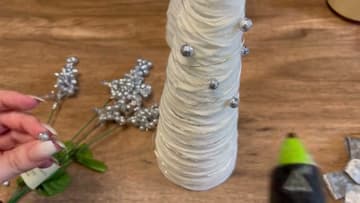
How to Make a Yarn Wrapped Christmas Tree (Easy Cone Trees)
Source: Home Goodiys • Full tutorial: www.craftingstepbystep.com/crafts/how-to-make-a-yarn-wrapped-christmas-tree
- Difficulty
- Easy
- Hands-on time
- About 45 minutes
- Wait time
- 12 hours
- Cost
- About $5 to $12
- Makes
- 1 yarn tree

Tools
- paper mache cone (as a mold)
- foam brush
- small container
- scissors
- hot glue gun
Materials
- acrylic yarn
- Mod Podge
- plastic wrap
- chunky glitter
- fairy lights
- glitter berry picks
Steps
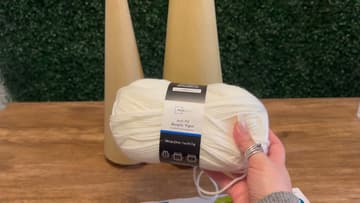
1. Gather Yarn, Cones and Mod Podge for Yarn Christmas Trees
You need paper mache tree cones in one or two sizes, a skein of white acrylic yarn, Mod Podge, plastic wrap, a small container and a foam brush. One skein covers a large cone and two small ones.
Tip: Craft stores often mark cones down after Halloween. Stock up then.
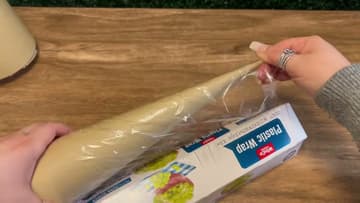
2. Cover the Paper Mache Tree Cone in Plastic Wrap
Hold the plastic wrap at the tip of the cone and wind it down to the base, overlapping as you go. Cover every bit of the cone so no glue can reach it.
Tip: Leave a little extra wrap past the base. It gives you something to pull on later.
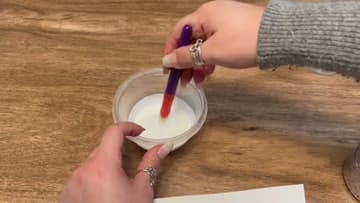
3. Thin the Mod Podge With Water for the Yarn Tree
Pour some Mod Podge into a container and stir in a little water at a time. You do not need much.
Tip: Add water a spoonful at a time. You can always add more, but you cannot take it out.
4. Start Wrapping Yarn Around the Tree Cone at the Tip
Hold the yarn end at the very tip and wrap over it a few times to lock it in place. Then spiral down the cone.
Tip: Slack yarn makes loose loops. Keep gentle tension on the strand as you wrap.
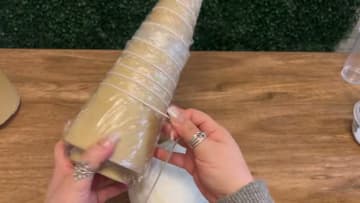
5. Fill the Gaps Until the Yarn Covers the Whole Cone
Once most of the cone is covered, go back and fill the gaps. Wrap at slightly different angles so the strands cross over each other.
Tip: Hold it up to a light. Any bright spots are gaps that need more yarn.
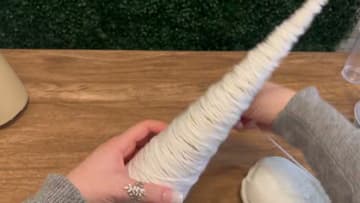
6. Saturate the Yarn Wrapped Cone With Mod Podge
Load a foam brush with the thinned Mod Podge and coat the whole tree generously. Press the brush into the yarn as you go so the glue soaks through to the bottom layers.
Tip: Cover your table. The thinned glue drips more than you expect.
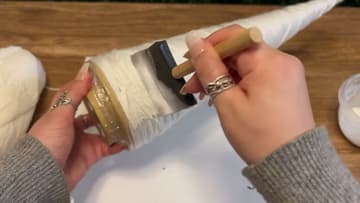
7. Slide the Dry Yarn Tree Off the Cone Form
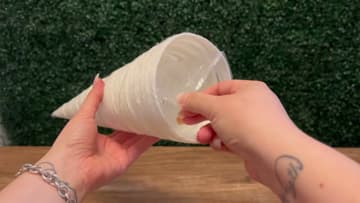
Pull away any loose plastic wrap at the base. Then hold the cone and push the yarn shell up, a little at a time, working your way around.
Tip: Go around the base in small pushes so the shell does not crease.
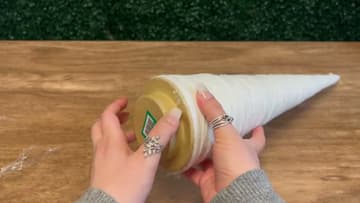
8. Peel the Plastic Wrap Out of the Yarn Christmas Tree
Reach inside the hollow tree and peel out the plastic wrap. It comes away easily, but take it out slowly, one section at a time, so you do not bend the tree.
Tip: Pull the plastic toward the open base, not up toward the tip.
9. Add Chunky Glitter to the Tip of the Yarn Tree
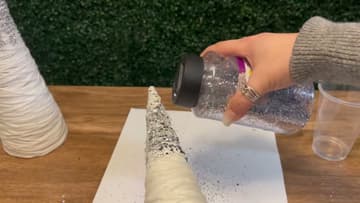
Brush Mod Podge around the top third of the tree. Set it on paper and shake chunky silver glitter over the wet glue, then a finer glitter to fill the gaps.
Tip: Mixing chunky and fine glitter gives more sparkle than either one alone.
10. Decorate a Yarn Christmas Tree With Lights and Glitter Berries
For a second tree, wind a string of battery fairy lights around it from top to bottom. Then cut silver glitter berries off their picks and hot glue them on as little ornaments.
Tip: Tuck the light battery box inside the hollow base so it stays hidden.