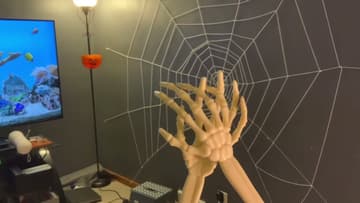
How to Make a Yarn Spider Web Decoration for Halloween
Source: The Halloween Sisters • Full tutorial: www.craftingstepbystep.com/crafts/how-to-make-a-yarn-spider-web
- Difficulty
- Easy
- Hands-on time
- About 2 hours
- Cost
- About $5 to $12
- Makes
- 1 wall spider web

Tools
- scissors
- step stool
Materials
- white worsted weight yarn
- painters tape
- plastic spiders (optional)
Steps
1. Tape Long Yarn Strands Across the Wall for the Spider Web Spokes
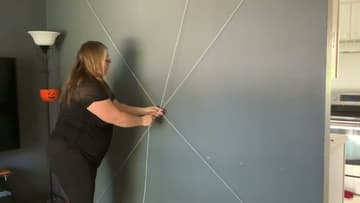
Cut long pieces of yarn, each long enough to cross the whole area you want the web to cover. Tape one end to the wall, stretch the strand across the center point and tape the other end.
Tip: Mark the center lightly with a small piece of tape so every strand crosses in the same spot.
2. Check the Yarn Spider Web Spokes Meet at One Center Point
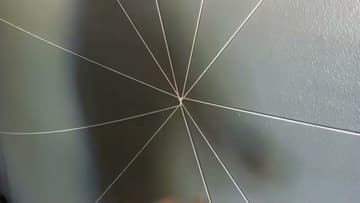
Step back and look at your spokes. They should fan out like the spokes of a bike wheel, with roughly even gaps between them.
Tip: Uneven gaps are fine. Real spider webs are never perfect.
3. Tie a Small Ball of Yarn to the Spider Web Center
Wind off a small ball of yarn, about the size of a lemon, so it is easy to pass between the spokes. Tie the loose end around the strands right at the center hub.
Tip: Wind a fresh small ball when this one runs out instead of working from the skein.
4. Pass the Yarn Ball Around Each Spoke for the First Web Round
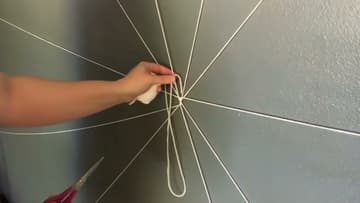
Work a tight first round close to the center. Take the yarn ball to the next spoke, pass it behind the spoke and bring it back over the front.
Tip: Always travel in the same direction, clockwise or counterclockwise, so the rounds look even.
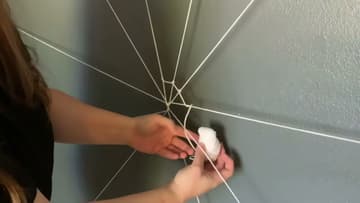
5. Tie a Gentle Knot on Every Spoke of the Yarn Web
Here is the fix for a web that sags. Each time the round reaches a spoke, tie one gentle knot around it before moving on.
Tip: If a round sags anyway, undo back to the last good knot and tie it again.
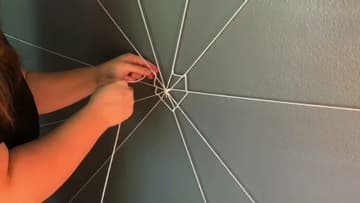
6. Build the Inner Rings of the Yarn Spider Web
Keep going round and round, knotting at each spoke. Make every round a little wider than the one before.
Tip: Stand back every couple of rounds to check the spacing from a distance.
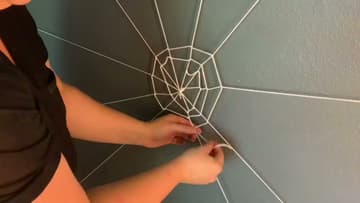
7. Knot the Outer Rounds of the Giant Yarn Spider Web
As the web grows, the rounds get long and you will be reaching high and low. Use a step stool for the top.
Tip: Leave the outermost spoke ends a bit loose and wispy. It looks more like a real web.
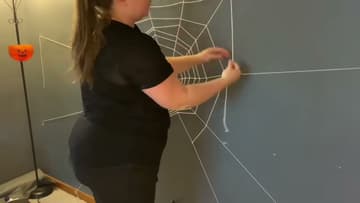
8. Decorate the Finished Yarn Spider Web for Halloween
Step back and enjoy your giant spider web. Now dress it up.
Tip: A few spiders go a long way. Two or three look better than a crowd.