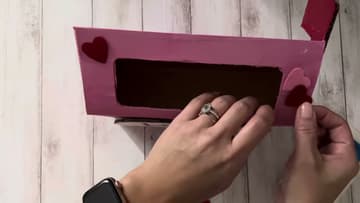
How to Make a Valentine's Day Box
Source: Happy Crafty • Full tutorial: www.craftingstepbystep.com/crafts/how-to-make-a-valentines-day-box
- Difficulty
- Easy

Tools
- scissors
- craft knife
- flat paintbrushes
- pencil
Materials
- empty tissue box
- corrugated cardboard
- red acrylic paint
- white acrylic paint
- brass brad fastener
- school glue
- red permanent marker
- felt or glitter foam hearts
Steps
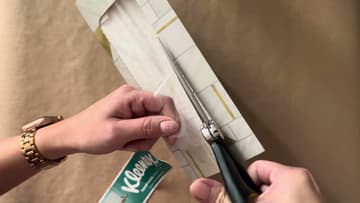
1. Empty and Open Up the Tissue Box for the Valentine Mailbox
Pull the perforated top off the tissue box and take out every tissue. Save them for a runny nose later.
Tip: Let your child pull out the tissues. Little ones love that part.
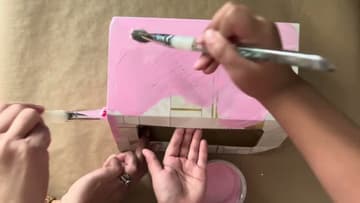
2. Paint the Tissue Box Pink for the Valentine's Day Box
Mix red and white acrylic paint in a cup until you get a pink you both like. Cover the table with paper.
Tip: Paint the top edges of the slot too, so no plain cardboard peeks out.
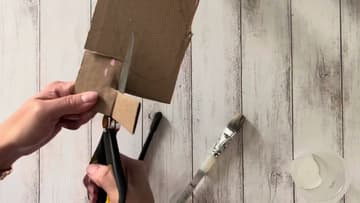
3. Draw and Cut the Cardboard Mailbox Flag in an L Shape
On a flat piece of cardboard, draw an L shape for the mailbox flag. Make it about 1 inch wide with a tall arm of 4 to 5 inches and a short arm at the top.
Tip: Thin cereal box card bends too easily. Use corrugated shipping box cardboard for a stiff flag.
4. Cut a Large Cardboard Heart for the Valentine Box Nameplate
Draw a large heart on the same cardboard, about as wide as the front of your box. Fold a paper heart first and trace it if you want both sides to match.
Tip: Keep the heart a little smaller than the box front so the pink shows around it.
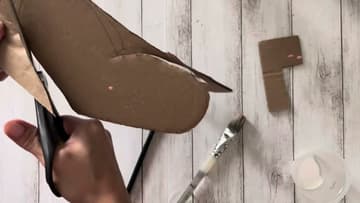
5. Paint the Cardboard Heart White and the Mailbox Flag Red
Lay the heart and the flag on scrap paper. Paint the heart white so the name will stand out.
Tip: A hair dryer on low speeds up drying between coats.
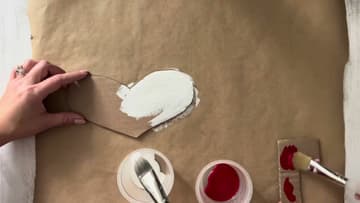
6. Poke a Hole in the Valentine Box and the Flag With a Craft Knife
Hold the flag against one short end of the box, near the top, to see where it will sit. Carefully poke a small hole through the box at that spot with the point of a craft knife.
Tip: This is a grown-up job. A sharp pencil or a skewer also works for the holes.
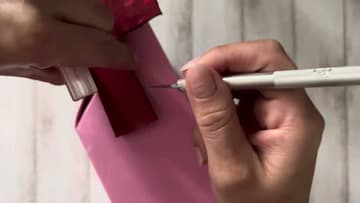
7. Attach the Red Flag to the Valentine Mailbox With a Brad
Push a brass brad through the hole in the flag, then through the hole in the box. Reach inside the box through the slot and spread the two brad legs flat against the wall.
Tip: If the flag swings too freely, press the brad legs down harder.
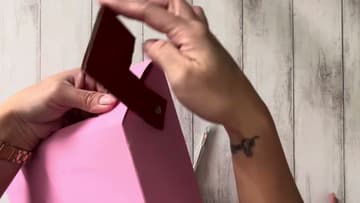
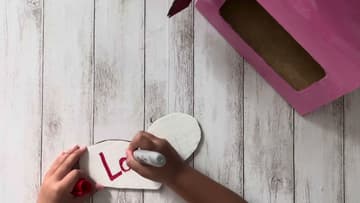
8. Write Your Child's Name on the White Heart Nameplate
Once the white paint is dry, write your child's name across the heart with a red permanent marker. Big, clear letters are easy to read from across a classroom.
Tip: Go over the letters twice for a bold line.
9. Glue the Name Heart to the Front of the Valentine's Day Box
Turn the box so the slot is at the top and the flag is on the side. Spread school glue on the back of the heart, mostly near the edges.
Tip: Lay a heavy book on top while the glue sets so the heart dries flat.

10. Decorate the Valentine Mailbox With Small Hearts
Now the fun part. Glue small felt or glitter foam hearts around the box.
Tip: Peel-and-stick foam hearts skip the glue and suit young children.