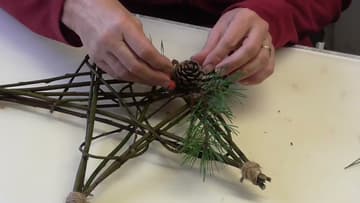
How to Make a Twig Star From Willow
Source: Alison Yeates • Full tutorial: www.craftingstepbystep.com/crafts/how-to-make-a-twig-star
- Difficulty
- Easy
- Hands-on time
- About 1 hour
- Wait time
- 24 hours
- Cost
- About $3 to $8
- Makes
- 1 twig star

Tools
- pruning shears
- hot glue gun
- scissors
Materials
- 10 thick willow or hazel twigs, about 15 inches
- long thin willow wands
- small rubber bands
- jute twine
- hot glue sticks
- fir sprigs and moss
- small pine cone
- artificial berries
Steps
1. Cut Ten Willow Twigs for the Twig Star
Gather thick, straight willow or hazel twigs and cut ten of them to about 15 inches, or 38 centimeters, with pruning shears. They need to be damp, so cut them after rain or soak them in water for a few hours.
Tip: Keep the twigs in water until you use them so they stay bendy.
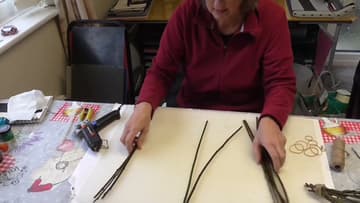
2. Lay the First Twig Star Twigs in a V
Lay two twigs on the table in a V shape, the points touching at the bottom. Slip a rubber band over the joined ends to hold them.
Tip: Join two rubber bands together if one is too small to wrap the twigs.
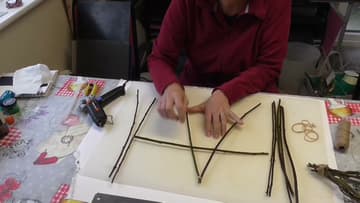
3. Join the Twig Star Points With Rubber Bands
Add the fourth twig so it passes under the crossing bar and meets the end of another twig at a point. Hold the two ends together and wrap a rubber band around them.
Tip: Do not worry if the shape is rough. You straighten it later.
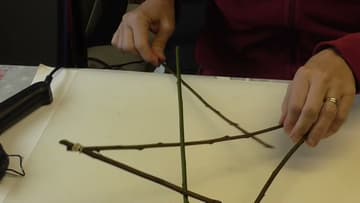
4. Weave the Fifth Twig to Close the Twig Star
The fifth twig closes the star. Weave it under one twig and over the following one, then band it at both points.
Tip: Stand back and look at it from above before you move on.
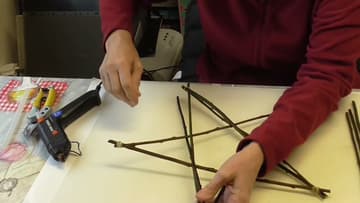
5. Weave the Second Set of Twigs Into the Twig Star
Take the next five twigs and lay one beside each side of the star, weaving it the opposite way to the twig it sits next to. Catch each end under the rubber bands at the points.
Tip: Doubling the frame makes the star sturdy enough to hang on a door.
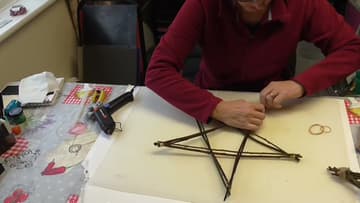
6. Weave Long Willow Wands Through the Twig Star
Take a long, thin willow wand and trim off the stiff thick end. Give it a gentle bend first.
Tip: Save the trimmed ends. A 15 inch piece can start your next star.
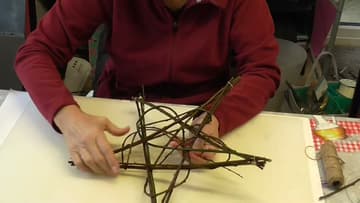
7. Bind the Twig Star Points With Jute Twine
Leave a short tail of jute so you can tie a knot. Wrap the twine tightly around a point of the star, covering the rubber band completely.
Tip: Wrap tightly. Loose twine slides off as the willow dries and shrinks.
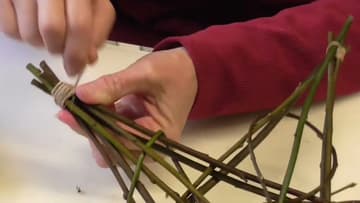
8. Tie a Twine Hanging Loop on the Twig Star
On the top point, bind the twine the same way but leave a long end when you start. Wrap the point securely and tie it off.
Tip: Hang it for a moment to check that it sits straight before you trim the knot.
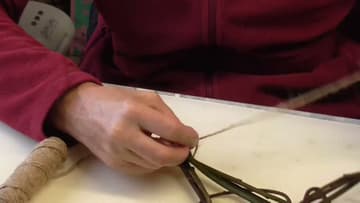
9. Hot Glue Fir Sprigs Onto the Twig Star
Warm up your glue gun. Lay a small sprig of fir along one arm near the center so it curves naturally, then glue it in place.
Tip: Hot glue is very hot. Press the greenery down with a pencil, not your fingers.
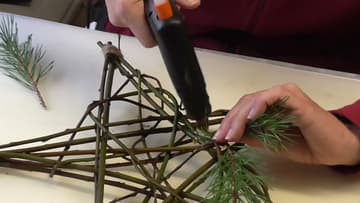
10. Add a Pine Cone and Berries to the Twig Star
Glue a small pine cone on top of the fir, then tuck a beech nut or an acorn cap underneath it. For a bit of color, add a few small artificial berries on wire.
Tip: Real holly berries shrivel fast, so artificial ones last all season.