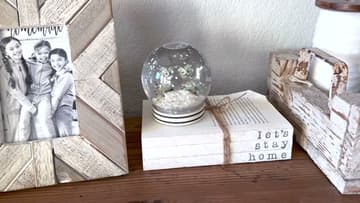
How to Make a Snow Globe
Source: She's Crafty and She Knows It • Full tutorial: www.craftingstepbystep.com/crafts/how-to-make-a-snow-globe
- Difficulty
- Easy
- Hands-on time
- About 30 minutes
- Wait time
- 24 hours
- Cost
- About $10 to $20
- Makes
- 1 snow globe

Tools
- glass measuring cup
- scissors
- hot glue gun
Materials
- plastic snow globe kit
- resin or solid plastic figurine
- fine white and silver glitter
- vegetable glycerin
- super glue
- narrow ribbon
Steps
1. Lay Out Your Supplies
You need a plastic snow globe blank, a figurine, glitter, vegetable glycerin, super glue and a scrap of ribbon. The blank unscrews at the bottom and the cap doubles as the base the figurine stands on.
Tip: Plastic over glass if children will handle it. A glass globe full of water is heavier than it looks.
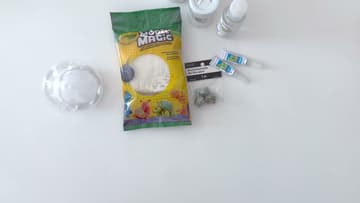
2. Pick a Figurine Tall Enough to Fill the Globe
Hold your figurine against the empty globe before you glue anything. You want one that nearly fills the space on its own.
Tip: Cake toppers and model railway figures are cheap, solid and come in the right scale.
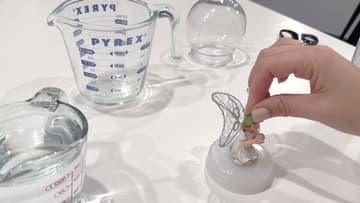
3. Glue the Figurine to the Base
The cap that screws into the bottom of the globe is your base. Put a good blob of super glue on it and press the figurine down squarely in the middle.
Tip: Dry-fit first. Screw the base into the globe with the figurine held in place to check it clears the sides.
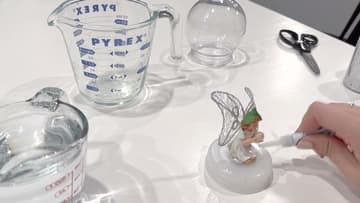
4. Reinforce the Joint and Wait a Full Day
Run a second bead of glue right around where the figurine meets the base, catching the feet or whatever touches down. Then leave it alone for 24 hours.
Tip: Tug the figurine gently before you fill anything. Better it comes off now than tomorrow, inside the water.
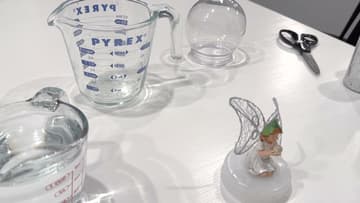
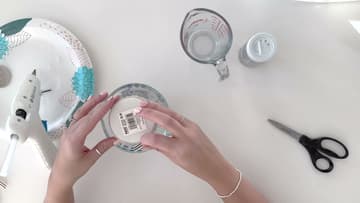
5. Stand the Globe in a Measuring Cup
The globe is round and will roll off the table the moment you let go of it. Sit it open-side-up in a glass measuring cup or a small bowl so it stays put and both your hands stay free for the filling.
Tip: Do this over a tray. Loose glitter travels, and you will be finding it for weeks otherwise.
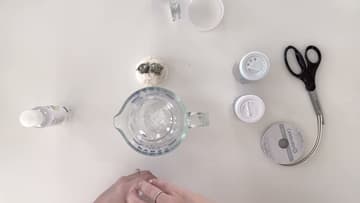
6. Add as Much Glitter as You Want
Tip in fine glitter, mixing whites and silvers for something that reads as snow. There is no wrong amount here, though a generous pour looks better in the swirl than a sparse one.
Tip: Mix two or three sizes of white and iridescent glitter. A single grade looks flat once it is moving.
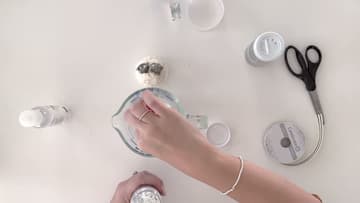
7. Fill With Water, Leaving Room for the Figurine
Pour water in, stopping short of the rim. The figurine and the cap both displace water, so a globe filled to the brim will overflow when you screw the base in.
Tip: Distilled water stays clearer for longer than tap water, which can leave a faint film over time.
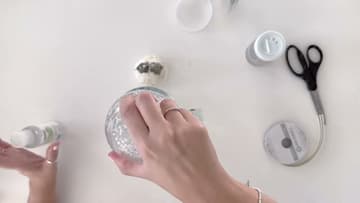
8. Add Six Drops of Glycerin
Six drops of vegetable glycerin into a globe this size. It thickens the water just enough that the glitter tumbles slowly and swirls instead of dropping like sand.
Tip: Go one drop at a time past six. Too much glycerin and the glitter hangs there instead of settling at all.
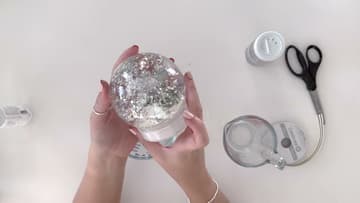
9. Trim the Base With Ribbon
The seam where the cap meets the globe is the one unlovely part of a kit build. A narrow ribbon hot-glued around it hides the joint and finishes the piece.
Tip: Glue the base shut permanently if small children will be shaking it. Otherwise leave it so you can top the water up later.
10. Stand It Where the Light Catches It
Put the finished globe somewhere with light behind or beside it. Glitter needs light to do anything, and a globe on a dark shelf just looks like a jar.
Tip: Keep it out of direct sun. Sunlight through a water-filled globe fades whatever is inside it.