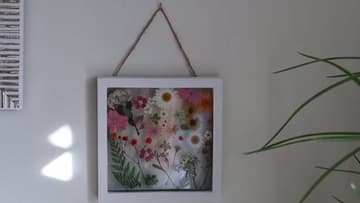
How to Make a Pressed Flower Frame
Source: Jess Alexandra • Full tutorial: www.craftingstepbystep.com/crafts/how-to-make-a-pressed-flower-frame
- Difficulty
- Easy
- Hands-on time
- About 30 minutes
- Wait time
- 1 hour
- Cost
- About $8 to $15
- Makes
- 1 pressed flower frame
Tools
- fine-tip tweezers
- scissors
- hot glue gun
Materials
- dollar-store glass picture frames
- pressed dried flowers
- clear craft glue
- kraft cardstock backing
- jute twine
Steps
1. Prep Your Frames and Glass
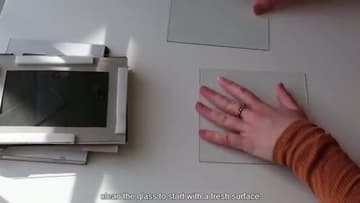
Start by taking the glass out of two dollar-store frames. Jess used 4x6 inch frames and pulled the glass from a second one so she had two clean panes for each piece.
Tip: Any square or rectangular frame with removable glass works. Two panes per hanging lets you sandwich the flowers so they float.
2. Lay Out Your Design
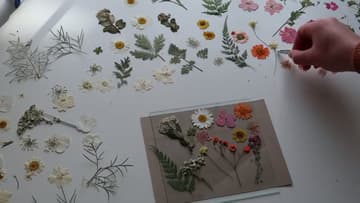
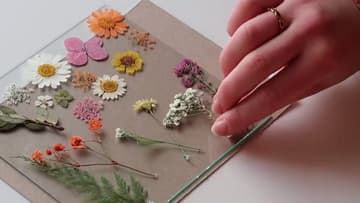
Spread all your pressed flowers out on the table so you can see what you have. Then dry-arrange a design right on the glass or on a piece of kraft backing before you glue anything.
Tip: Take a quick phone photo of the layout you like. If a flower shifts when you start gluing, you have a reference to put it back.
3. Arrange the Flowers on the Glass
Move each pressed flower onto the glass one at a time, nudging petals and stems into place. Tweezers give you the most control, but a light fingertip works too.
Tip: Overlap a few petals and leaves so there are no awkward empty spots. A little overlap reads as lush, not messy.
4. Glue the Second Pane On Top
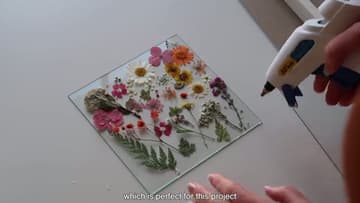
Once you are happy with the arrangement, take a second clean pane of glass. Run a bead of hot glue or clear craft glue around the edges and press it down over the flowers to sandwich them between the two panes.
Tip: Only glue the outer edges, not across the flowers. You want the blooms visible, not stuck under a smear of glue.
5. Fit the Glass Into the Frame
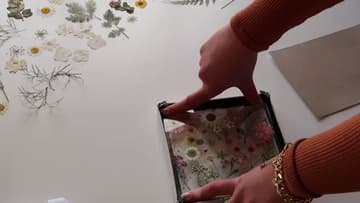
Set your glass sandwich back into the frame and press it in so it sits flush. If the frame does not hold the glass tightly on its own, run a little glue around the inside edge to lock it in.
Tip: Wipe the outside of the glass one more time before you close it up. Once it is framed you cannot reach the panes.
6. Add a Twine Hanger
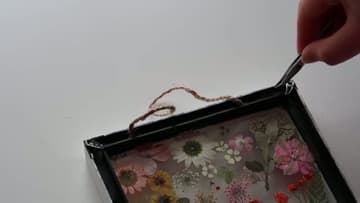
Cut a piece of jute twine or string a little longer than the frame is wide. Glue each end to the back top corners of the frame to make a loop for hanging.
Tip: Jute or natural twine suits the botanical look, but ribbon or leather cord works too if you want a different vibe.
7. Hang It and Enjoy
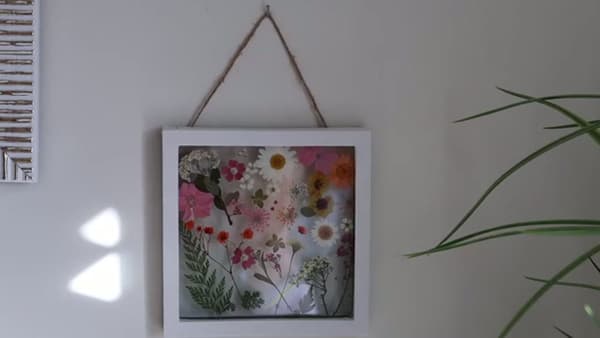
Hang your finished piece on the wall and step back to admire it. The twine loop lets it hang softly off a single hook, and the pressed blooms catch the light like a little window of a garden.
Tip: Hang it near a window so daylight glows through the pressed petals. It looks best with light coming from behind or the side.