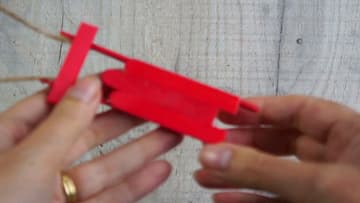
How to Make a Popsicle Stick Sled Ornament
Source: Christine's Crafts • Full tutorial: www.craftingstepbystep.com/crafts/how-to-make-a-popsicle-stick-sled-ornament
- Difficulty
- Easy
- Hands-on time
- About 20 minutes
- Wait time
- 1 hour
- Cost
- About $1 to $3
- Makes
- 1 sled ornament

Tools
- craft scissors
- baking paper or a craft mat
Materials
- craft sticks (red or plain)
- clear all purpose or tacky glue
- jute twine
- red paint (optional, for plain sticks)
Steps
1. Cut Three Popsicle Sticks to the Same Length for the Sled Seat
The seat is three sticks wide. If all your sticks are the same length, cut three of them a little shorter.
Tip: Cut toward the table, not toward your face, and keep little ones back while you cut.
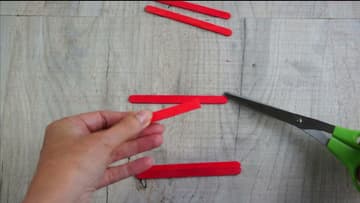
2. Line Up the Popsicle Sticks With the Middle One Set Forward
Lay the three seat sticks next to each other. Christine sets the middle one slightly forward of the other two.
Tip: Work on a piece of baking paper so the glue does not stick the seat to the table.
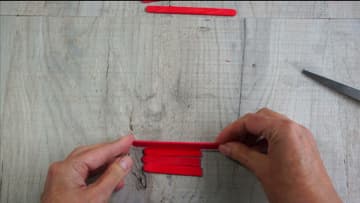
3. Glue a Second Layer of Popsicle Stick Onto the Sled Seat
Edge glue alone will not hold the seat for long. Cut a short piece of craft stick and glue it across the seat to add another layer.
Tip: Use only a thin line of glue. Too much oozes out and takes longer to dry.
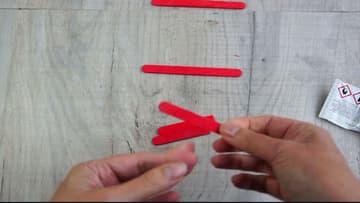
4. Glue a Short Brace Across the Popsicle Stick Seat
Cut one more piece of craft stick so it spans all three seat sticks. Leave a small gap at each edge, because the runners will go there.
Tip: Hold the brace up to the seat before gluing to check it leaves room for the runners.
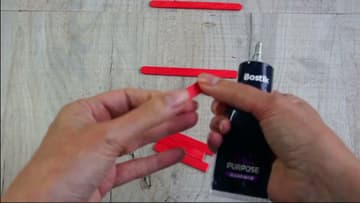
5. Glue a Full Popsicle Stick Runner Along Each Side of the Sled
Once the seat is dry, turn it over. Run a thin line of glue along each side of the bottom face.
Tip: Put the cap back on the glue between steps. It saves a lot of mess.
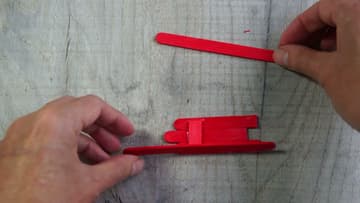
6. Set the Popsicle Stick Runners Upright and Let Them Dry
Check the runners from above. They should run straight, side by side, and stick out past the front of the seat.
Tip: If a runner keeps tipping, lean it against a book while the glue sets.
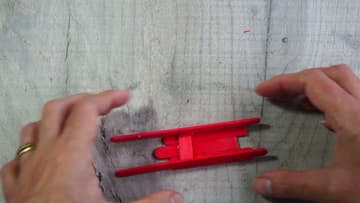
7. Glue the Front Bar Across the Popsicle Stick Sled Runners
With the sled upside down, cut a stick for the front bar. Christine makes hers a little wider than the runners.
Tip: Measure by eye from both ends of the bar so it sits centered.
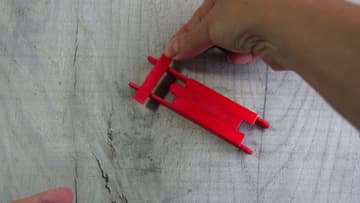
8. Glue the Twine Hanger Under the Sled Front Bar
Turn the sled upside down again. Squeeze some glue into the corners under the front bar.
Tip: Ribbon or baker's twine works too. Cut about 8 inches for a hanging loop.
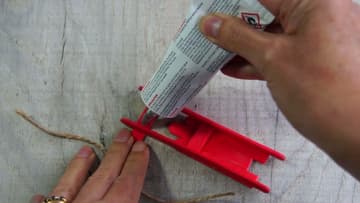
9. Turn Over the Finished Popsicle Stick Sled Ornament
When the glue has set, turn the sled the right way up. That is your finished ornament.
Tip: Make several at once. Each part dries while you work on the next sled.