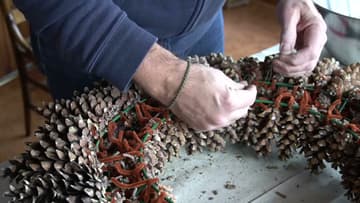
How to Make a Pinecone Wreath
Source: Weekend at the Cottage • Full tutorial: www.craftingstepbystep.com/crafts/how-to-make-a-pinecone-wreath
- Difficulty
- Easy
- Hands-on time
- About 1 hour
- Cost
- About $8 to $15
- Makes
- 1 pinecone wreath

Tools
- wire snips
- scissors
- baking sheet (for baking cones)
Materials
- pine cones in small, medium and large
- wire wreath form
- brown chenille pipe cleaners
- florist wire
- drop cloth
- wreath hanger
Steps
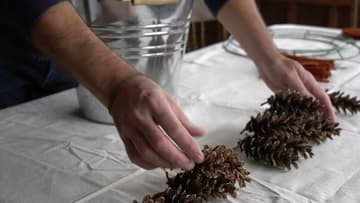
1. Sort the Pine Cones Into Small, Medium and Large Piles
Lay a drop cloth over your table, because pine cones shed bits everywhere. Dump out your cones and sort them into three piles: small, medium and large.
Tip: Sort a few extra small cones into their own bowl. They come in handy for filling gaps at the end.
2. Cut the Chenille Pipe Cleaners in Half With Wire Snips
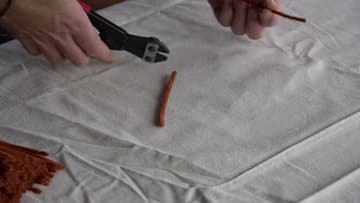
Pipe cleaners come in 12-inch lengths. Use your wire snips to cut each one in half, so you have a stack of 6-inch pieces.
Tip: Use wire snips, not your good scissors. The wire core will dull scissor blades fast.
3. Twist a Pipe Cleaner Around the Base of Each Pine Cone
Take a 6-inch piece and slide it under the bottom few scales of a pine cone, close to the stem end. Wrap it around and give it a couple of twists so it grips.
Tip: Pull a cone by its tails before you move on. If it slips out, go up one row of scales.

4. Attach Large Pine Cones to the Outer Rung of the Wire Wreath Form
Lay the wire wreath form flat. Start with your large cones.
Tip: Tight spacing matters more than anything. Gaps on the outer ring show the most.
5. Fill the Second Rung of the Wreath With Medium Pine Cones
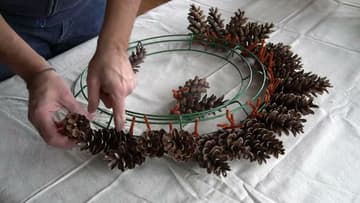
Move in one rung and switch to medium cones. Twist each one on the same way, push the ends down, and grab the next cone.
Tip: Angle the medium cones a little so their tips point out between the big cones.
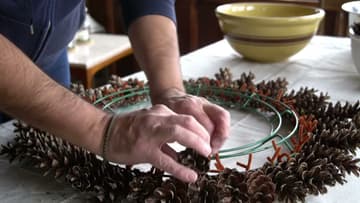
6. Add More Medium Pine Cones to the Third Rung So They Stand Up
On the third rung you still use medium cones. With less room, they start to stand up more on end, and you will see the wreath take shape.
Tip: If one side looks fuller, put a slightly smaller cone on that side of the next rung.
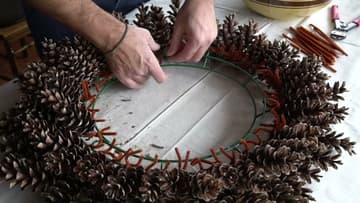
7. Fill the Inner Rung of the Pinecone Wreath With Small Cones
The last rung is the smallest, so it gets the smallest cones. These little ones stand up straight, which gives the inner edge a neat, finished look.
Tip: Spot a hole after the last rung? Tuck in a tiny cone with a dab of hot glue.
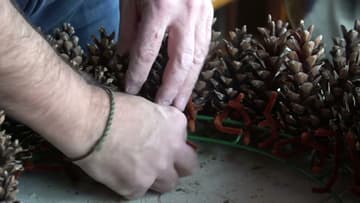
8. Flip the Wreath and Tighten the Pipe Cleaner Ends on the Back
Carefully turn the wreath over onto your work surface. It is sturdier than it looks.
Tip: Any cone that wiggles gets one more twist now. It will not get easier later.
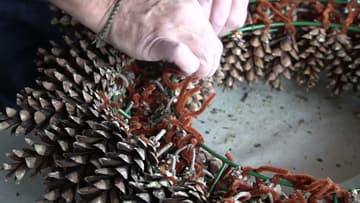
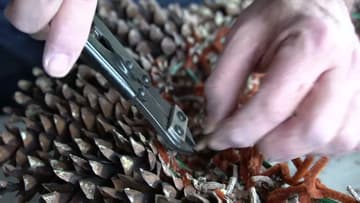
9. Trim the Pine Cone Stem Ends With Wire Snips
While the wreath is face down, look for long stems and stray woody ends poking out the back. Snip them off with your wire snips.
Tip: Cut close to the cone, but leave the pipe cleaner twist alone.
10. Make a Florist Wire Hanger on the Back of the Pinecone Wreath
Cut a short length of florist wire. Bend it into a small loop and twist the ends around the top of the wire wreath form on the back.
Tip: For a heavy 18-inch wreath, double the wire loop and use a sturdy door hanger.