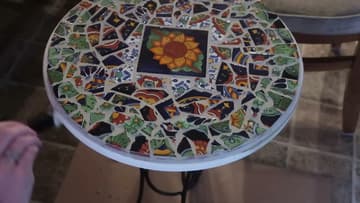
How to Make a Mosaic Side Table
Source: Lovin' Life's Journey DIY • Full tutorial: www.craftingstepbystep.com/crafts/how-to-make-a-mosaic-side-table
- Difficulty
- Medium
- Hands-on time
- About 1 hour 15 minutes
- Wait time
- 8 hours
- Cost
- About $20 to $35
- Makes
- 1 mosaic side table

Tools
- tile nippers
- notched spreader or trowel
- grout float
- sponge
- safety glasses
- gloves
Materials
- small side table (thrift find)
- mosaic tiles or broken ceramic
- tile adhesive / thinset
- grout
- grout sealer
Steps
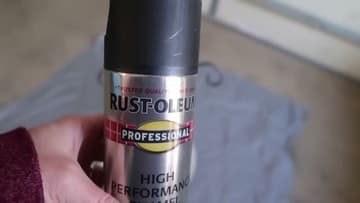
1. Paint the Table Base
Start with a cheap thrift-store side table. Any wobble-free little table works, so grab whatever you can find for a few dollars.
Tip: Watch this step Spray in light, even passes rather than one heavy coat. Two thin coats dry faster and won't drip down the legs.
2. Break the Tiles Into Pieces
Now make your mosaic pieces. Slip each Talavera tile inside a zip bag or wrap it in a towel, then tap it with a hammer until it breaks into chunks.
Tip: Watch this step Break more tiles than you think you'll need. Odd shapes fill awkward gaps, and you'll want options when you get near the round edge.
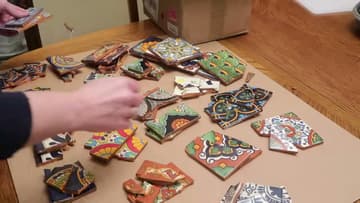
3. Lay Out Your Design
Before any glue touches the table, dry-lay the whole design on top. Set a feature tile in the center, like a single square with a sunflower, then build rings of broken pieces outward to the edge.
Tip: Watch this step Snap a phone photo of the layout you like. If pieces get bumped while gluing, you'll have a reference to put them back.
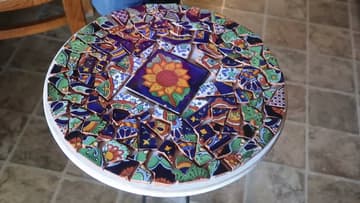
4. Glue the Pieces Down
With the layout set, start gluing. Lift one shard, dab the back with a strong craft adhesive like Weld Bond, then press it firmly back into its spot on the table.
Tip: Watch this step A little glue goes a long way. Too much squeezes up into the gaps and gets in the way of the grout.

5. Mix the Grout
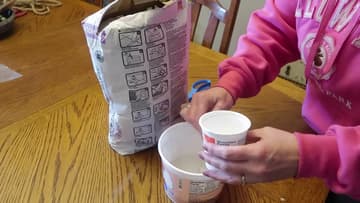
Time to fill the gaps. Pour some sanded grout into a bucket and add water a little at a time, stirring as you go.
Tip: Watch this step Add water slowly. Grout that's too soupy shrinks and cracks as it dries, so err on the thicker side.
6. Grout the Mosaic
Scoop grout onto the tiles and work it into every gap. Use a grout float or gloved fingers, pressing down so no air pockets get trapped underneath.
Tip: Watch this step Wear gloves for this. Grout is hard on bare skin and gets into every knuckle crease.

7. Wipe Clean and Seal
Let the grout firm up for a few minutes, then wipe the tile faces with a damp sponge, rinsing it often in clean water. The colors reappear as you clear the film, leaving grout only in the lines where it belongs.
Tip: Watch this step Change your rinse water often. A dirty sponge just smears grout haze around instead of lifting it off.