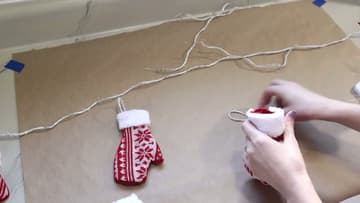
How to Make a Mitten Garland From Dollar Tree Stockings
Source: The Daily DIYer • Full tutorial: www.craftingstepbystep.com/crafts/how-to-make-a-mitten-garland
- Difficulty
- Easy
- Hands-on time
- About 1 hour 15 minutes
- Wait time
- 1 hour
- Cost
- About $3 to $8
- Makes
- 1 garland of 6 mittens

Tools
- hot glue gun
- sharp scissors
- black marker
- foam brush
Materials
- 2 knit holiday stockings
- hot glue sticks
- 2-ply jute twine or white baker's twine
- white chalk paint
Steps
1. Draw a Mitten Template on the Stocking Cardboard
Pull the cardboard insert out of one stocking. It makes a good stiff template.
Tip: Fold the cardboard in half before you draw if you want both sides of the mitten to match.

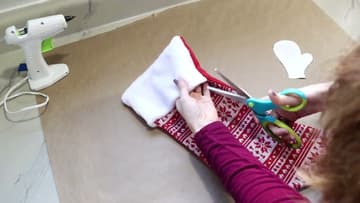
2. Cut the Faux Fur Cuff Off the Dollar Tree Stocking
Lay the stocking flat. Cut straight across under the white faux fur cuff to take it off.
Tip: Cut close to the seam so you keep as much fur as you can.
3. Trace Three Mittens on the Inside-Out Stocking
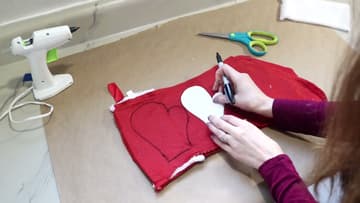
Turn the stocking inside out so the plain red lining faces up. Lay the cardboard template near the top and trace around it with the marker, about a half inch wider than the template on every side.
Tip: Marker lines on the inside get hidden when you turn the mittens out.
4. Cut Out the Mitten Pieces Through Both Stocking Layers
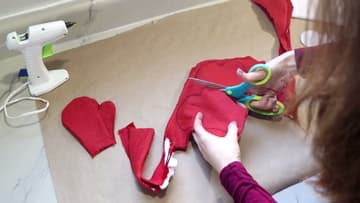
Cut along each traced line through both layers of the stocking at once. Hold the layers flat with your other hand so they do not shift.
Tip: Keep each front and back pair together so the patterns line up.
5. Hot Glue Around the Edge of the Mitten Pieces
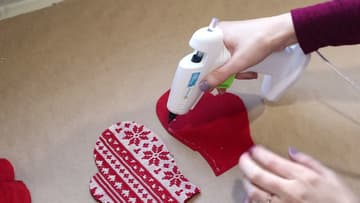
Keep the pieces inside out. Run a thin bead of hot glue around the edge of one piece, leaving the straight cuff edge open.
Tip: Stop the glue a little short of the cuff edge so the opening stays clean.
6. Turn Each Glued Mitten Right Side Out
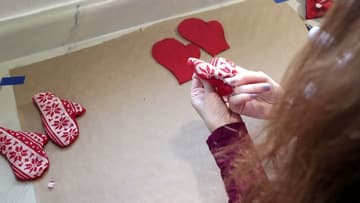
Once the glue is cool, turn the mitten right side out through the open cuff. Push the thumb out gently with a fingertip or the blunt end of a pencil.
Tip: Wait for the glue to cool fully, or the seam can pull apart as you turn it.
7. Glue Faux Fur Trim Across the Top of Each Mitten
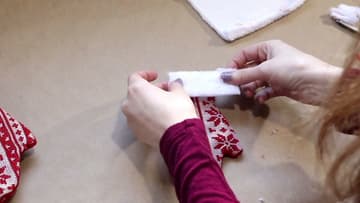
Cut the saved fur cuff into strips a little wider than the mitten opening. Run a line of hot glue across the top edge of the mitten and press a fur strip over it.
Tip: Trim stray fur fibers with scissors once the glue sets.
8. Paint the Jute Twine White for the Garland String
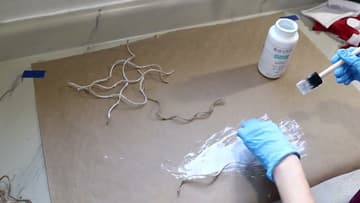
Lay your mittens out to see how long the garland should be. Cut the main string about double that length.
Tip: White baker's twine or ribbon skips this step entirely.
9. Hot Glue a Jute Hanging Loop Inside Each Mitten
Fold a 12 inch piece of painted jute in half and knot the two ends together to make a loop. Put a dab of hot glue on the knot and press it inside the back of the mitten, under the fur cuff.
Tip: Center the knot on the back so the mitten hangs straight.
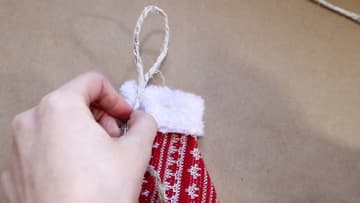
10. Thread the Mittens Onto the Jute Garland String
Lay the long jute string across your table. Slide each mitten loop onto the string and space the mittens out evenly.
Tip: Tie each mitten loop around the string once if you do not want them to slide.