How to Make a Halloween Wreath
Source: This Southern Girl Can • Full tutorial: www.craftingstepbystep.com/crafts/how-to-make-a-halloween-wreath
- Difficulty
- Easy
- Hands-on time
- About 1 hour
- Cost
- About $15 to $25
- Makes
- 1 deco mesh Halloween wreath
Tools
- scissors
- hot glue gun
Materials
- 14-inch wire wreath frame
- 10-inch deco mesh, 2 rolls
- zip ties
- pipe cleaners
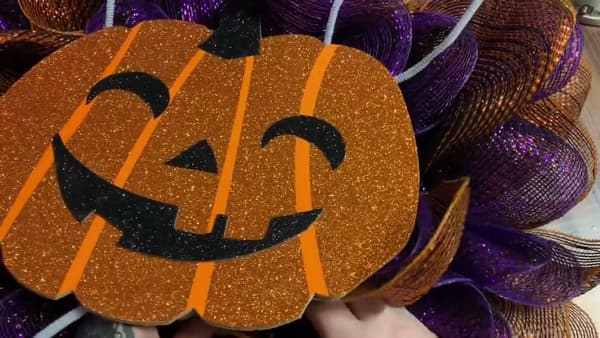
- glitter pumpkin sign
Steps
1. Gather the Frame, Mesh and Sign
You need three things: a 14-inch wire wreath frame, two rolls of 10-inch deco mesh, and a lightweight sign for the middle. That is genuinely the whole supply list.
Tip: A roll of mesh is usually 10 feet and covers one ring. Two rolls does a 14-inch frame comfortably.
2. Sandwich a Wire Ring in the Mesh
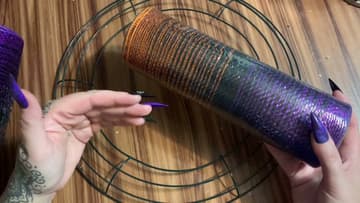
Roll the mesh out flat and set the frame on top of it. Pick one ring to work around, then bring both edges of the mesh up so the wire sits between them.
Tip: Work the second ring in from the outside rather than the outermost one. It gives the finished wreath a fuller edge.
3. Pull the Edges Up and Even Them
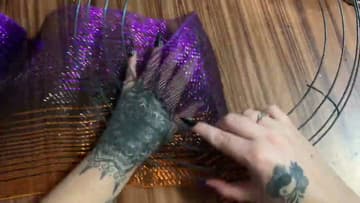
Hold the two corners together, lift them, and flatten the mesh out so both sides are the same length. Even edges here mean even ruffles later.
Tip: Deco mesh clings to itself, which works in your favour. It will not slide back through the frame while you set up the next section.
4. Scrunch the First Ruffle
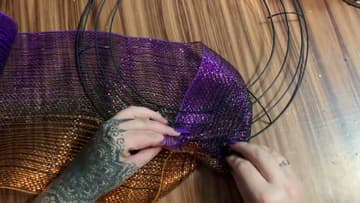
Pull up a small section of mesh, an inch or two, and scrunch it over to one side against the wire. That scrunch is the ruffle.
Tip: Bigger pulls give you a fluffier, looser wreath. Smaller pulls give you a dense one. Pick a size and stay consistent.
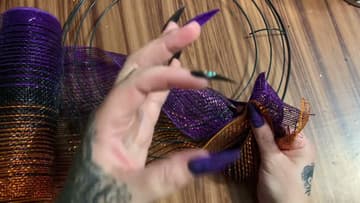
5. Fill the First Section
Keep pulling and scrunching along the wire until the section between two spokes looks full. Push each new ruffle up snug against the last one.
Tip: Rest a pair of scissors on the roll to stop it unspooling across the table while you work.
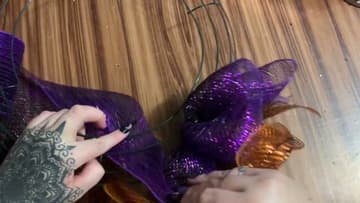
6. Work All the Way Around
Carry on section by section until you are back where you started. Keep the mesh reasonably snug as you go, but not so tight that you drag the finished ruffles back through the frame.
Tip: Rest your wrists in your lap rather than holding your arms out over the table. This part takes a while.
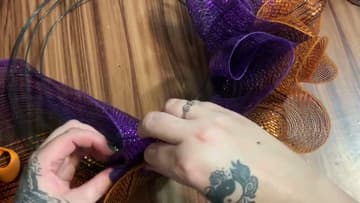
7. Zip Tie the End
When you get back to the start, secure the loose tail to the frame with a zip tie, then tuck the end down out of sight. Trim the zip tie, but leave a little length.
Tip: Flip the wreath over and tuck any mesh that has drooped through the back before you call this done.

8. Add the Second Roll to the Inner Ring
Now do the whole thing again with your second roll, working around the innermost ring. If your mesh has two colours down its length, keep the same colour facing the same way on both rings.
Tip: The inner ring is a smaller circle, so you will use slightly less mesh than the outer one.

9. Nest the Sign in the Middle
Sit the sign in the centre and push the surrounding mesh out and around it. You want the sign nesting down among the ruffles, not perched on top of them.
Tip: Lightweight signs are the ones to buy. A heavy sign sags the middle of the wreath over a season.

10. Fasten It With Pipe Cleaners
Thread pipe cleaners through the mesh on either side of the sign, find a bare stretch of the wire frame underneath, and twist them around it. Pipe cleaners hold a light sign perfectly well and they come off again without damage.
Tip: Zip tie mounts glued to the back of the sign are the sturdier option if you plan to reuse it for years.