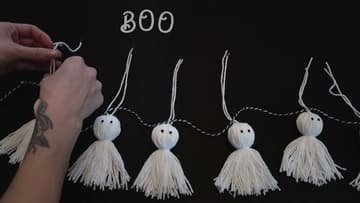
How to Make a Ghost Garland
Source: Krysta Meeker • Full tutorial: www.craftingstepbystep.com/crafts/how-to-make-a-ghost-garland
- Difficulty
- Easy
- Hands-on time
- About 1 hour
- Wait time
- 1 hour
- Cost
- About $5 to $10
- Makes
- a garland of about 8 small yarn ghosts

Tools
- scissors
Materials
- white worsted yarn
- scrap cardboard
- black fabric puff paint
- tissue paper or cotton balls
- black and white bakers twine
Steps
1. Cut a Cardboard Template
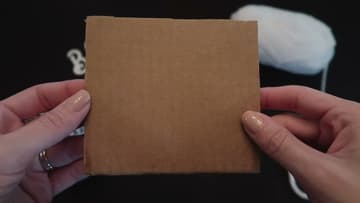
Cut a piece of scrap cardboard to roughly four and a half by four inches. That rectangle is the only template you need.
Tip: Corrugated packaging is ideal. It is stiff enough to hold the yarn taut without bending while you wrap.
2. Wrap the Yarn Around the Cardboard
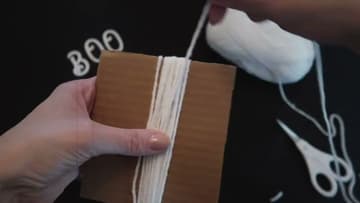
Wind the white yarn around the cardboard, keeping the wraps side by side rather than piling them up. How many times you go around decides how full the ghost looks.
Tip: Around 40 to 50 wraps of a standard worsted yarn gives a nicely full ghost.
3. Cut the Yarn Free
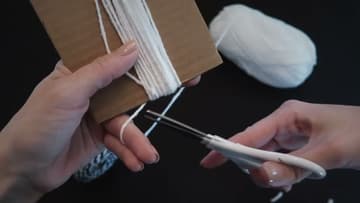
Once the bundle is as thick as you want it, cut the yarn away from the skein.
Tip: Leave the wraps on the cardboard for now. They stay much tidier there than loose on the table.
4. Tie the Bundle at the Top
Slide a separate long strand of yarn underneath all the wraps, pull it up to the top edge, and tie a firm knot. Cut this strand generously long.
Tip: Pull this knot tighter than feels necessary. It carries the whole weight of the ghost once it is hanging.
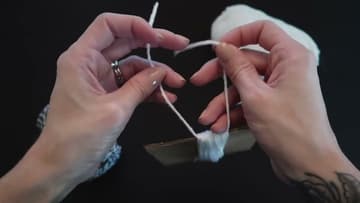
5. Slide It Off the Cardboard
Ease the tied bundle off the end of the cardboard. It should hold its shape on its own now, with all the loops gathered under that one knot at the top.
Tip: If a few strands slip loose, work them back under the tie before you go any further.
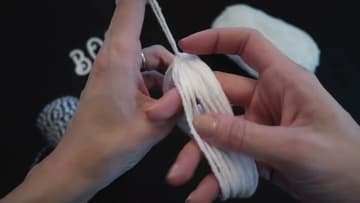
6. Stuff the Head
Ball up a piece of tissue and push it into the bundle just below the tie, then spread the yarn evenly around it. This is what turns a flat tassel into a ghost.
Tip: Kleenex, tissue paper or a cotton ball all work. Check the coverage from every side, because a gap shows the white tissue through the yarn.
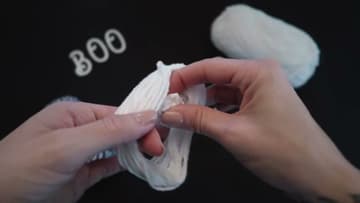
7. Tie Off the Neck
Wrap a second strand of yarn around the bundle just below the stuffing and knot it. That knot holds the tissue captive and defines the head.
Tip: Slide the neck tie up or down before you tighten it. Higher gives a big-headed cartoon ghost, lower a lankier one.
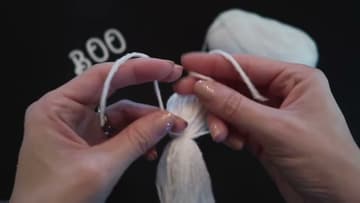
8. Cut the Bottom Loops Open
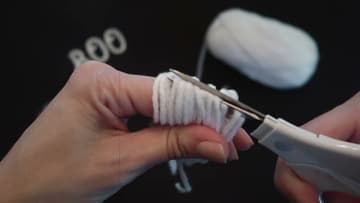
Snip through all the loops at the bottom of the bundle so the yarn hangs loose. Then go back and trim the stragglers.
Tip: Cut the loops while the ghost hangs from your hand. Gravity lines the strands up for you.
9. Add the Eyes
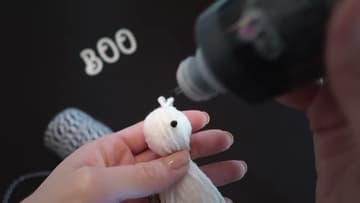
Dot two eyes onto the head with black fabric puff paint. Keep them small and set them fairly low and wide.
Tip: Puff paint takes a couple of hours to cure. Do not hang the garland until the eyes are properly dry or you will smear them.
10. Knot the Ghosts Onto the String
Repeat until you have enough ghosts, then tie each one onto your hanging string with a simple knot. Push the tails to whichever side they naturally want to fall and tuck them down into the body so the knot disappears into the yarn.
Tip: Black and white bakers twine suits this better than plain string. It reads as part of the decoration instead of something holding it up.