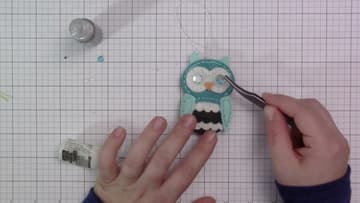
How to Make a Felt Owl Ornament With Sequin Eyes
Source: Stephanie Klauck • Full tutorial: www.craftingstepbystep.com/crafts/how-to-make-a-felt-owl-ornament
- Difficulty
- Easy
- Hands-on time
- About 1 hour
- Wait time
- 1 hour
- Cost
- About $2 to $5
- Makes
- 1 owl ornament

Tools
- die cutting machine and owl die (or a paper template)
- sharp fabric scissors
- blunt large-eye needle
- small fine-tip glue bottle
- fine point tweezers
Materials
- wool blend felt in grey, white, aqua and orange
- black embroidery floss
- light aqua and white embroidery floss
- polyester fiberfill
- tacky glue
- ornament hanging cord
- large clear sequins
- 6mm turquoise sequins
- 4mm clear sequins
- matte gel medium
- silver glitter glue
Steps
1. Cut Out the Felt Owl Ornament Pieces
Run your felt through the die cutting machine with the owl die. You need two of the large body shape and two wings.
Tip: Cut a few extra feather strips. They are tiny and easy to lose.
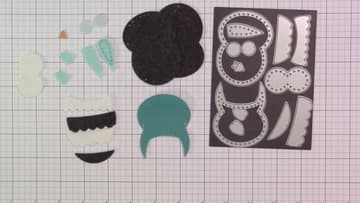
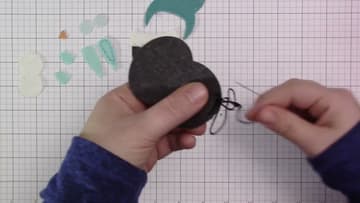
2. Backstitch the Two Felt Owl Body Pieces Together
Stack the two grey body pieces so the punched holes line up. Thread a blunt needle with black embroidery floss and leave a tail at the bottom.
Tip: Leave a gap about the width of two fingers for the stuffing.
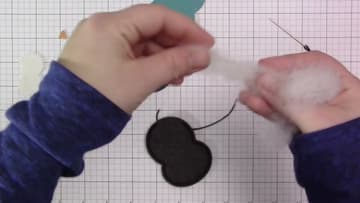
3. Pull Apart the Fiberfill Before Stuffing the Felt Owl
Take a small pinch of fiberfill and pull it apart between your fingers until it is light and wispy. Tuck it into the gap one bit at a time.
Tip: Stop while the owl still feels soft. It flattens a little under the glued layers.
4. Sew the Felt Owl Body Closed and Tie Off the Thread
Pinch the opening shut with your thumb and finger so the stuffing stays in. Keep stitching until you reach the starting tail.
Tip: Pull the knots firm, not tight. Too tight buckles the bottom edge.
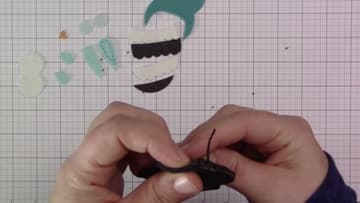
5. Stitch Around the Felt Owl Face, Eyes and Wings
The face, the eye piece and the second wing get a decorative stitch too. Use a thread color a shade lighter than the felt so the stitching shows.
Tip: Do all your sewing before you open the glue.
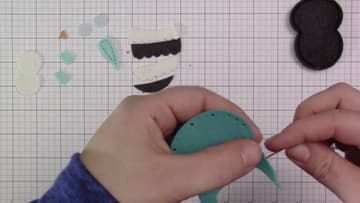
6. Glue the Scalloped Feather Layers on the Felt Owl
Dab tacky glue onto the smallest grey feather strip and press it across the bottom of the body. Add a white strip above it, then grey, then the last white.
Tip: A small fine-tip glue bottle gives far better control than the big one.
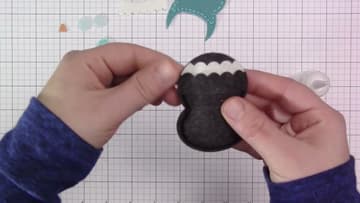
7. Add the Hanging Loop and Ears to the Felt Owl
Fold a length of cord into a loop. Put a dot of glue in the center of the head and another near the top, then lay the cord ends into it.
Tip: Make the loop long enough to slip over a branch.
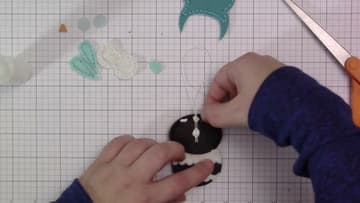
8. Glue the Face and Eye Pieces on the Felt Owl
Spread glue over the back of the face piece, heaviest along the stitching where the felt sits highest. Lay it over the head and press all around the edges.
Tip: Press with your fingertips around every edge, not only the middle.
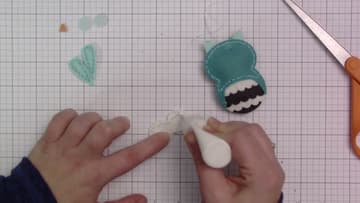
9. Attach the Wings and Beak to the Felt Owl
Dab glue down the inside edge of each wing and press one to each side of the body. They cover the unsewn face tabs.
Tip: Lay the owl flat while it dries so the wings do not slide.
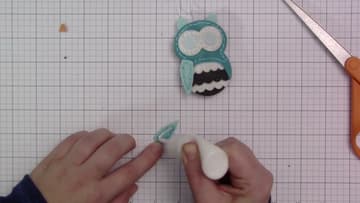
10. Layer Sequin Eyes on the Felt Owl Ornament
Brush a small dot of matte gel medium in the center of each eye. Place a large clear sequin with tweezers.
Tip: Gel medium dries clear and gives more control than tacky glue for sequins.