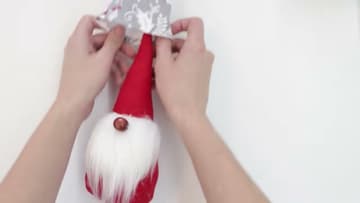
How to Make a Fabric Gnome (Free Sewing Pattern)
Source: LearnCreateSew (LearnCreateSew) • Full tutorial: www.craftingstepbystep.com/crafts/how-to-make-a-fabric-gnome
- Difficulty
- Easy
- Hands-on time
- About 1 hour 30 minutes
- Cost
- About $6 to $12
- Makes
- 1 gnome

Tools
- sewing machine
- fabric scissors
- small embroidery scissors
- pinking shears
- fabric marking pen
- sewing pins
- hand sewing needle
- funnel
Materials
- craft felt for the body and base
- flannel or cotton fat quarter for the hat
- long pile faux fur
- poly pellets
- polyfil stuffing
- wooden bead for the nose
- pom pom
- coordinating thread
- scrap fabric for the pellet pouch
Steps
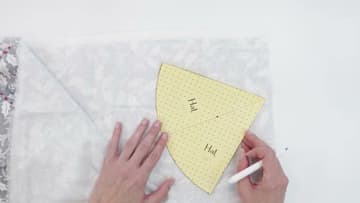
1. Trace the Gnome Hat Pattern Onto the Fabric
Print the free LearnCreateSew pattern and tape the pieces together. The video makes the medium size here.
Tip: Move the pattern around on a printed fabric before you trace so you like where the motifs land.
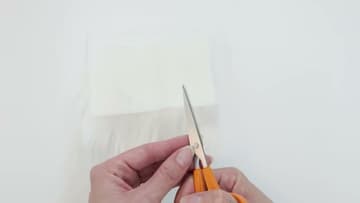
2. Snip the Faux Fur Beard Backing With Small Scissors
Check which way the fur brushes down and match it to the arrow on the beard pattern. Flip the fur over, trace the beard on the back and cut it out slowly.
Tip: Cut outdoors or over a bin. Fur sheds loose fibers everywhere.
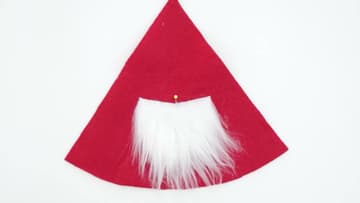
3. Pin the Fur Beard to the Red Felt Gnome Body
Trim the body pattern along the dotted beard placement line. Lay that top piece on the felt body to show where the beard goes.
Tip: Mark the center line on the beard and body if you do not trust your eye.
4. Sew the Side Seam of the Gnome Body
Fold the body in half with right sides together so the beard is hidden inside. Pin the long side.
Tip: Backstitch on both sides of the gap so it does not pull open while stuffing.
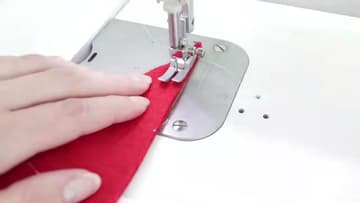
5. Sew In the Gnome Base and Clip the Curves
Tuck the beard down inside, out of the way. Pin the felt circle to the bottom edge, right sides together, and sew around it with a quarter inch seam.
Tip: No pinking shears? Cut small triangles into the seam allowance with regular scissors.
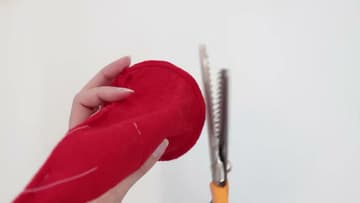
6. Weight the Gnome Body With Poly Pellets
Pour poly pellets into the bottom so your gnome stands without wobbling. A large funnel helps; small ones jam.
Tip: Pin half an inch from your stitch line so pellets stay away from the needle.

7. Stuff the Gnome and Slip Stitch the Opening Closed
Tear polyfil into small, fluffy pieces so the body does not turn lumpy. Pack it in around the pellet pouch and shape the gnome as you go.
Tip: A chopstick pushes stuffing into the tip of the cone.
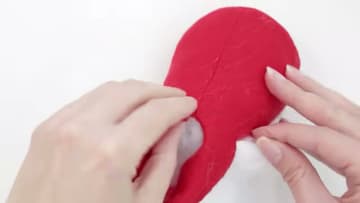
8. Hem the Gnome Hat and Fold It Into a Cone
Lay the hat right side down. Fold the curved edge up a quarter inch and stitch it down to hem it, all the way around.
Tip: Hat too baggy? Sew the side again with a wider seam.
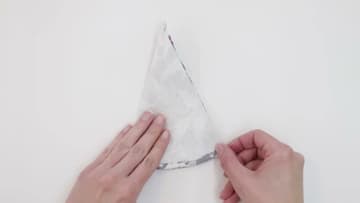
9. Sew the Wooden Bead Nose on the Gnome
Take the hat off. Find the back seam and go straight across to the front; that is the center of the beard.
Tip: Making a batch? Sew the nose on right after the beard while the body is still flat.
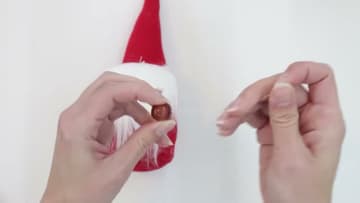
10. Slouch the Hat Over the Gnome's Nose
Sew a pom pom to the tip of the hat, stitching through the pom pom itself and not only its fluff, or hot glue it. Put the hat on with the seam at the back.
Tip: Pinch the hat tip into a bend for a more playful gnome.