How to Make a Fabric Bunting Banner - Easy Sewing Project
Source: Today we Craft • Full tutorial: www.craftingstepbystep.com/crafts/how-to-make-a-fabric-bunting-banner
- Difficulty
- Easy
- Hands-on time
- About 2 hours
- Cost
- About $8 to $20
- Makes
- about 3 yards of bunting

Tools
- sewing machine
- rotary cutter or fabric scissors
- cutting mat
- iron
- quilting clips or pins
- ruler and pen
Materials
- cotton or calico fabric
- fabric tape or bias binding, about 1 inch wide
- thread
- thin card for the template
- iron-on interfacing (optional)
Steps
1. Make a Cardboard Template for the Bunting Flags
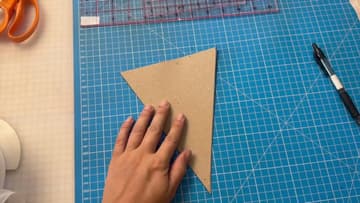
Cut a rectangle of card 6 inches wide and 8 inches tall. Mark the middle of the bottom edge, 3 inches in from each side.
Tip: Cereal box card is fine. It is stiff enough to trace around and costs nothing.
2. Cut the Fabric Bunting Triangles Two at a Time
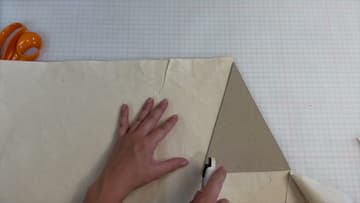
Lay out your fabric folded double so you cut two triangles at once. Place the template on top and either trace around it and cut with scissors, or cut straight along the edges with a rotary cutter.
Tip: If you are adding iron-on interfacing, fuse it before you cut any triangles.
3. Pair the Bunting Triangles Right Sides Together
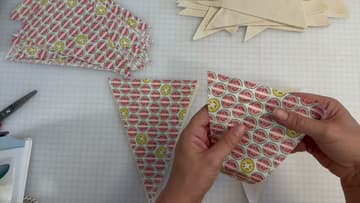
Give the cut triangles a quick press so they lie flat. Then decide how you want the flags to look.
Tip: Stack the pairs in the order you want them on the tape. It saves sorting later.
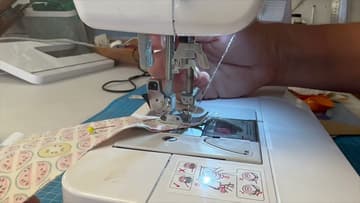
4. Sew the Long Edges of Each Bunting Flag
Sew down one long edge, pivot at the point and sew up the other long edge. Leave the short top edge open so you can turn the flag later.
Tip: Stop with the needle down at the tip before you turn the corner. It keeps the point sharp.
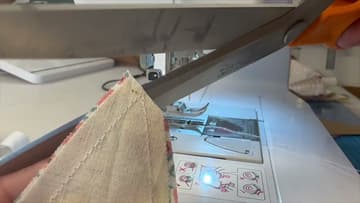
5. Snip the Tip of Each Sewn Bunting Flag
Once the pairs are sewn, trim the extra fabric off the point of each flag. Cut across the tip close to the stitching, but do not cut through it.
Tip: Small sharp scissors give you more control at the point than big shears.
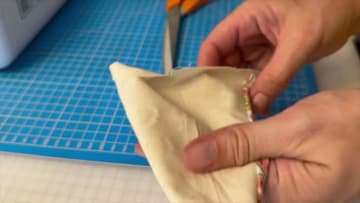
6. Turn the Bunting Flag Right Side Out
Push the point of the flag through the open top and turn it right side out. Then use something blunt, like a chopstick or the end of a paintbrush, to gently ease the point out from the inside.
Tip: A knitting needle works well as a point turner if you have one.
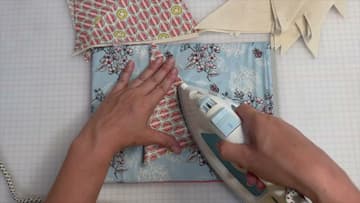
7. Press Each Fabric Bunting Flag Flat
Press the turned flag with a hot iron so the seams sit right on the edges and the flag lies flat. That flag is done.
Tip: Trim any fabric poking out of the open top so it tucks neatly into the tape.
8. Fold the Bunting Tape Over the First Flag
Pull out a couple of feet of tape from the roll and leave it loose. That end is for tying up the bunting.
Tip: Press a crease down the middle of the tape first if it will not fold evenly.
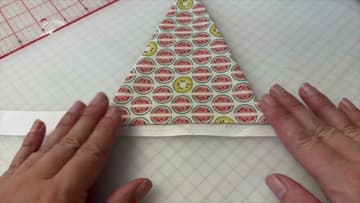
9. Space the Bunting Flags Along the Tape
Leave a gap before the next flag. The spacing is up to you.
Tip: Keep the gaps the same all the way along. Uneven spacing is the first thing people notice.
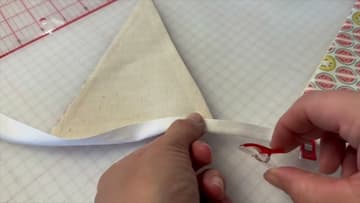
10. Sew the Bunting Flags Into the Tape
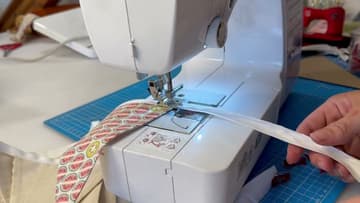
Sew along the folded tape close to its open edge, catching the top of each flag as you go. Remove each clip as it reaches the presser foot.
Tip: Sew the tape between the flags too. It closes the tape and stops it twisting.