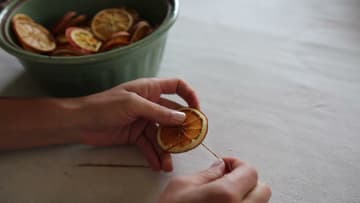
How to Make a Dried Orange Garland
Source: Justine Silva • Full tutorial: www.craftingstepbystep.com/crafts/how-to-make-a-dried-orange-garland
- Difficulty
- Easy
- Hands-on time
- About 45 minutes
- Wait time
- 4 hours
- Cost
- About $5 to $10
- Makes
- 1 garland about 6 feet long

Tools
- sharp knife
- cutting board
- baking trays
- tapestry needle
- scissors
Materials
- 4 to 5 navel oranges
- blood oranges (optional)
- parchment paper
- paper towels
- embroidery floss or twine
Steps
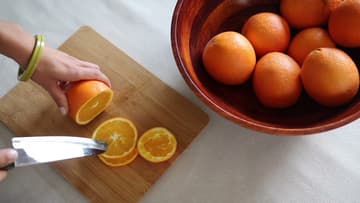
1. Slice the Oranges Into Quarter Inch Rounds
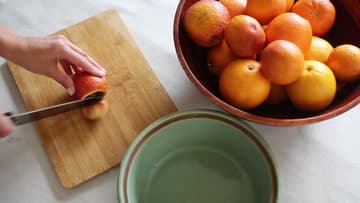
Set a cutting board on the table and use a sharp knife. Cut the ends off each orange, then slice it into rounds about a quarter inch thick.
Tip: A serrated knife cuts through the peel without squashing the fruit.
2. Lay the Orange Slices on a Parchment Lined Tray
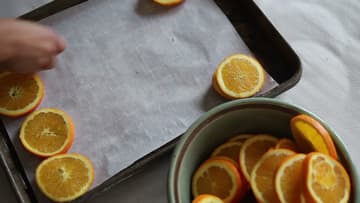
Line a rimmed baking tray with parchment paper so the sugary juice does not stick. Pat each slice dry with a paper towel, then lay them out in a single layer.
Tip: Press the slices with paper towels on both sides to shave off drying time.
3. Set the Oven Between 200 and 250 Degrees
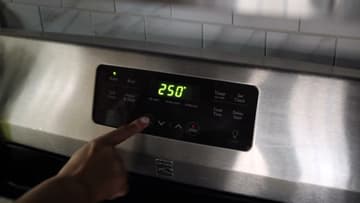
Turn your oven to a low temperature, between 200 and 250 degrees F. Justine sets hers to 250 for navel oranges.
Tip: Prop the oven door open an inch to let moisture escape.
4. Slice Blood Oranges for Red Garland Slices
For a pop of red, slice a few blood oranges the same way, about a quarter inch thick. Put them on their own parchment lined tray.
Tip: Cara cara and grapefruit slices add pink and pale yellow tones.
5. Bake the Orange Slices Two to Four Hours, Flipping
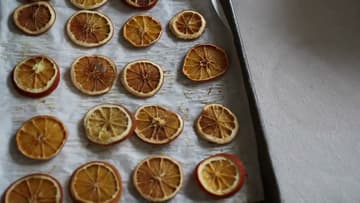
Let the slices bake for two to four hours. Check on them and flip each slice every hour or so, so both sides dry evenly and they do not curl.
Tip: Pull out any thin slices that finish early so they do not burn.
6. Thread a Tapestry Needle With Embroidery Floss
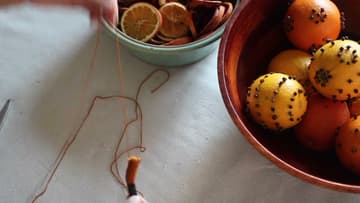
Pull off a long length of embroidery floss, longer than you want the garland to be. Justine uses a rust colored floss that blends with the dried peel.
Tip: Jute twine or baker's twine gives a more rustic look.
7. Push the Needle Through the Orange Slice Near the Rind
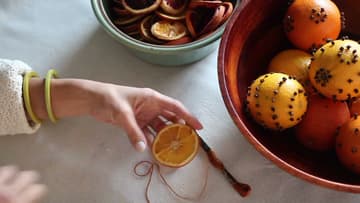
Take your first dried slice and push the needle through as close to the rind as you can. The rind is the strongest part, so the slice will not tear when it hangs.
Tip: If a slice resists, poke a hole first with a toothpick.
8. String More Dried Orange Slices Onto the Garland
Keep adding slices the same way, pushing the needle through near the rind each time. Alternate orange and blood orange slices, or mix them however you like.
Tip: Thread each slice through the same spot on the rind so they all face forward.
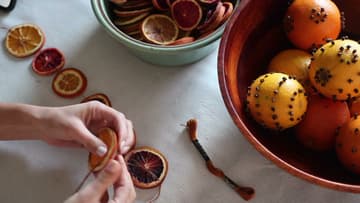
9. Tie Off the Dried Orange Garland With a Hanging Loop
When you reach the last slice, tie a knot around it to lock everything in place. Use the extra floss to tie a small loop at each end so the garland hangs from a hook or a branch.
Tip: Extra slices make quick ornaments on a short loop of floss.