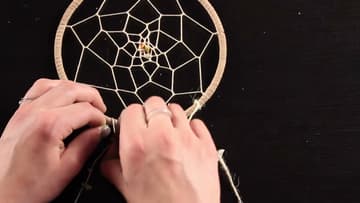
How to Make a Dream Catcher - Easy Step by Step DIY
Source: Emilie Lefler • Full tutorial: www.craftingstepbystep.com/crafts/how-to-make-a-dream-catcher
- Difficulty
- Easy
- Hands-on time
- About 1 hour 30 minutes
- Cost
- About $6 to $12
- Makes
- 1 dream catcher

Tools
- scissors
- small clip
- ruler or tape measure
- wire cutters
Materials
- 6 inch metal hoop
- suede lace
- waxed cord
- small beads or stones
- feathers
- 26 gauge floral wire
- food colouring (optional)
- cord, lace or trim for hanging
Steps
1. Wrap Suede Lace Around the Dream Catcher Hoop
Loop the end of the suede lace around the metal hoop a few times and hold it in place with a small clip. Then wrap the lace around the whole hoop in one even layer.
Tip: Lay the lace flat as you wrap. A twisted strip leaves lumps and gaps.
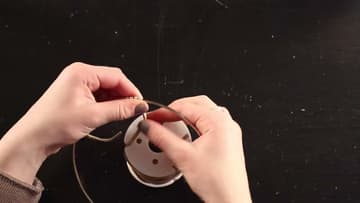
2. Tie the Suede Lace Ends in a Double Knot on the Hoop
Take off the clip and check the wrap. Slide any loose turns together so the hoop is covered evenly and tightly.
Tip: Keep the trimmed tails if you like. They make good hanging loops.
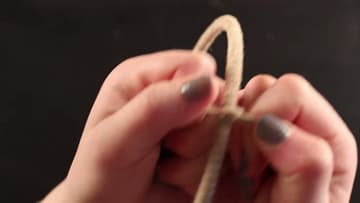
3. Tie the Waxed Cord Onto the Dream Catcher Hoop
Measure out about 10 feet of waxed cord and wind it around your fingers into a small ball so it is easy to handle. Tie one end to the hoop in a tight knot, right next to the knot in the suede.
Tip: The amount of cord depends on how tight you weave. Too much is better than too little.
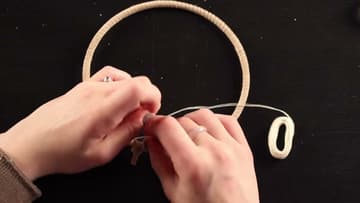
4. Knot the First Round of the Dream Catcher Web
Measure out a couple of inches of cord along the hoop. Take the cord around the hoop and back through the loop you made, then pull it snug.
Tip: Count your knots as you go and keep the gaps the same length each time.
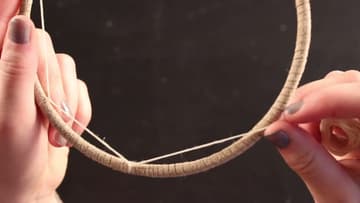
5. Weave the Second Round of the Dream Catcher Web
Now work toward the middle. Find the halfway point of the first loop, between two knots.
Tip: Pull each knot the same amount so the loops stay even.
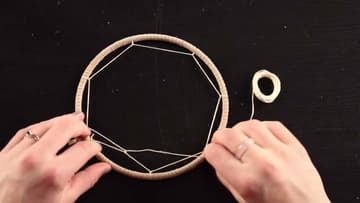
6. Keep Weaving the Dream Catcher Web Toward the Center
Carry on the same way, round after round. Each new knot goes in the middle of a loop from the round before.
Tip: Hold the hoop up to the light now and then to check the shape.
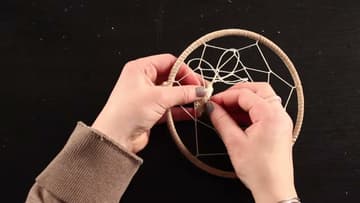
7. Add Beads to the Center of the Dream Catcher
Before the last round, thread a bead or a small stone onto the cord. Slide it up and tie the next knot so the bead sits in the loop.
Tip: Pick beads with holes big enough for the waxed cord to pass through.
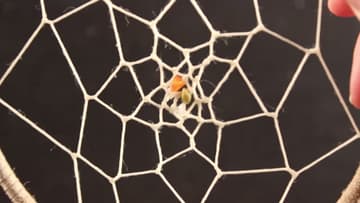
8. Tint the Dream Catcher Feathers With Food Colouring
This step is optional. Wet your fingers in a little water, add a drop of food colouring, and rub it into the tip of a white feather.
Tip: Wear gloves or expect blue fingers for a day.
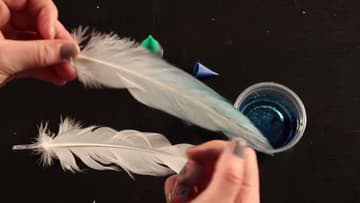
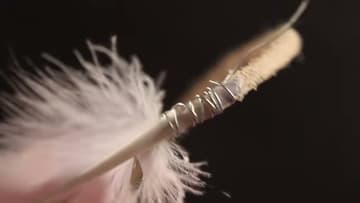
9. Wire the Feathers to the Dream Catcher Hanging Cords
Decide where each feather will hang along the bottom of the hoop. Cut about five inches of floral wire for each one.
Tip: Tuck the sharp wire end in so it does not snag the feathers.
10. Tie the Feather Strands to the Bottom of the Dream Catcher
Tie each feather cord to the bottom of the hoop with a knot, spacing them around the suede knot. Emilie tried hot glue first and found knots easier and neater.
Tip: Hang it where it can turn a little. The feathers catch the light as it moves.