How to Make a Concrete Pen Holder for Your Desk
Source: Sam Bucciferro • Full tutorial: www.craftingstepbystep.com/crafts/how-to-make-a-concrete-pen-holder
- Difficulty
- Easy
- Hands-on time
- About 1 hour
- Wait time
- 24 hours
- Cost
- About $3 to $8
- Makes
- 1 pen holder

Tools
- craft knife
- steel ruler
- mini hot glue gun
- small mixing cup and spoon
- screen or hole-punched cardboard for sifting
- gloves
- dust mask
Materials
- foam board
- printed mold template
- spray adhesive
- clear packing tape
- concrete mix or sand mix
- water
- petroleum jelly
- a spare pen
- cork sheet (optional)
Steps
1. Attach the Pen Holder Template to Foam Board
Print a template with the outlines of the base and four walls. Sam shares his on the Fizzy Brick website, or you can draw one with a ruler.
Tip: Make the walls a little taller than your cube so you have room to fill to the top.
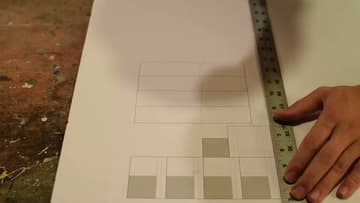
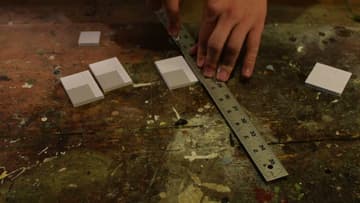
2. Cut the Foam Board Mold Pieces Along a Ruler
Hold a steel ruler firmly on each line and draw a sharp craft knife along it. Take two or three light passes instead of forcing one deep cut.
Tip: Snap off a fresh blade before you start. A dull blade tears the foam.
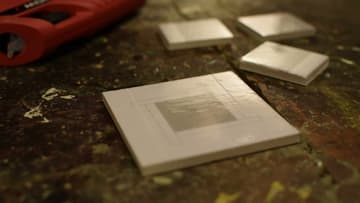
3. Seal the Foam Board Mold Pieces With Packing Tape
Cover every face that will touch concrete with clear packing tape. Smooth it down so there are no wrinkles or bubbles, since every crease shows up on the cast.
Tip: Trim the tape flush with the edges so the walls still sit tight.
4. Hot Glue the Foam Board Walls to the Mold Base
Stand the first wall on its line on the base and tack it with small dots of hot glue. Dots set faster than a long bead, so you can build the box quickly.
Tip: A mini glue gun fits inside the small box much better than a full-size one.
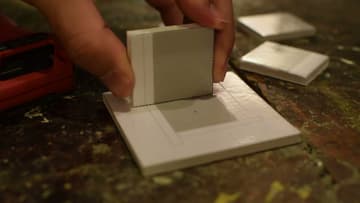
5. Push the Pen Through the Hole in the Mold Base
Feed the pen up through the hole in the base so it stands straight in the middle of the box. The pen is the mold for the hole, so it will fit that pen exactly.
Tip: Check the pen is straight from two sides. A tilted pen gives a tilted hole.
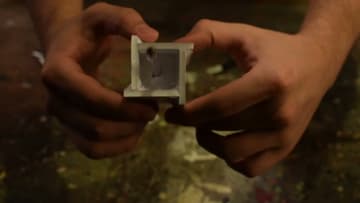
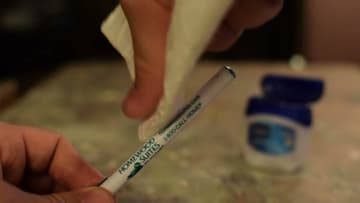
6. Tape and Grease the Pen So It Slides Out of the Concrete
Wrap a few layers of packing tape around the end of the pen that sits in the concrete. Then wipe a thin coat of petroleum jelly over the tape with a paper towel.
Tip: Use a spare pen for casting. It may get scuffed.
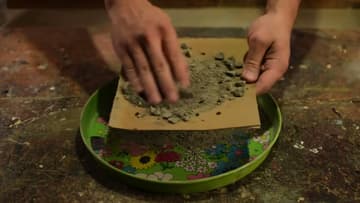
7. Sift the Gravel Out of the Concrete Mix
Most bagged concrete has large gravel mixed in. That is fine for steps or a patio, but the stones jam in the tight gap around the pen.
Tip: Sift a little more than you think you need. A small cube still takes a full cup.
8. Fill the Foam Board Mold With Wet Concrete
Stir water into the sifted mix a little at a time until it is like thick oatmeal. Spoon it into the mold and push it down around the pen.
Tip: Cover the top loosely with plastic so it does not dry out too fast.
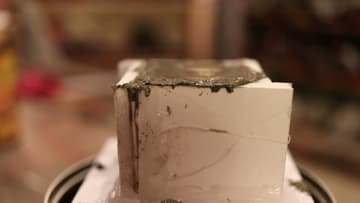
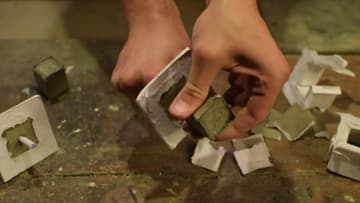
9. Peel the Foam Board Mold Off the Concrete Pen Holder
Once the concrete is hard, twist the pen and pull it out. Then tear the foam board walls away from the cube.
Tip: Sand any sharp edges lightly with fine sandpaper once it is fully dry.