How to Make a Concrete Leaf Casting
Source: Gardening TLC • Full tutorial: www.craftingstepbystep.com/crafts/how-to-make-a-concrete-leaf-casting
- Difficulty
- Medium
- Hands-on time
- About 1 hour
- Wait time
- 3 days
- Cost
- About $8 to $15
- Makes
- 1 concrete leaf casting

Tools
- Long rubber gloves
- Mixing tub
- Spoon
- Wire grill brush
- Scissors
Materials
- Large veined leaf
- Vinyl cement patch concrete mix
- Play sand
- Plastic cling wrap
- Non-stick cooking spray
- Outdoor acrylic paint
Steps
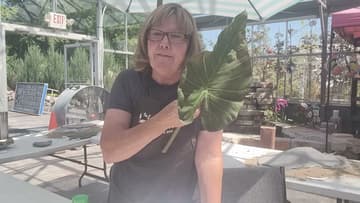
1. Choose a Leaf With Deep Veins
The veining on the back of the leaf is what you are actually casting, so pick something with pronounced ribs. Hosta, oakleaf hydrangea and rhubarb all work well.
Tip: Bigger is easier. A small leaf gives you very little margin when you are packing concrete out to the edge.
2. Mix the Concrete
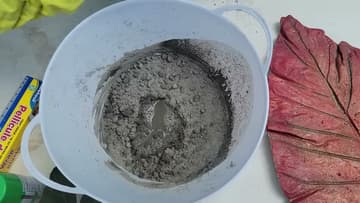
Use a fine vinyl cement patch rather than a general mix. It has almost no aggregate in it, which is what lets the casting pick up fine vein detail.
Tip: If it goes too thin, leave it a minute. It thickens as it sits. Long kitchen gloves beat thin latex ones here.
3. Shape the Sand Bed
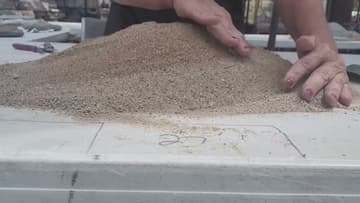
Pile up damp sand to make the mould. Mound it if you want the finished leaf cupped like a dish, or flatten it if you want the leaf flat.
4. Cover the Sand With Plastic Wrap
Lay plastic wrap over the whole sand bed so no sand works its way into the back of your casting. Cut the pieces to fit and smooth them down over the mound.
Tip: An extra pair of hands helps here, and something heavy on one corner stops it blowing away outdoors.
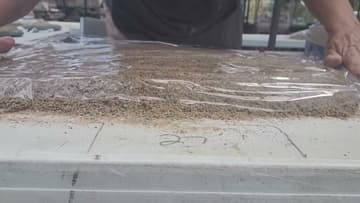
5. Lay the Leaf and Spray It
Set the leaf vein-side up on the plastic, positioned so the sand extends past the edges all the way round. Coat the back with cooking spray.
Tip: Use a plain spray, not a butter-flavoured one - the butter versions stain the concrete.
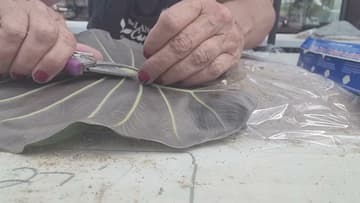
6. Pack On the Concrete
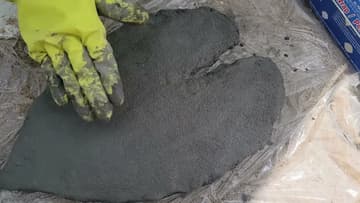
Start in the middle and work the concrete out towards the edges, laying it on rather than pushing it thin. Keep the depth even across the whole leaf.
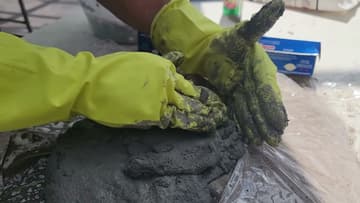
7. Guide the Edge With Your Hand
Hold your free hand against the edge of the concrete as you work so the rim stays defined instead of feathering away. Carry the same guide right around, including the tip of the leaf.
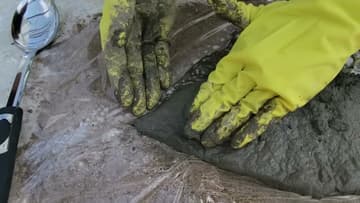
8. Smooth It With Wet Hands
Dip your hands in water, shake off the excess and skim the surface to take out fingerprints and ridges. Go gently near the rim so you do not lose the edge you just built up.
Tip: Lift the casting slightly as you go to check for spots you missed underneath. Small cracks can be pressed back together.
9. Add a Stand If You Want One
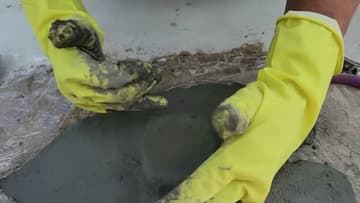
Any concrete left over can become a pedestal. Pat it into a small square in the middle of the back of the casting.
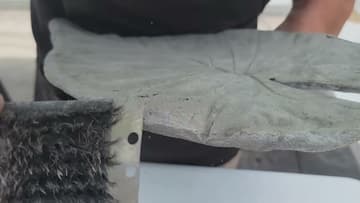
10. Cure, Release and Clean the Edges
Leave it about three days out of direct sun. Some people tent a bin bag over the top to slow the drying and reduce cracking.
Tip: A cheap grill brush from a hardware or dollar store is the right tool. Do not overwork it - you only want the loose crumbs gone.