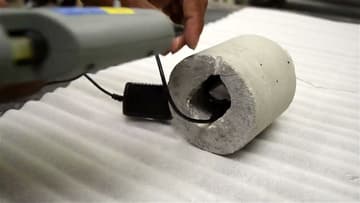
How to Make a Concrete Lamp Base With LED String Lights
Source: DIY Creators • Full tutorial: www.craftingstepbystep.com/crafts/how-to-make-a-concrete-lamp-base
- Difficulty
- Medium
- Hands-on time
- About 2 hours
- Wait time
- 48 hours
- Cost
- About $25 to $45
- Makes
- 1 lamp

Tools
- miter saw or hacksaw
- utility knife
- hand shovel or trowel
- mixing bucket
- rubber mallet
- palm sander
- bench vise
- drill
- masonry drill bit
- oscillating multi-tool (optional)
- hot glue gun
- gloves
- dust mask
Materials
- 4 inch PVC pipe
- plastic water bottle
- 1 inch foam weather strip
- plastic wrap or aluminum foil
- painter's tape
- high strength concrete mix
- water
- 60 grit sandpaper
- LED fairy string lights with remote
- glass cylinder vase
- hot glue sticks
Steps
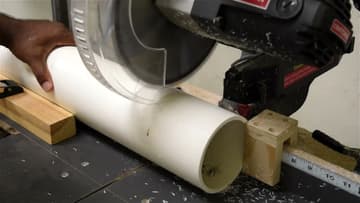
1. Cut the PVC Pipe Into Short Concrete Lamp Base Forms
Measure about 5 inches along a 4 inch PVC pipe. Clamp a stop block at that mark on your miter saw so both cuts come out the same length.
Tip: No miter saw? A hacksaw and a miter box will cut PVC cleanly.
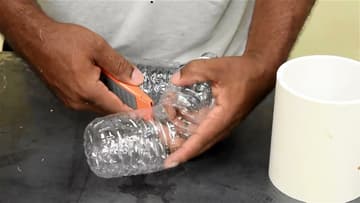
2. Cut a Plastic Bottle for the Hollow Lamp Base Core
The electronics need somewhere to hide, so the base has to be hollow. A plastic water bottle makes an easy placeholder.
Tip: Keep the bottle cap on so concrete does not run inside it.
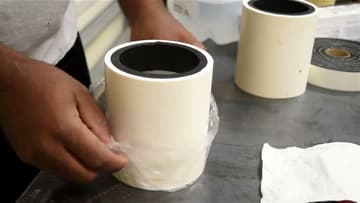
3. Line the Form Rim With Foam and Wrap the Bottom
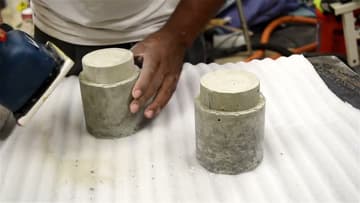
Peel the backing off 1 inch foam weather strip and press it around the inside of the top rim. This makes the top of the base narrower than the body, so a glass vase can sit over it.
Tip: Wrap the tape all the way around the pipe for a tighter seal.
4. Mix the Concrete for the Lamp Base
Pour high strength concrete mix into a bucket and add water a little at a time. Turn it over with a hand shovel until every bit of powder is wet.
Tip: Keeping the mix in a lidded bucket is easier than working from the paper bag.
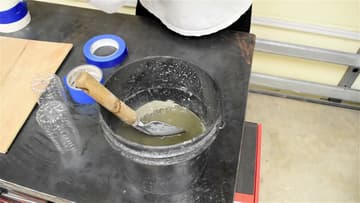
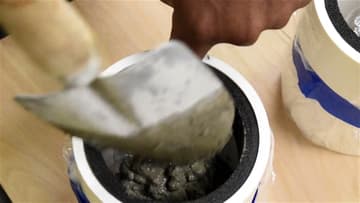
5. Fill the PVC Form With Concrete Around the Bottle
Set the cut bottle in the middle of the form. Spoon concrete in around it with the shovel, working your way up the sides.
Tip: Fill the second form the same way while the mix is still workable.
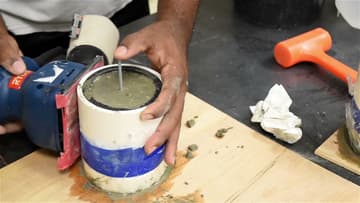
6. Vibrate the Concrete Lamp Base Form to Release Air Bubbles
Hold a palm sander against the side of the filled form and switch it on. The buzz shakes trapped air up to the surface, and you will see bubbles pop on top.
Tip: No sander? Tap the form steadily with a rubber mallet for a few minutes.
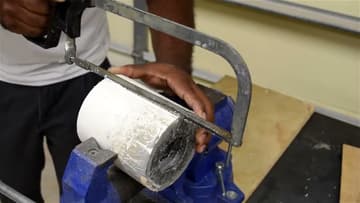
7. Saw the PVC Pipe Off the Cured Concrete Lamp Base
Clamp the form in a vise. Cut along the PVC with a hacksaw, but stop before you reach the concrete.
Tip: Scoring the pipe before you pour makes this step much easier.
8. Sand the Concrete Lamp Base Collar to Fit the Vase
Fit a palm sander with 60 grit paper and work around the narrow collar. Coarse paper takes concrete off fast.
Tip: Sand outdoors and wear a mask. Concrete dust gets everywhere.
9. Drill a Hole Through the Center of the Concrete Lamp Base
Put a masonry bit in your drill and bore down through the middle of the collar into the hollow core. If the bit pushes the plastic bottle down, pull it out.
Tip: Let the drill do the work. Pushing hard can chip the collar.
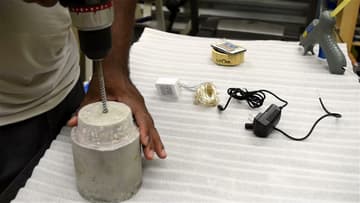
10. Wire the LED Lights and Glue the Cord in the Concrete Lamp Base
Feed the LED string lights up through the hole. Pass the remote sensor through too, so it sits on top where the remote can reach it.
Tip: Loose, random loops look better than a neat spiral.