How to Make a Concrete Catchall Tray with White Cement
Source: Colourslia | Clay & Concrete Artist ౨ৎ • Full tutorial: www.craftingstepbystep.com/crafts/how-to-make-a-concrete-catchall-tray
- Difficulty
- Medium
- Hands-on time
- About 30 minutes
- Wait time
- 24 hours
- Cost
- About $8 to $15
- Makes
- 1 concrete catchall tray
Tools
- silicone tray mold
- mixing container
- measuring cups
- stir stick
- sandpaper
- gloves
Materials
- white cement or concrete mix
- water
- concrete sealer
- felt feet
- pigment or dye (optional)
Steps
1. Gather Your Materials
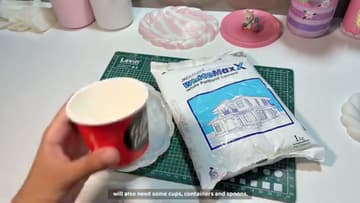
Set out everything before you start. You want your white cement, a silicone tray mold, two matching cups for measuring, a mixing container, a stir stick and a pair of gloves.
Tip: Watch this step Any small silicone resin or soap mold with a flat bottom works as a tray mold. A shallow, wide shape gives you a catchall rather than a deep dish.
2. Measure Two Parts Cement to One Part Water
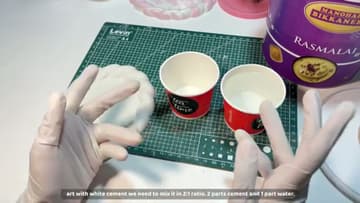
This ratio is the heart of the whole project. Fill one cup level with white cement, then fill a second cup the same way, and tip both into your mixing container.
Tip: Watch this step Add the cement to the container first and the water second. It's easier to see and break up dry pockets when the water goes in on top.
3. Mix Out the Lumps
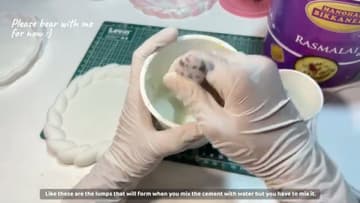
Pour the water into the cement and stir with real intent. Dry clumps show up right away, and that's expected.
Tip: Watch this step A flat wooden stir stick or a sturdy spoon works better than a fork. You want to smear the lumps, not slosh air into the mix.
4. Check the Consistency
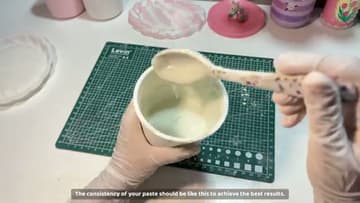
Lift a spoonful and let it drizzle back into the container. You're aiming for a paste that ribbons off slowly, somewhere between heavy cream and pancake batter.
Tip: Watch this step Once it's right, work fast. White cement has about a ten-minute window before it starts to firm up and stops pouring smoothly.
5. Pour It Into the Mold
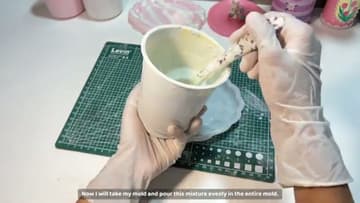
Pour the paste into the silicone mold in one steady stream. Start at the center and let it spread outward on its own toward the scalloped edge.
Tip: Watch this step Set the mold on a flat, level surface before you pour so the tray cures with an even thickness and doesn't come out lopsided.
6. Tap Out Bubbles and Cure
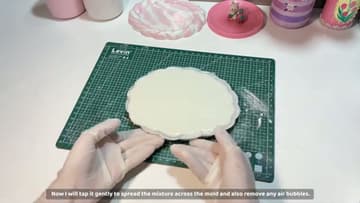
Give the filled mold a few firm taps flat against the table. Each knock brings trapped air up to the surface where it pops, and that's what leaves you with a smooth back instead of a pitted one.
Tip: Watch this step Rushing the de-mold is the number one way to crack a tray. In a cool room, give it the full day even if the top feels dry after a few hours.
7. De-Mold, Sand, and Style
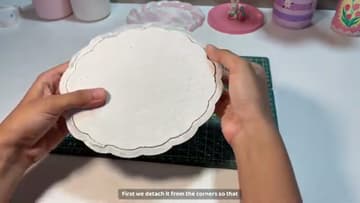
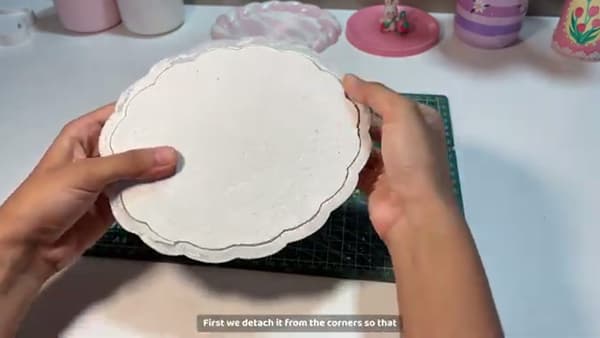
Peel the silicone back from the corners first, then work your way around the rim and ease the tray out. Go slow and let the flexible mold do the work so you don't chip the braided edge.
Tip: Watch this step Sand outdoors or over a bin - cement dust is fine and messy. Wet sanding with a damp piece of fine grit keeps the dust down and leaves a silkier finish.