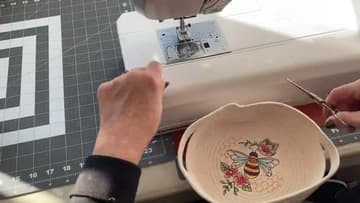
How to Make a Coiled Rope Basket With a Sewing Machine
Source: The Birch Cottage • Full tutorial: www.craftingstepbystep.com/crafts/how-to-make-a-coiled-rope-basket
- Difficulty
- Easy
- Hands-on time
- About 1 hour
- Cost
- About $8 to $15
- Makes
- 1 rope basket

Tools
- sewing machine with zigzag stitch
- zigzag or open toe presser foot
- jeans needle size 90 or 100
- pins or sewing clips
- fabric scissors
- tape measure
Materials
- 7/32 inch cotton clothesline rope (50-80 feet)
- matching all-purpose thread
- clear tape (optional)
Steps
1. Unwind the Cotton Clothesline Rope for the Basket
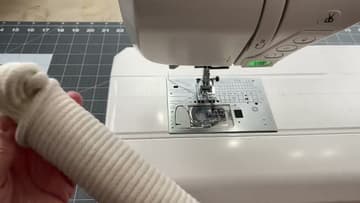
Gather cotton clothesline rope, thread that matches it, pins or clips, scissors and your sewing machine. Find the loose end of the rope and unwind the whole hank.
Tip: Unwound rope feeds evenly. A tight hank tugs and twists the coil.
2. Cut the Rope End at an Angle and Tape It
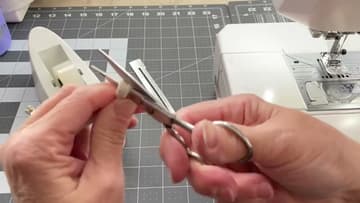
Snip off any tape the rope came with, then cut the end at a long slant. The taper lets the very center of the coil roll up tight with no lump in the middle.
Tip: Sharp fabric scissors give a clean slanted cut through thick cotton rope.
3. Coil the Rope Center Into a Tight Spiral
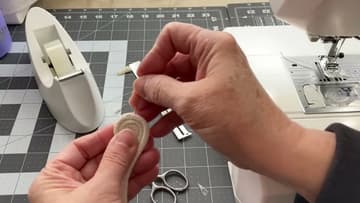
Take the tapered end and roll it toward itself, around and around, three or four times. Keep it flat and tight, like a snail shell.
Tip: Clips are easier to grab and remove than pins on thick rope.
4. Zigzag an X Across the Rope Coil Center
Set your machine to a wide zigzag stitch. Put the coil under the presser foot and stitch straight across the middle, pulling the pins out before they reach the needle.
Tip: A heavy jeans needle copes with the thick rope much better than a standard one.
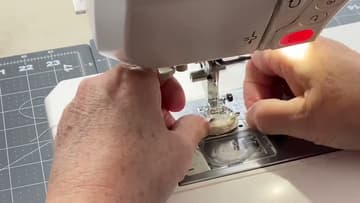
5. Zigzag the Rope Around to Build a Flat Basket Base
Now stitch the rope round and round. The zigzag should land half on the coil and half on the new rope, joining them.
Tip: Stop with the needle down whenever you reposition your hands.
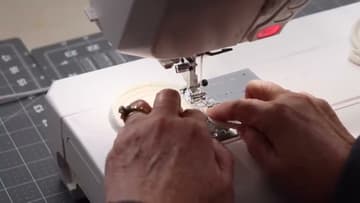
6. Tilt the Rope Base Up to Start the Basket Sides
To start the sides, slide your left hand under the base and lift it up against the side of the machine while you keep stitching. The rope now stacks on top of the last round instead of beside it, and the walls start to rise.
Tip: A slight tilt makes a shallow bowl. Nearly upright makes a tall basket.
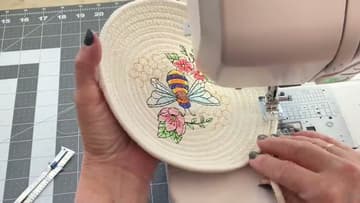
7. Keep Stitching Until the Rope Basket Sides Are Tall Enough
Keep zigzagging round after round, guiding the rope with your right hand and holding the angle with your left. As the basket gets bigger it will bump into the machine, so let it turn on its side or lean it away from you.
Tip: Wind a spare bobbin before you start the sides so you do not run out mid-round.
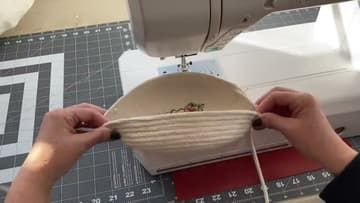
8. Mark the Rope Basket Handle Spots With Pins
Find the center of each side of the basket and mark it with a pin. Then measure an inch and a half to the left and right of each center and pin those spots too.
Tip: Measure both sides the same way so the handles match.
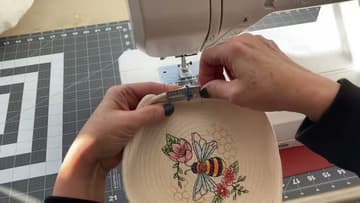
9. Leave Rope Slack for Each Basket Handle
At the first pin, stop joining the rope to the basket. Pull out a loop of loose rope, about three and a half inches, to form the handle and pin it down so it cannot slip.
Tip: Do not catch the handle loop to the basket until you reach the far pin.
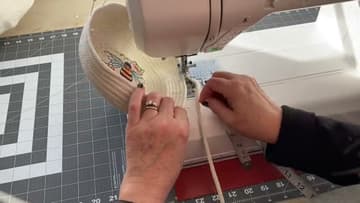
10. Trim and Stitch Down the Rope End to Finish the Basket
Go around at least one more time so each handle is two layers of rope thick and strong. When you reach the end of your final round, trim the rope at a long angle, pin it flat against the side of the basket and zigzag over it a few times.
Tip: Finish the tail on the side, not the top edge, so it is barely noticeable.