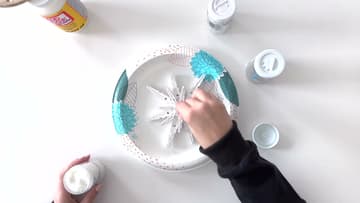
How to Make a Clothespin Snowflake (Easy Christmas Ornament)
Source: She's Crafty and She Knows It • Full tutorial: www.craftingstepbystep.com/crafts/how-to-make-a-clothespin-snowflake
- Difficulty
- Easy
- Hands-on time
- About 45 minutes
- Wait time
- 1 hour
- Cost
- About $3 to $8
- Makes
- 1 snowflake ornament

Tools
- hot glue gun
- paper plate
- paint brush or foam brush
- disposable gloves
Materials
- 8 regular wooden clothespins
- 8 mini wooden clothespins
- hot glue sticks
- flat white spray paint
- matte Mod Podge
- fine glitter
- chunky glitter
- twine or wire for hanging
Steps
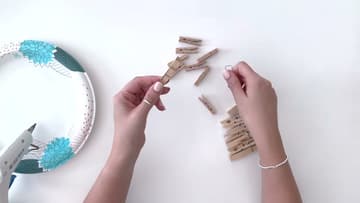
1. Pull the Springs Out of the Wooden Clothespins
Start with 8 regular wooden clothespins and 8 mini ones. Hold a clothespin by both halves and twist them in opposite directions.
Tip: Keep the large and mini halves in two separate piles so they do not get mixed up.
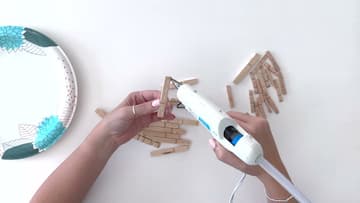
2. Hot Glue the Clothespin Halves Flat Side to Flat Side
Each clothespin half has a flat side and a notched side. Put a line of hot glue on the flat side of one half and press the flat side of a matching half onto it.
Tip: Only pair a regular half with a regular half, and a mini with a mini.
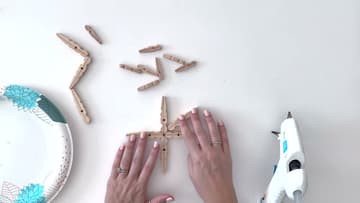
3. Lay Four Clothespin Pieces in a Cross for the Snowflake Base
Take four of the large pieces. Lay them in a cross so the wide ends touch in the center and the narrow ends point out.
Tip: Work on a paper plate so stray glue does not mark your table.
4. Glue Four More Clothespin Pieces Between the Arms of the Snowflake
Now fill the gaps. Put a good dab of glue on the wide end of another large piece and push it into one of the gaps between the arms of the cross.
Tip: Look at it from above before the glue cools and nudge any arm that is off.
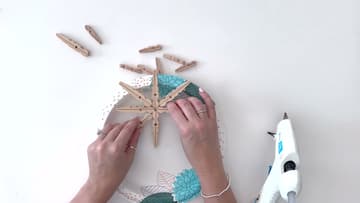
5. Build the Mini Clothespin Snowflake the Same Way
Repeat steps three and four with the eight mini pieces. Glue four into a cross, then add four between the arms.
Tip: Let the glue cool, then peel any thin strings off with your fingers.
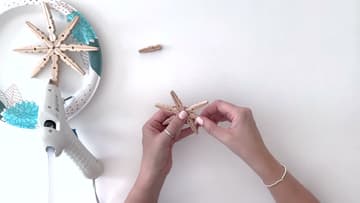
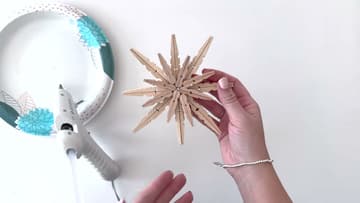
6. Stack the Mini Clothespin Snowflake Offset on the Large One
Set the mini snowflake on top of the large one. Turn it slightly so its arms sit between the big arms instead of right on top of them.
Tip: Sarah liked it so much at this stage that she nearly left it plain. That is a fine choice.
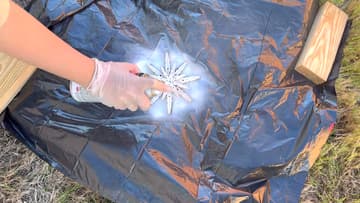
7. Spray Paint the Clothespin Snowflake White
Take the snowflake outside and lay it on a trash bag or cardboard. Wear gloves.
Tip: For a farmhouse look, sand the edges lightly once the paint is dry.
8. Brush Mod Podge Over the Painted Clothespin Snowflake
When the paint is fully dry, set the snowflake on a paper plate. Brush a coat of matte Mod Podge over the front, working into the gaps around the center.
Tip: A foam brush spreads Mod Podge without leaving brush marks.
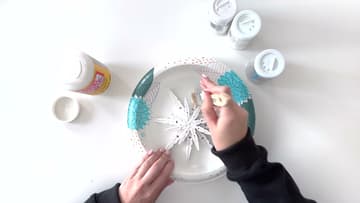
9. Sprinkle Glitter Onto the Wet Clothespin Snowflake
While the Mod Podge is still wet, sprinkle glitter over it. Sarah uses a fine glitter in the center and a chunkier one on the arms for contrast.
Tip: Fold the paper plate into a spout to pour leftover glitter back into the jar.