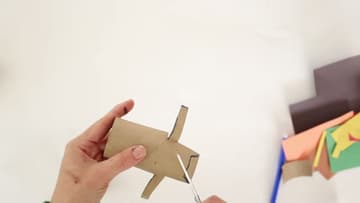
How to Make a Cardboard Tube Puppet (Easy Kids Craft)
Source: Black Cherry Puppet Theater • Full tutorial: www.craftingstepbystep.com/crafts/how-to-make-a-cardboard-tube-puppet
- Difficulty
- Easy
- Hands-on time
- About 20 minutes
- Makes
- 1 puppet

Tools
- scissors
- markers
- crayons
- glue stick
Materials
- empty toilet paper tubes (or a paper towel tube cut down)
- scraps of colored paper
- clear tape (for repairs)
Steps
1. Mark the Face Tab on the Toilet Paper Tube
Pick up an empty toilet paper tube and hold it upright. With a marker, draw two lines down from the top rim.
Tip: Draw lightly at first. The lines get cut away, so a pencil works fine too.
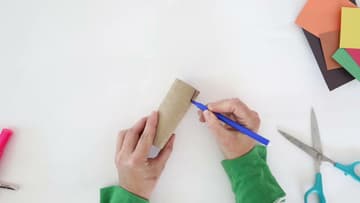
2. Cut Out the Face Tab From the Toilet Paper Tube
Squeeze the tube a little at the top so the scissors can get in. Cut down one of the short lines, then across the back along the connecting line, and up the other side.
Tip: Save the cut-off ring. It makes a handy stand while you draw.
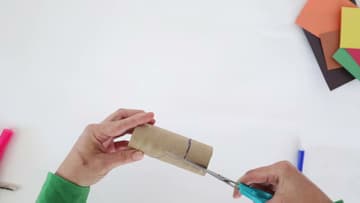
3. Draw the Arm Lines on the Back of the Puppet Tube
Turn the tube so the face tab is at the back. Draw a line from the top edge straight down the center back.
Tip: Keep the arms at least half an inch wide so they do not flop.
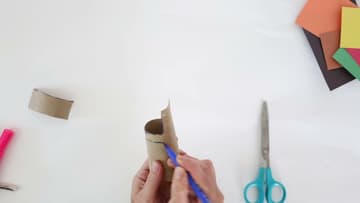
4. Cut the Puppet Arms Free From the Tube
Cut down the center back line first. Then turn and cut across along the side line until you reach the front of the puppet.
Tip: Little hands may need a grown-up to start each cut in the cardboard.
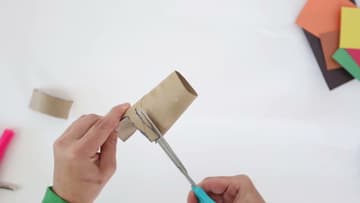
5. Round Off the Corners of the Tube Puppet Head
The face tab is still a square, which looks more like a box than a head. Snip the two top corners off at an angle.
Tip: For an animal, skip the rounding and cut ears into the top instead.
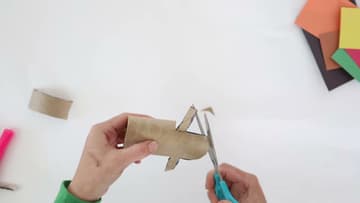
6. Draw the Face and Clothes on the Tube Puppet
Now give your puppet some features. Draw eyes, a nose and a mouth on the face tab.
Tip: A dark fine-tip marker makes the face easy to see from across the room.
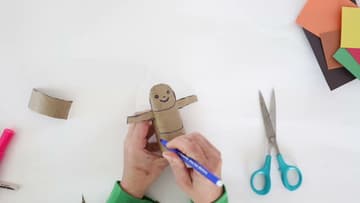
7. Color the Tube Puppet Shirt With Markers
Fill in the clothes with markers or crayons. Stripes are fun and easy to do on a round tube.
Tip: Crayon over marker gives a soft, textured look on brown cardboard.
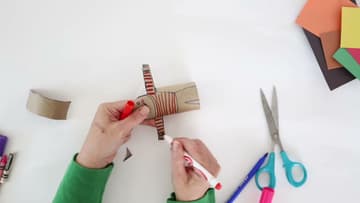
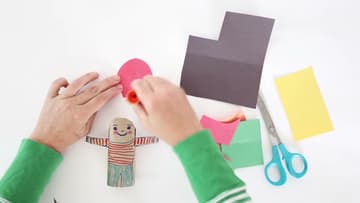
8. Glue Paper Hair Behind the Tube Puppet Head
Pick a scrap of colored paper for the hair. Cut a half circle a little wider than the head.
Tip: Any shape works. The hair only has to show around the edges of the head.
9. Cut Paper Fringe Bangs for the Tube Puppet
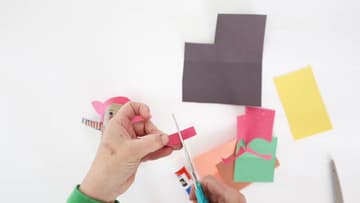
For pigtails, cut two almond shapes and glue one to each side of the head. For bangs, cut a small rectangle and snip slits along one long edge to make a fringe.
Tip: Paper from an old magazine makes fun patterned hair.
10. Cut Cat Ears Into the Top of a Second Tube Puppet
Make a second tube the same way so your puppet has a friend. This time, turn it into a cat.
Tip: A notch cut between the legs still lets the puppet stand up.