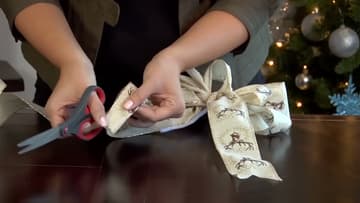
How to Make a Bow With Ribbon
Source: Michaels Stores • Full tutorial: www.craftingstepbystep.com/crafts/how-to-make-a-bow
- Difficulty
- Easy
- Hands-on time
- About 15 minutes
- Cost
- About $3 to $6
- Makes
- 1 ribbon bow

Tools
- Scissors
Materials
- Wired ribbon
- Chenille stem
Steps
1. Unroll Some Ribbon
Pull a length of wired ribbon off the spool and let a tail of about 12 inches hang free. Leave it attached to the spool.
Tip: Wired ribbon is not optional here. Unwired ribbon collapses and the loops go flat.
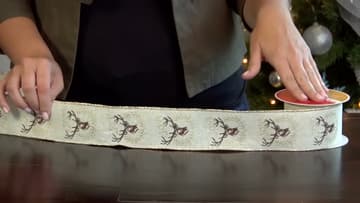
2. Make the Centre Loop
Form a loop roughly 3 inches across and pinch it shut at the base. That pinch is the centre of the bow.
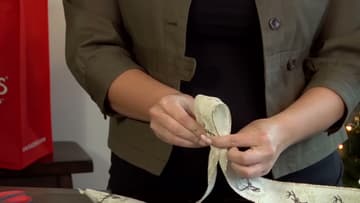
3. Twist to Seal It
Twist the pinched base to lock the loop closed. Keep the two tails separate as you work - one runs back to the spool, one hangs free.
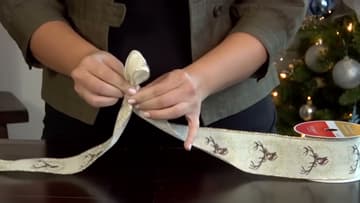
4. Add the First Side Loop
Unroll a bit more ribbon, tuck it under and bring it back to the centre. Make this loop about an inch longer than the centre loop, then pinch it against the base with the others.
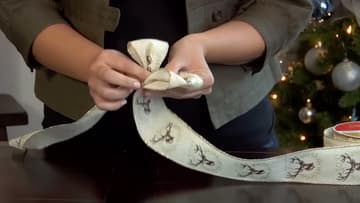
5. Twist the Print Back Up
Every loop flips the ribbon over, so the printed side ends up facing the wrong way. As you pinch, give the ribbon a twist to bring the print back to the top.
Tip: On a plain or double-sided ribbon you can skip this. On a printed one it is the difference between a neat bow and a muddled one.
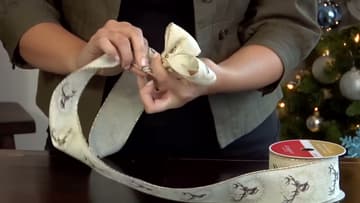
6. Match the Other Side
Build the mirror loop on the opposite side, the same length as the one you just made. Pinch and twist exactly as before, gathering it into the same spot at the centre.
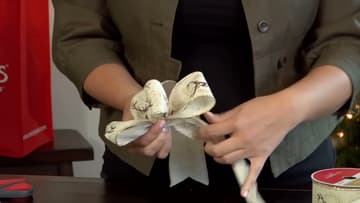
7. Keep Stacking
Carry on adding pairs, making each loop slightly longer than the last so the bow grows outward rather than upward. Hold every pinch between your forefinger and thumb as you go.
Tip: Do not let go to admire it. The whole thing is held by your fingers until the chenille stem goes on.
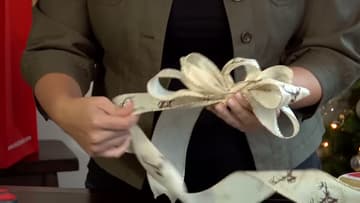
8. Cut It Free
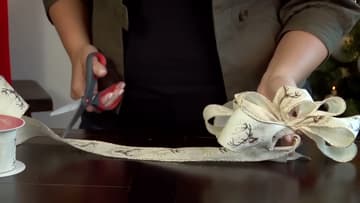
After the last pinch, pull about 12 more inches off the spool so the second tail matches the first. Then cut the ribbon with scissors, still holding the centre tight.
9. Secure With a Chenille Stem
Push a chenille stem through the middle of the centre loop, bring it down underneath all the pinches, and twist it tight at the back. Leave the ends long.
Tip: A length of florist wire does the same job if you have no chenille stems.
10. Trim and Fluff
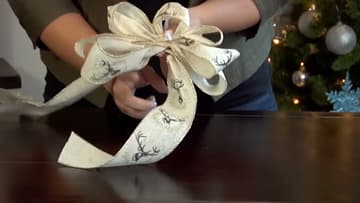
Fold each tail in half lengthwise and cut across at an angle for a clean dovetail finish. Then work through the loops, twisting and pulling neighbouring pairs in opposite directions until the bow sits round.
Tip: Fluffing is most of the finished look. Do not stop early.