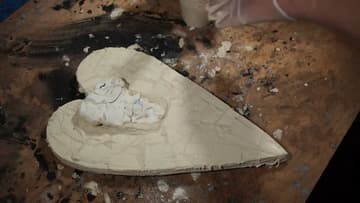
How to Grout a Mosaic
Source: Treasury Road • Full tutorial: www.craftingstepbystep.com/crafts/how-to-grout-a-mosaic
- Difficulty
- Easy
- Hands-on time
- About 30 minutes
- Cost
- About $8 to $15

Tools
- mixing cup
- spoon or knife
- rubber gloves
- stiff old paintbrush
- dust mask
- sponge
Materials
- sanded grout
- water
- masking tape
Steps
1. Buy Sanded Grout
Sanded grout is the right choice for almost every mosaic. Unsanded slumps out of the joint and tends to crack as it cures, and the packet will tell you it only suits very narrow lines.
Tip: Check the packet for the maximum joint width before you buy. If your gaps are wider than the stated limit, you need a different product.
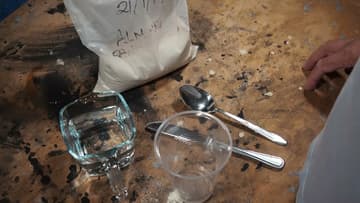
2. Mix More Than You Need
Tip the powder into a plastic cup, and be generous. Stopping halfway through to mix a second batch means the first is already setting, and if you are tinting your own colour you will almost certainly never match it again.
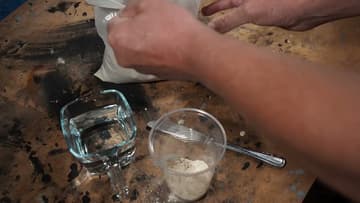
3. Add Water to a Peanut Butter Consistency
Add water a little at a time and stir. You are aiming for the thickness of peanut butter.
Tip: Mix outside if you can. Dry grout throws silica dust, and a proper dust mask matters more than most people think.
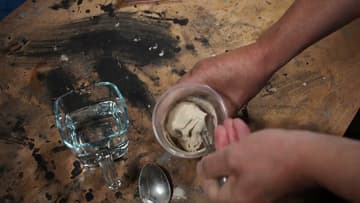
4. Scrape the Sides and Bottom
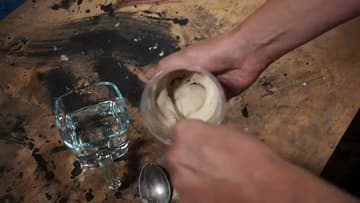
Work the spoon right around the sides and across the base of the cup. Dry powder hiding at the bottom is the usual cause of weak, crumbly patches that fall out of the joints a week later.
5. Let It Slake, Then Stir Again
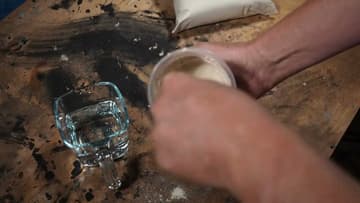
Leave the mix to stand for 5 to 10 minutes so the chemical reaction gets going, then give it another stir before you use it. Skipping the slake gives you grout that looks fine going on and cures soft.
6. Cover Anything You Do Not Want Grouted
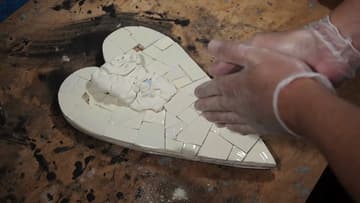
Raised or delicate tesserae, and anything with texture that grout will lodge in, gets covered before you start. Tape or a scrap of plastic over the top works, and it peels off clean at the end.
Tip: Textured and unglazed pieces stain much more easily than smooth glazed tile. When in doubt, cover it.
7. Work the Grout Into the Joints
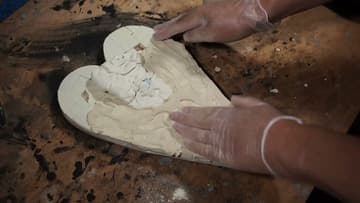
Gloves on, and get your hands in it. Push the grout across the joints from several directions rather than spreading it in one pass, so every gap packs full.
Tip: Raised pieces can tear thin gloves. Keep a spare pair to hand.
8. Use a Brush for the Awkward Gaps
An old stiff brush pushes grout underneath raised tesserae and into corners a finger cannot reach. The brush will be ruined by the end, so pick one you were going to throw out anyway.
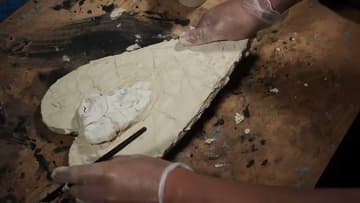
9. Scrape Back the Excess and Clean Up
Scrape the surplus back into the cup and check the edges for gaps, filling any you find. Wash your tools outside or in a bucket.
Tip: Let the piece firm up for a few minutes, then wipe back with a well-wrung damp sponge. Do not wander off; grout gets very hard to clean once it fully sets.