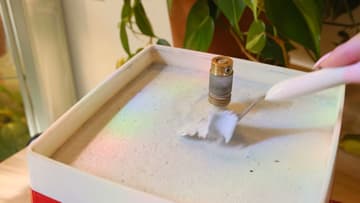
How to Grind Stained Glass
Source: Amaya Jade • Full tutorial: www.craftingstepbystep.com/crafts/how-to-grind-stained-glass
- Difficulty
- Medium
- Hands-on time
- About 25 minutes

Tools
- glass grinder
- 3/4 inch grinder bit
- safety glasses
- cut-resistant gloves
- spray bottle
- craft knife
Materials
- printed pattern
- clear packing tape
- sticker paper or removable vinyl
- permanent marker
Steps
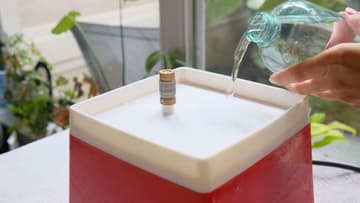
1. Fill the Glass Grinder Water Reservoir
Pour clean water into the grinder's reservoir until it reaches the sponge or the wick under the bit. Then set the grid work surface back on top.
Tip: Lay a towel under the grinder. It catches spray and makes cleanup easy.
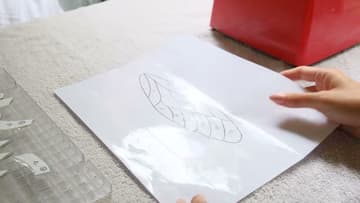
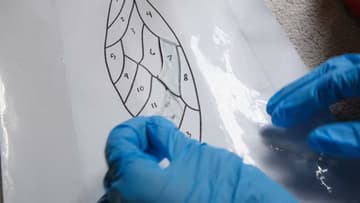
2. Tape Over the Stained Glass Pattern to Keep It Dry
Keep a printed copy of your pattern beside the grinder. You will set each ground piece on it to check the fit.
Tip: A sheet protector or laminator pouch does the same job as tape.
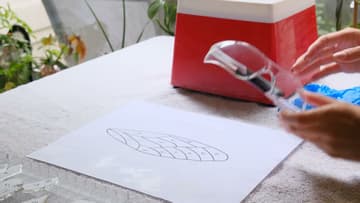
3. Put On Safety Glasses and Gloves Before Grinding Glass
Safety glasses go on before the grinder switches on. Small chips fly off the bit and you will not see them coming.
Tip: Gloves that are too big catch on the bit. Pick a snug fit.
4. Knock the Sharp Edges Off the Cut Glass Piece
Switch the grinder on. Before you shape anything, run every edge of the cut glass piece lightly along the spinning bit.
Tip: One quick pass all the way round is enough here. Shaping comes next.
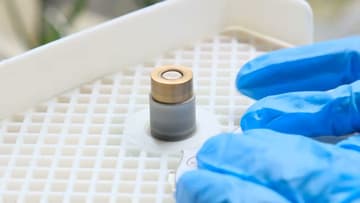
5. Grind the Glass Piece to the Pattern Sticker Line
Push the glass gently against the bit and slide it along the edge. Keep the piece flat on the grid.
Tip: Light pressure. If the bit needs force to cut, it is worn.
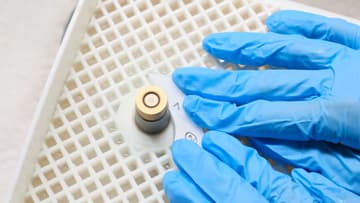
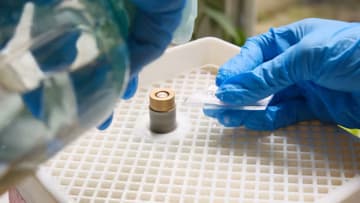
6. Keep the Grinder Bit and Glass Wet With a Spray Bottle
The bit needs a steady film of water the whole time. If yours is set high or the sponge is drying out, mist the glass and bit with a spray bottle as you work.
Tip: If you see white dust or hear a squeal, stop and add water.
7. Check the Ground Glass Piece Against the Pattern
Set the piece on its numbered spot on the taped pattern. It should sit inside the lines with a hair of space around it for copper foil and solder.
Tip: Lay neighboring pieces down too. Gaps and overlaps show up when they sit side by side.
8. Grind the Curved Edges of the Stained Glass Piece
For curves, keep the glass flat and rotate it slowly against the bit so the contact point rolls along the curve. Do not push straight in or you will cut a flat spot.
Tip: Iridescent coatings can chip at the edge. Leaving the sticker on helps protect it.
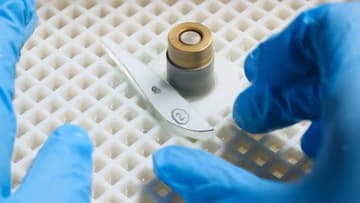
9. Peel the Pattern Sticker Off the Ground Glass
When the piece fits, peel off the pattern sticker. A craft knife helps lift a corner.
Tip: Any oil or grinder residue keeps foil from bonding. Wash with dish soap if in doubt.
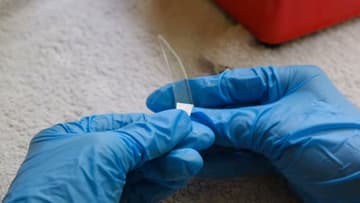
10. Clean the Glass Sludge Out of the Grinder Reservoir
When the water has mostly evaporated, scrape the glass sludge out of the reservoir while it is still damp. Damp sludge stays put.
Tip: Replace the sponge when it stops wicking water to the bit.