How to Etch Glass With Etching Cream (Easy Vinyl Stencil Method)
Source: Design Bundles • Full tutorial: www.craftingstepbystep.com/crafts/how-to-etch-glass
- Difficulty
- Easy
- Hands-on time
- About 30 minutes
- Wait time
- 15 minutes
- Cost
- About $1 to $5
- Makes
- 1 etched glass

Tools
- cutting machine (Cricut or Silhouette) or pre-cut stencil
- weeding tool
- vinyl squeegee
- wooden craft sticks
- gloves
Materials
- glass etching cream
- adhesive vinyl
- transfer tape
- glass to etch
- paper towels
- rubbing alcohol
Steps
1. Weed a Reverse Vinyl Stencil for Glass Etching
Cut your design from adhesive vinyl with a Cricut, Silhouette or similar machine. Now weed it backwards.
Tip: Press any piece that lifts by mistake straight back down before it loses its stick.
2. Check the Border Around the Etching Stencil
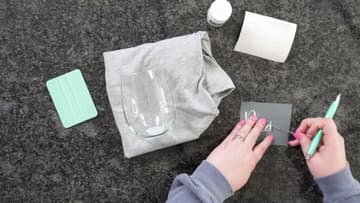
Hold the finished stencil up and look it over. Every letter and every inside piece, like the middle of an a or e, should be where it belongs.
Tip: When you cut, nudge the design in from the corner of the mat to leave room for a border.
3. Pick Up the Etching Stencil With Transfer Tape
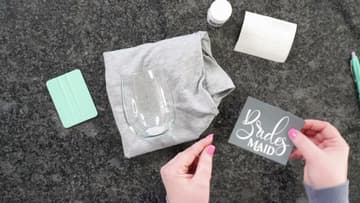
Lay a piece of transfer tape over the stencil and rub it down so every part sticks to the tape. Then peel the tape up slowly at an angle.
Tip: Regular strength transfer tape lets go of the vinyl more easily on glass than strong grip tape.
4. Press the Stencil Onto the Wine Glass, Center First
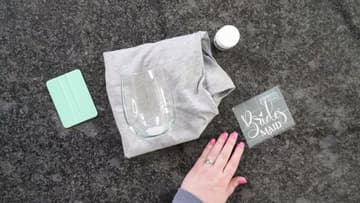
Make sure the glass is clean and dry. Rest it on a folded t-shirt or old hand towel so it cannot roll.
Tip: The wet method, a light mist of soapy water under the vinyl, helps on very curved glass.
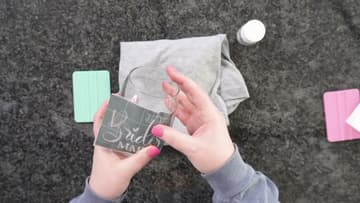
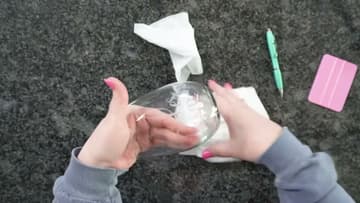
5. Smooth the Vinyl Stencil Flat on the Curved Glass
Peel the transfer tape away at a sharp angle, leaving the vinyl on the glass. Now go around every letter with your finger or a squeegee and press the edges flat.
Tip: Run a fingernail along every edge right before the cream goes on.
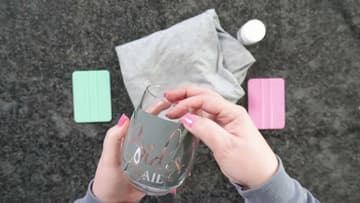
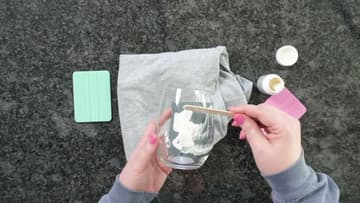
6. Dab Glass Etching Cream Over the Stencil
Put on gloves. Stir the cream in the jar, then scoop some out with a wooden craft stick.
Tip: A thick layer gives an even frost. Thin spots come out blotchy.
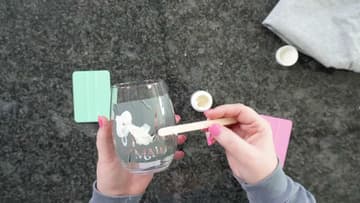
7. Let the Etching Cream Sit, Then Pounce It Around
Set the glass down and wait. The Armour Etch jar says one to three minutes.
Tip: Pounce straight up and down so you do not push cream under the stencil edges.
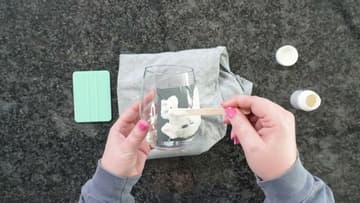
8. Scrape the Etching Cream Back Into the Jar
Do not wash the cream down the drain. Scrape it off the glass with the craft stick and put it back in the jar.
Tip: Use paper towels, not your dish towels, for anything that touched the cream.
9. Rinse and Peel the Stencil Off the Etched Glass
Take the glass to the sink and rinse it well with soapy running water while the stencil is still on. Only then peel the vinyl away, under the water if you can.
Tip: Keep your gloves on until every trace of cream is rinsed away.
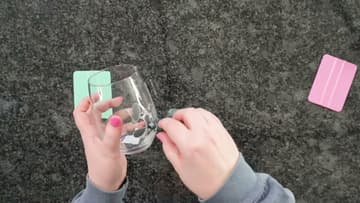
10. Wash and Buff the Etched Wine Glass
Give the glass one more wash with soap and water, then dry it and buff it with a paper towel. The frosted design shows up clearly once the glass is dry.
Tip: Hold the glass against a dark background to check the frost is even.