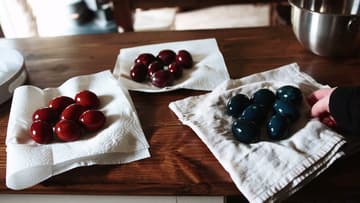
How to Dye Easter Eggs Naturally
Source: A Wooden Nest • Full tutorial: www.craftingstepbystep.com/crafts/how-to-dye-easter-eggs-naturally
- Difficulty
- Easy

Tools
- chef knife
- cutting board
- large stock pot
- 2 saucepans
- slotted spoon
- mesh strainer
- quart mason jars with lids
- marker
Materials
- eggs (white or light brown)
- red cabbage
- red onion skins
- yellow onion skins
- white vinegar
- water
- paper towels or a cotton cloth
Steps
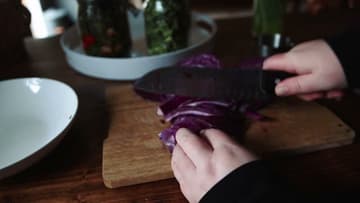
1. Chop the Red Cabbage for the Natural Easter Egg Dye
Set a head of red cabbage on a cutting board and slice it into rough strips. The more cut edges you make, the more colour the water can pull out, so do not leave it in big chunks.
Tip: Older, slightly limp cabbage works as well as fresh. This is a good use for one at the back of the fridge.
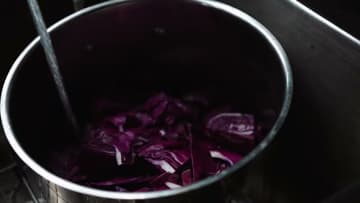
2. Cover the Chopped Red Cabbage With Water in a Large Pot
Scrape the chopped cabbage into a large stock pot. Fill it with water until the cabbage is covered, plus enough depth for your eggs to sit under the surface later.
Tip: Leave room at the top. You will add eggs later and the water rises.
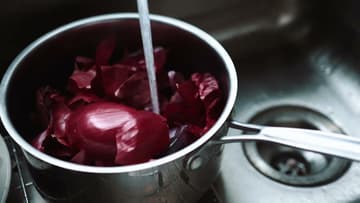
3. Cover the Onion Skins With Water for the Red and Orange Dyes
Put a couple of big handfuls of red onion skins in a saucepan and cover them with water. Do the same with the yellow onion skins in a second saucepan.
Tip: Only the dry papery skins are needed. Save the onions for dinner.
4. Add White Vinegar to Each Easter Egg Dye Pot
Set all three pots on the stove. Add a splash of white vinegar to each one, about 2 tablespoons.
Tip: Do not skip the vinegar in the cabbage pot. It helps the colour grab the shell.
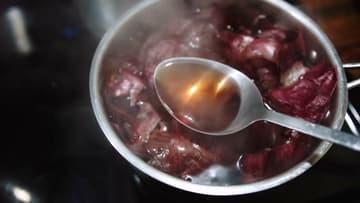
5. Simmer the Cabbage and Onion Skin Dyes for 30 Minutes
Once the pots boil, turn the heat down and let them simmer for about 30 minutes. The water darkens as the colour leaves the plants.
Tip: Keep a lid half on so the water does not cook down too far.
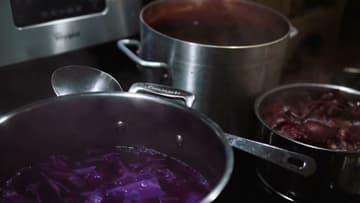
6. Lower the Eggs Into the Natural Dye Pots
Lower the eggs into the dye one at a time on a slotted spoon. Spread them across the three pots.
Tip: White eggs come out brighter. Light brown eggs give darker, richer colours.
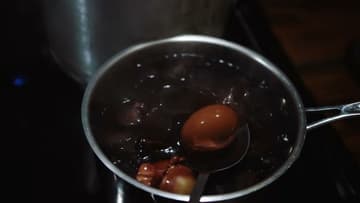
7. Lift the Dyed Easter Eggs Out of the Pots
After 10 minutes, turn off the heat and let the pots cool for a while. Then fish the eggs out into a bowl.
Tip: Let the pots cool before you reach in. A slotted spoon keeps your fingers out of hot dye.
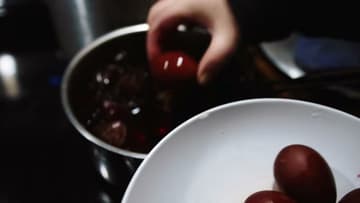
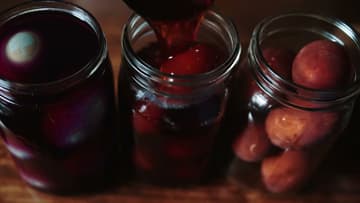
8. Soak the Dyed Eggs in Jars of Dye Overnight in the Fridge
For deeper colour, put each batch of eggs in its own glass jar and pour dye from the matching pot over them until they are covered. Close the lids, write the dye on each lid and set the jars in the fridge.
Tip: Keep one egg back from the soak so you can compare the two shades side by side.
9. Drain the Naturally Dyed Eggs in a Strainer
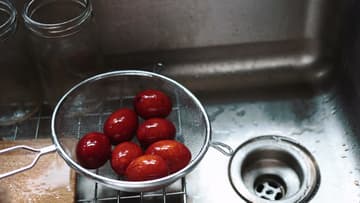
Take the jars out of the fridge and pour each one through a mesh strainer over the sink. The dye goes down the drain and the eggs stay in the strainer.
Tip: Handle the eggs gently while they are wet. The colour can rub off until they dry.
10. Dry the Naturally Dyed Easter Eggs on Towels
Lay the eggs out on paper towels or an old cloth, each colour in its own group. Let them dry completely before you stack them in a bowl.
Tip: For a soft shine, rub a dry egg with a drop of cooking oil on a paper towel.