How to Cut Plates for Mosaic
Source: Karen Silton • Full tutorial: www.craftingstepbystep.com/crafts/how-to-cut-plates-for-mosaic
- Difficulty
- Easy
- Hands-on time
- About 45 minutes
- Cost
- About $8 to $15

Tools
- tile nippers
- wheeled glass nippers
- hammer
- safety glasses
- cut-resistant gloves
- heavy freezer bag
Materials
- china plates
- tile adhesive
- sanded grout
Steps
1. Choose a Thin China Plate for Mosaic Tiles
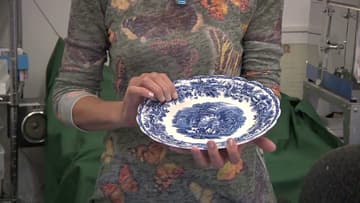
Start with the plate. Thin china or porcelain with a pattern across the middle gives you the most usable pieces.
Tip: Tap the plate with a fingernail. A clear ring usually means thin, hard china that cuts cleanly.
2. Snap a Broken Plate Shard Straight Across With Tile Nippers
Take a piece of plate that is already broken. Set the nipper jaws on the edge with about a quarter to three eighths of an inch of china between them.
Tip: Hold the handles near the ends for more leverage. You need less hand strength that way.
3. Cut Below the Curved Lip of a China Bowl Piece
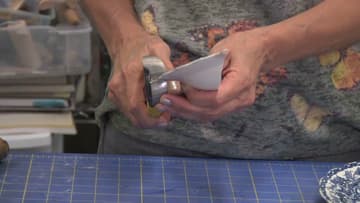
A piece with the rim still on will not lie flat. Find the spot below the lip where the plate turns from curved to flat.
Tip: Line the jaws up square to the edge. A crooked bite gives you a crooked break.
4. Nibble the Last Curved Rim Off a China Piece So It Lies Flat
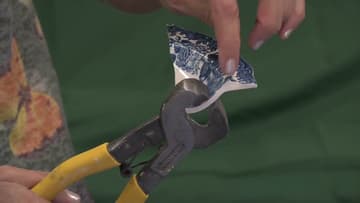
Small pieces often keep a strip of lip along one side. That strip is hard to grip, so hold the piece close to the jaws and take small bites.
Tip: Small bites beat one big squeeze here. A big bite on a curve tends to shatter the piece.
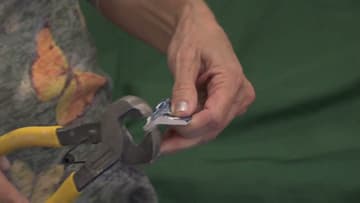
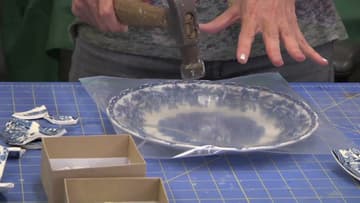
5. Break a Whole Plate Inside a Freezer Bag With a Hammer
A whole plate is easier to start with a hammer. Slide it into a heavy freezer bag and lay it flat on the table.
Tip: Wear safety glasses even with the bag. The plastic can split on the first hit.
6. Trim the Curve Out of a Broken Plate Rim Shard
Pour the pieces out of the bag and sort them. Some are ready to go as they are.
Tip: Sort pieces into boxes by color and by flat or curved as you go. It speeds up the layout.
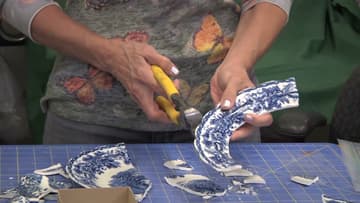
7. Cut the Patterned Center Away From the Plate Rim
The center scene is the best part of the plate, so cut it out as one piece. Set the nippers where the rim already curves inward, not on a straight stretch, and the break tends to follow that curve.
Tip: Plan two or three tries per focal piece. Start on a plate you do not love.
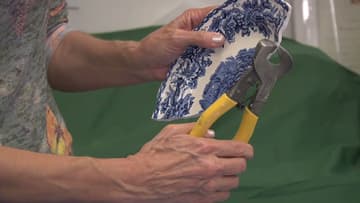
8. Nip Bite-Sized Mosaic Pieces From the Plate Edge
With the focal piece out, work around what is left. Take small bites from the edge, chipping away until each piece is the size you want.
Tip: Aim for pieces about the size of a fingernail for curved surfaces like pots.
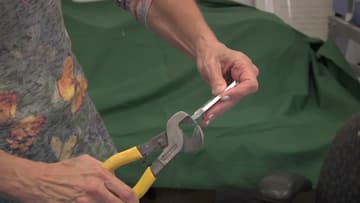
9. Test the China Pieces Against a Mosaic Flower Pot
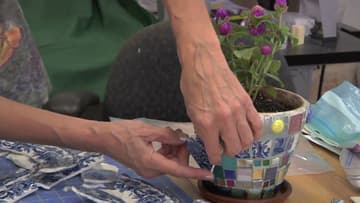
Before you glue anything, hold a piece against the surface. Karen holds the fan-shaped plate piece against a small flower pot.
Tip: The smaller the pot, the smaller the pieces. Test-fit a few before you cut them all.